It’s strawberry season and these gluten-free baked strawberry doughnuts with strawberry glaze were calling my name. They’re super easy to make and are a healthy upgrade to the traditional doughnut. Check them out!
Note: This post contains affiliate links for products on Amazon.
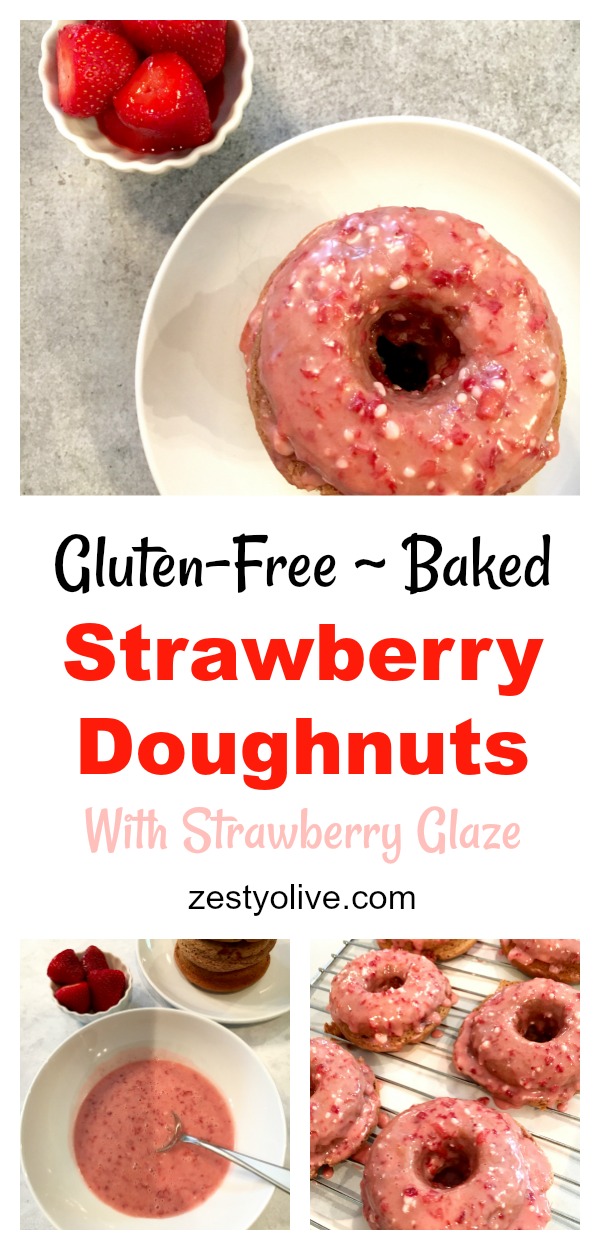
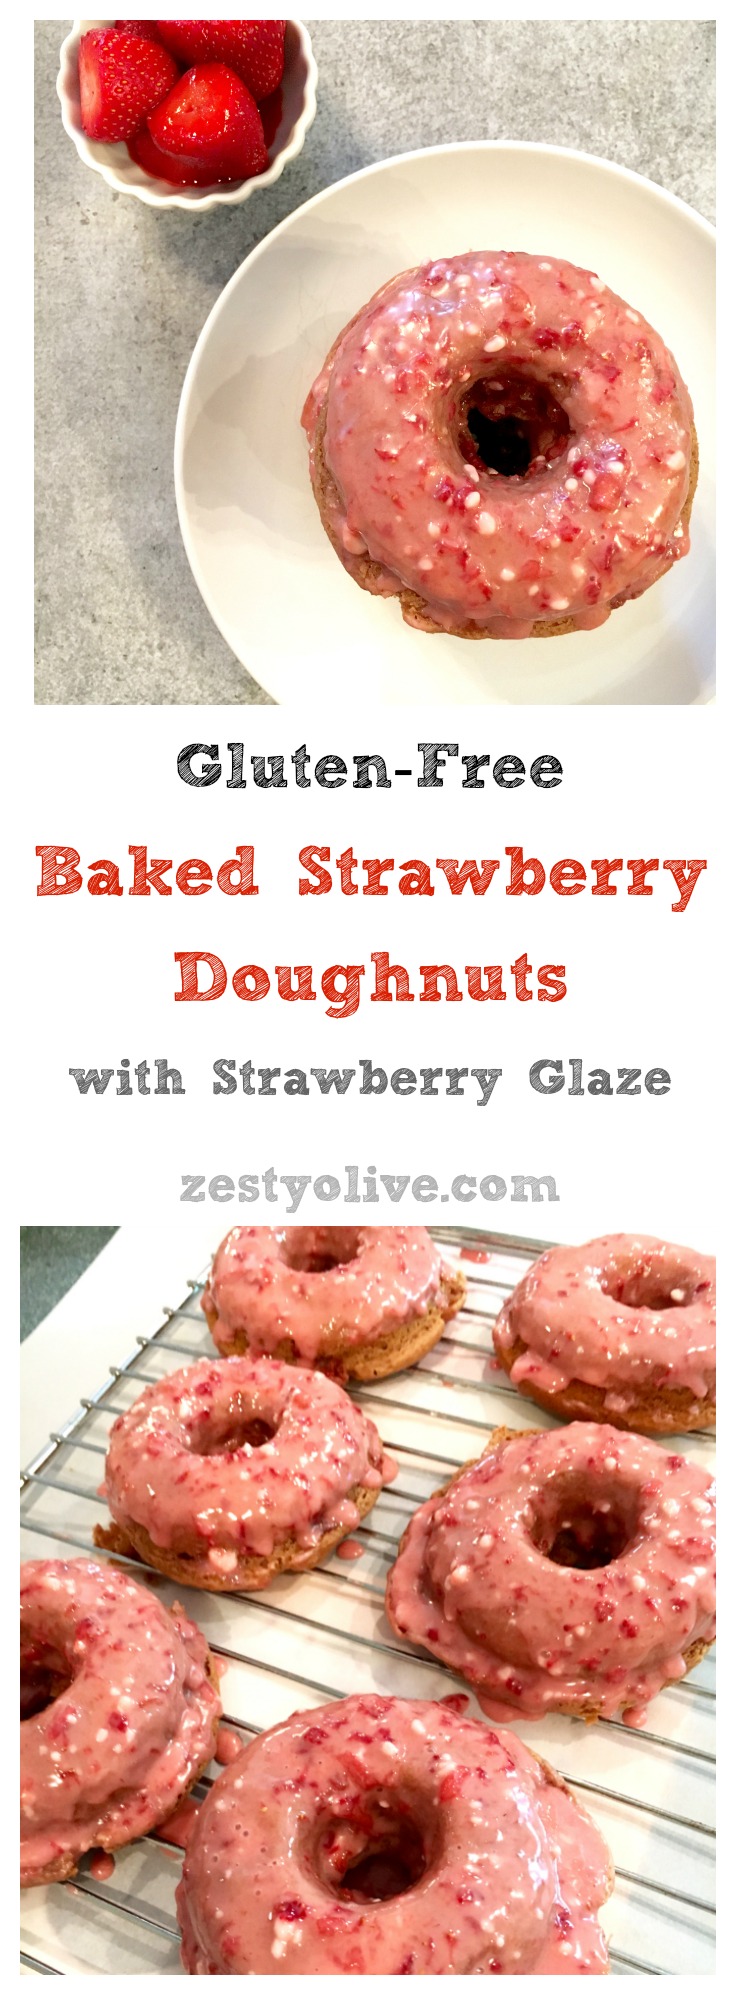
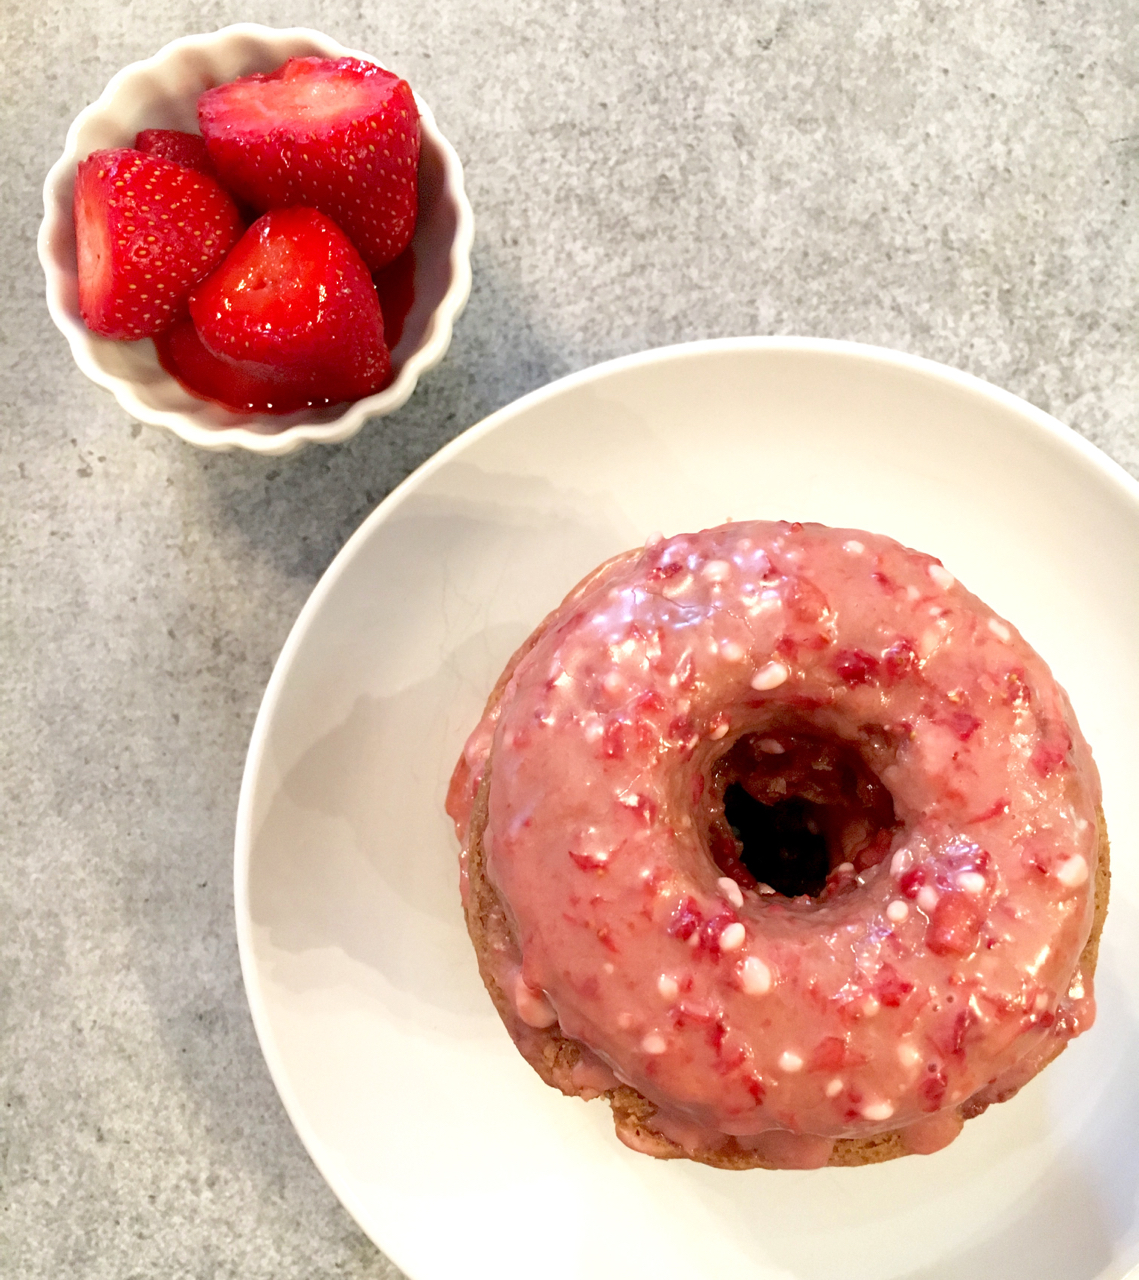
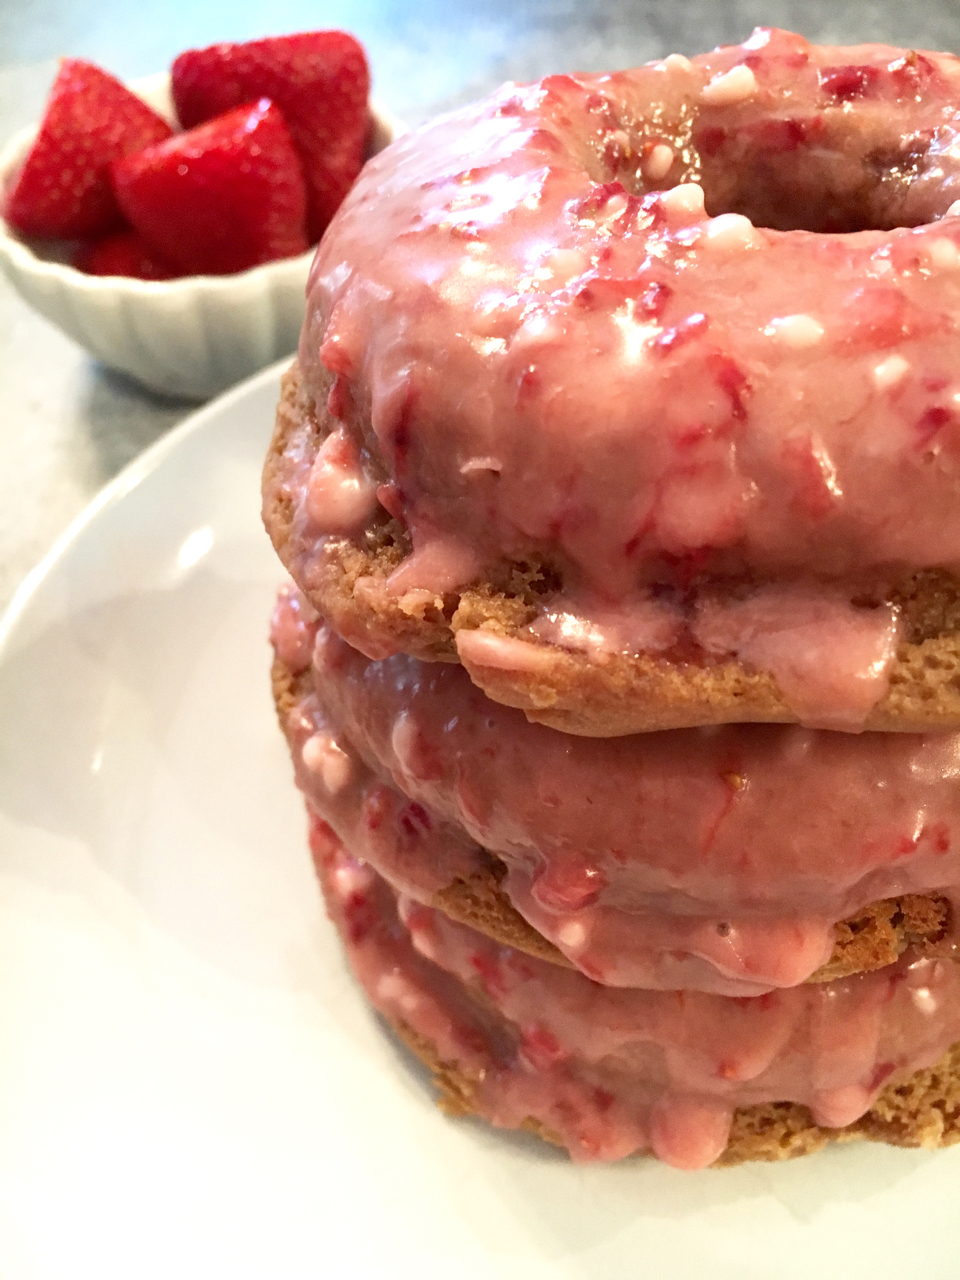
It’s strawberry season and these gluten-free baked strawberry doughnuts with strawberry glaze were calling my name. In my haste to make these, solely for the purpose of immediately consuming them, a few silly things happened. I’ll point them out in the photos, starting with the one above. See the lovely white “dots” on the top of the doughnut? This is what happens when you forget to sift the confectioner’s sugar for the glaze. But guess what? It does not affect the taste at all, it just looks silly. Or rustic. Or like it was supposed to happen, right?
No matter. These were delicious. It was hard to stop tasting the glaze even with the spots of confectioner’s sugar!
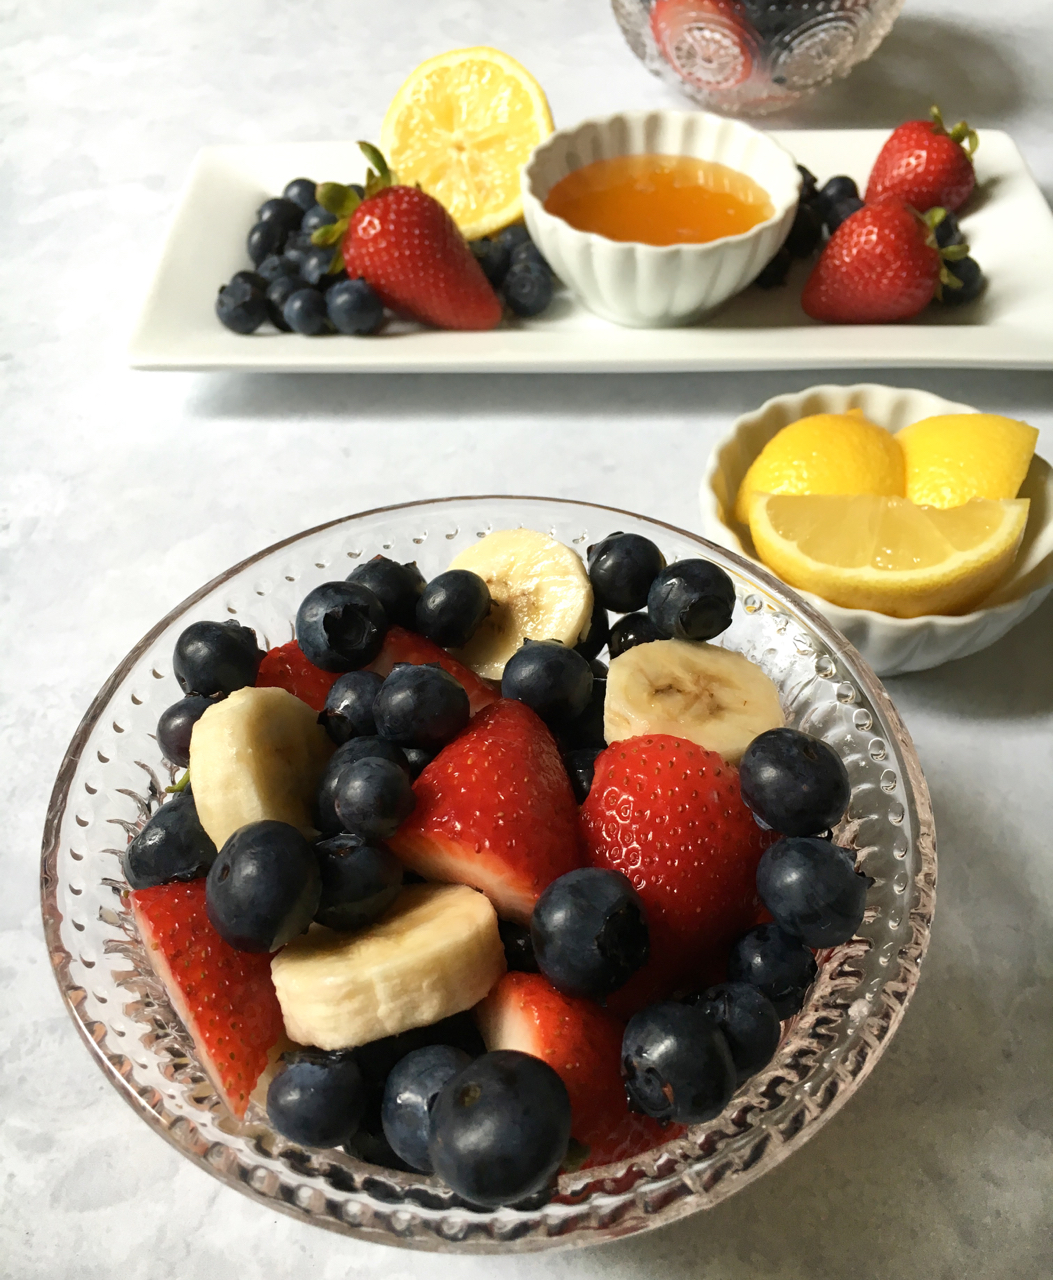
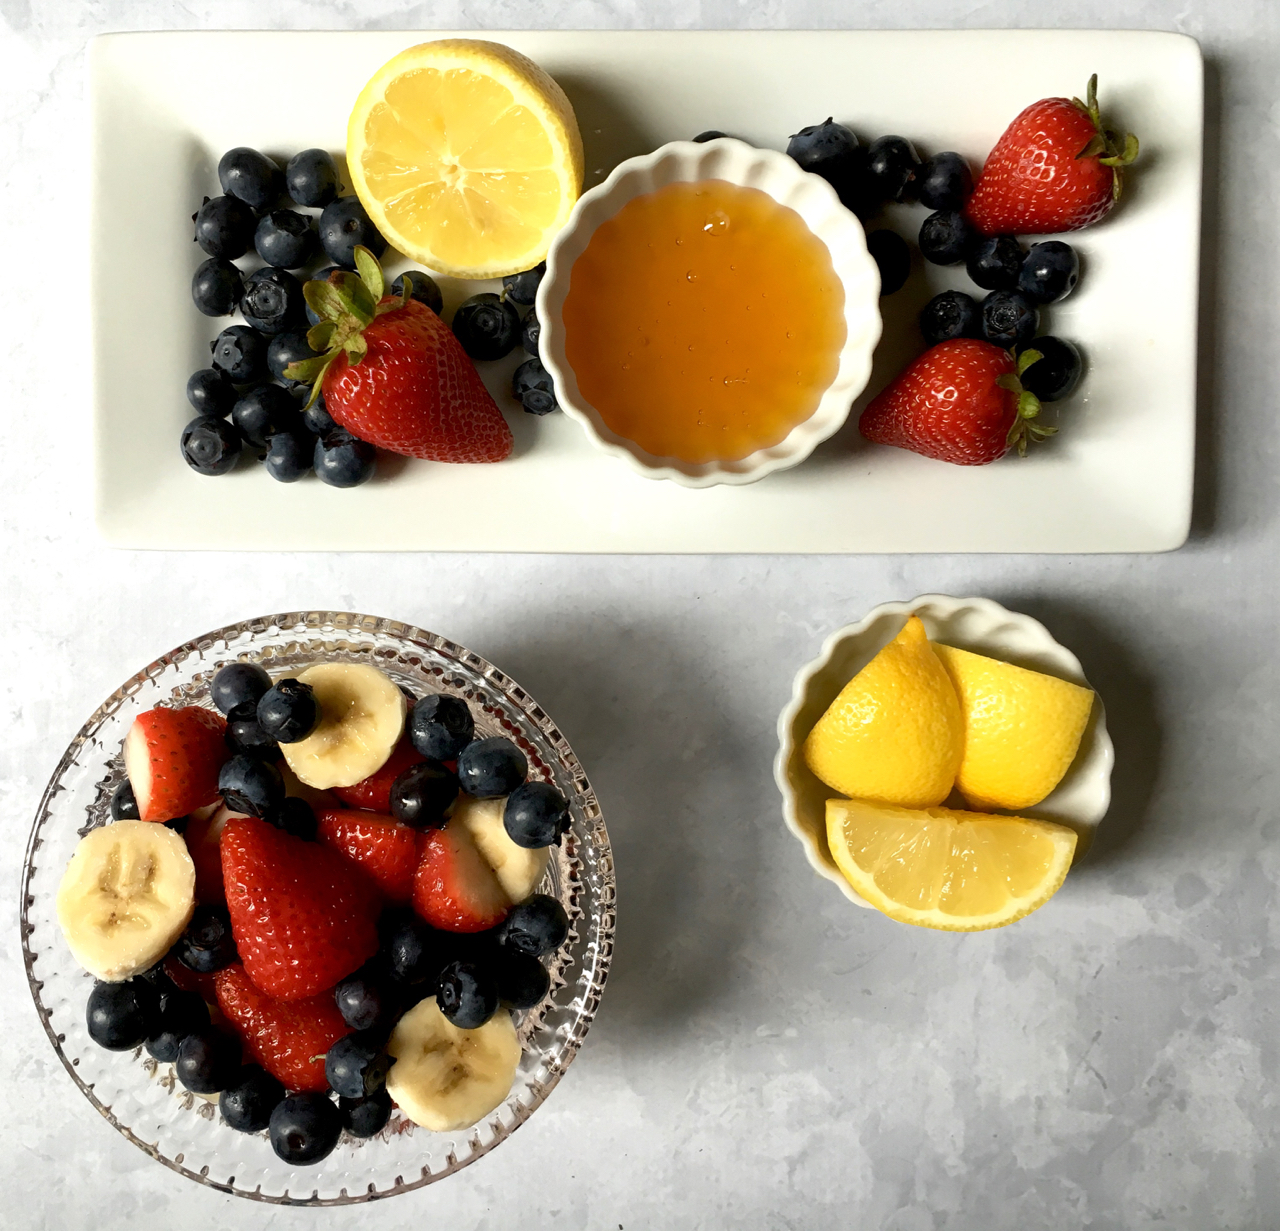
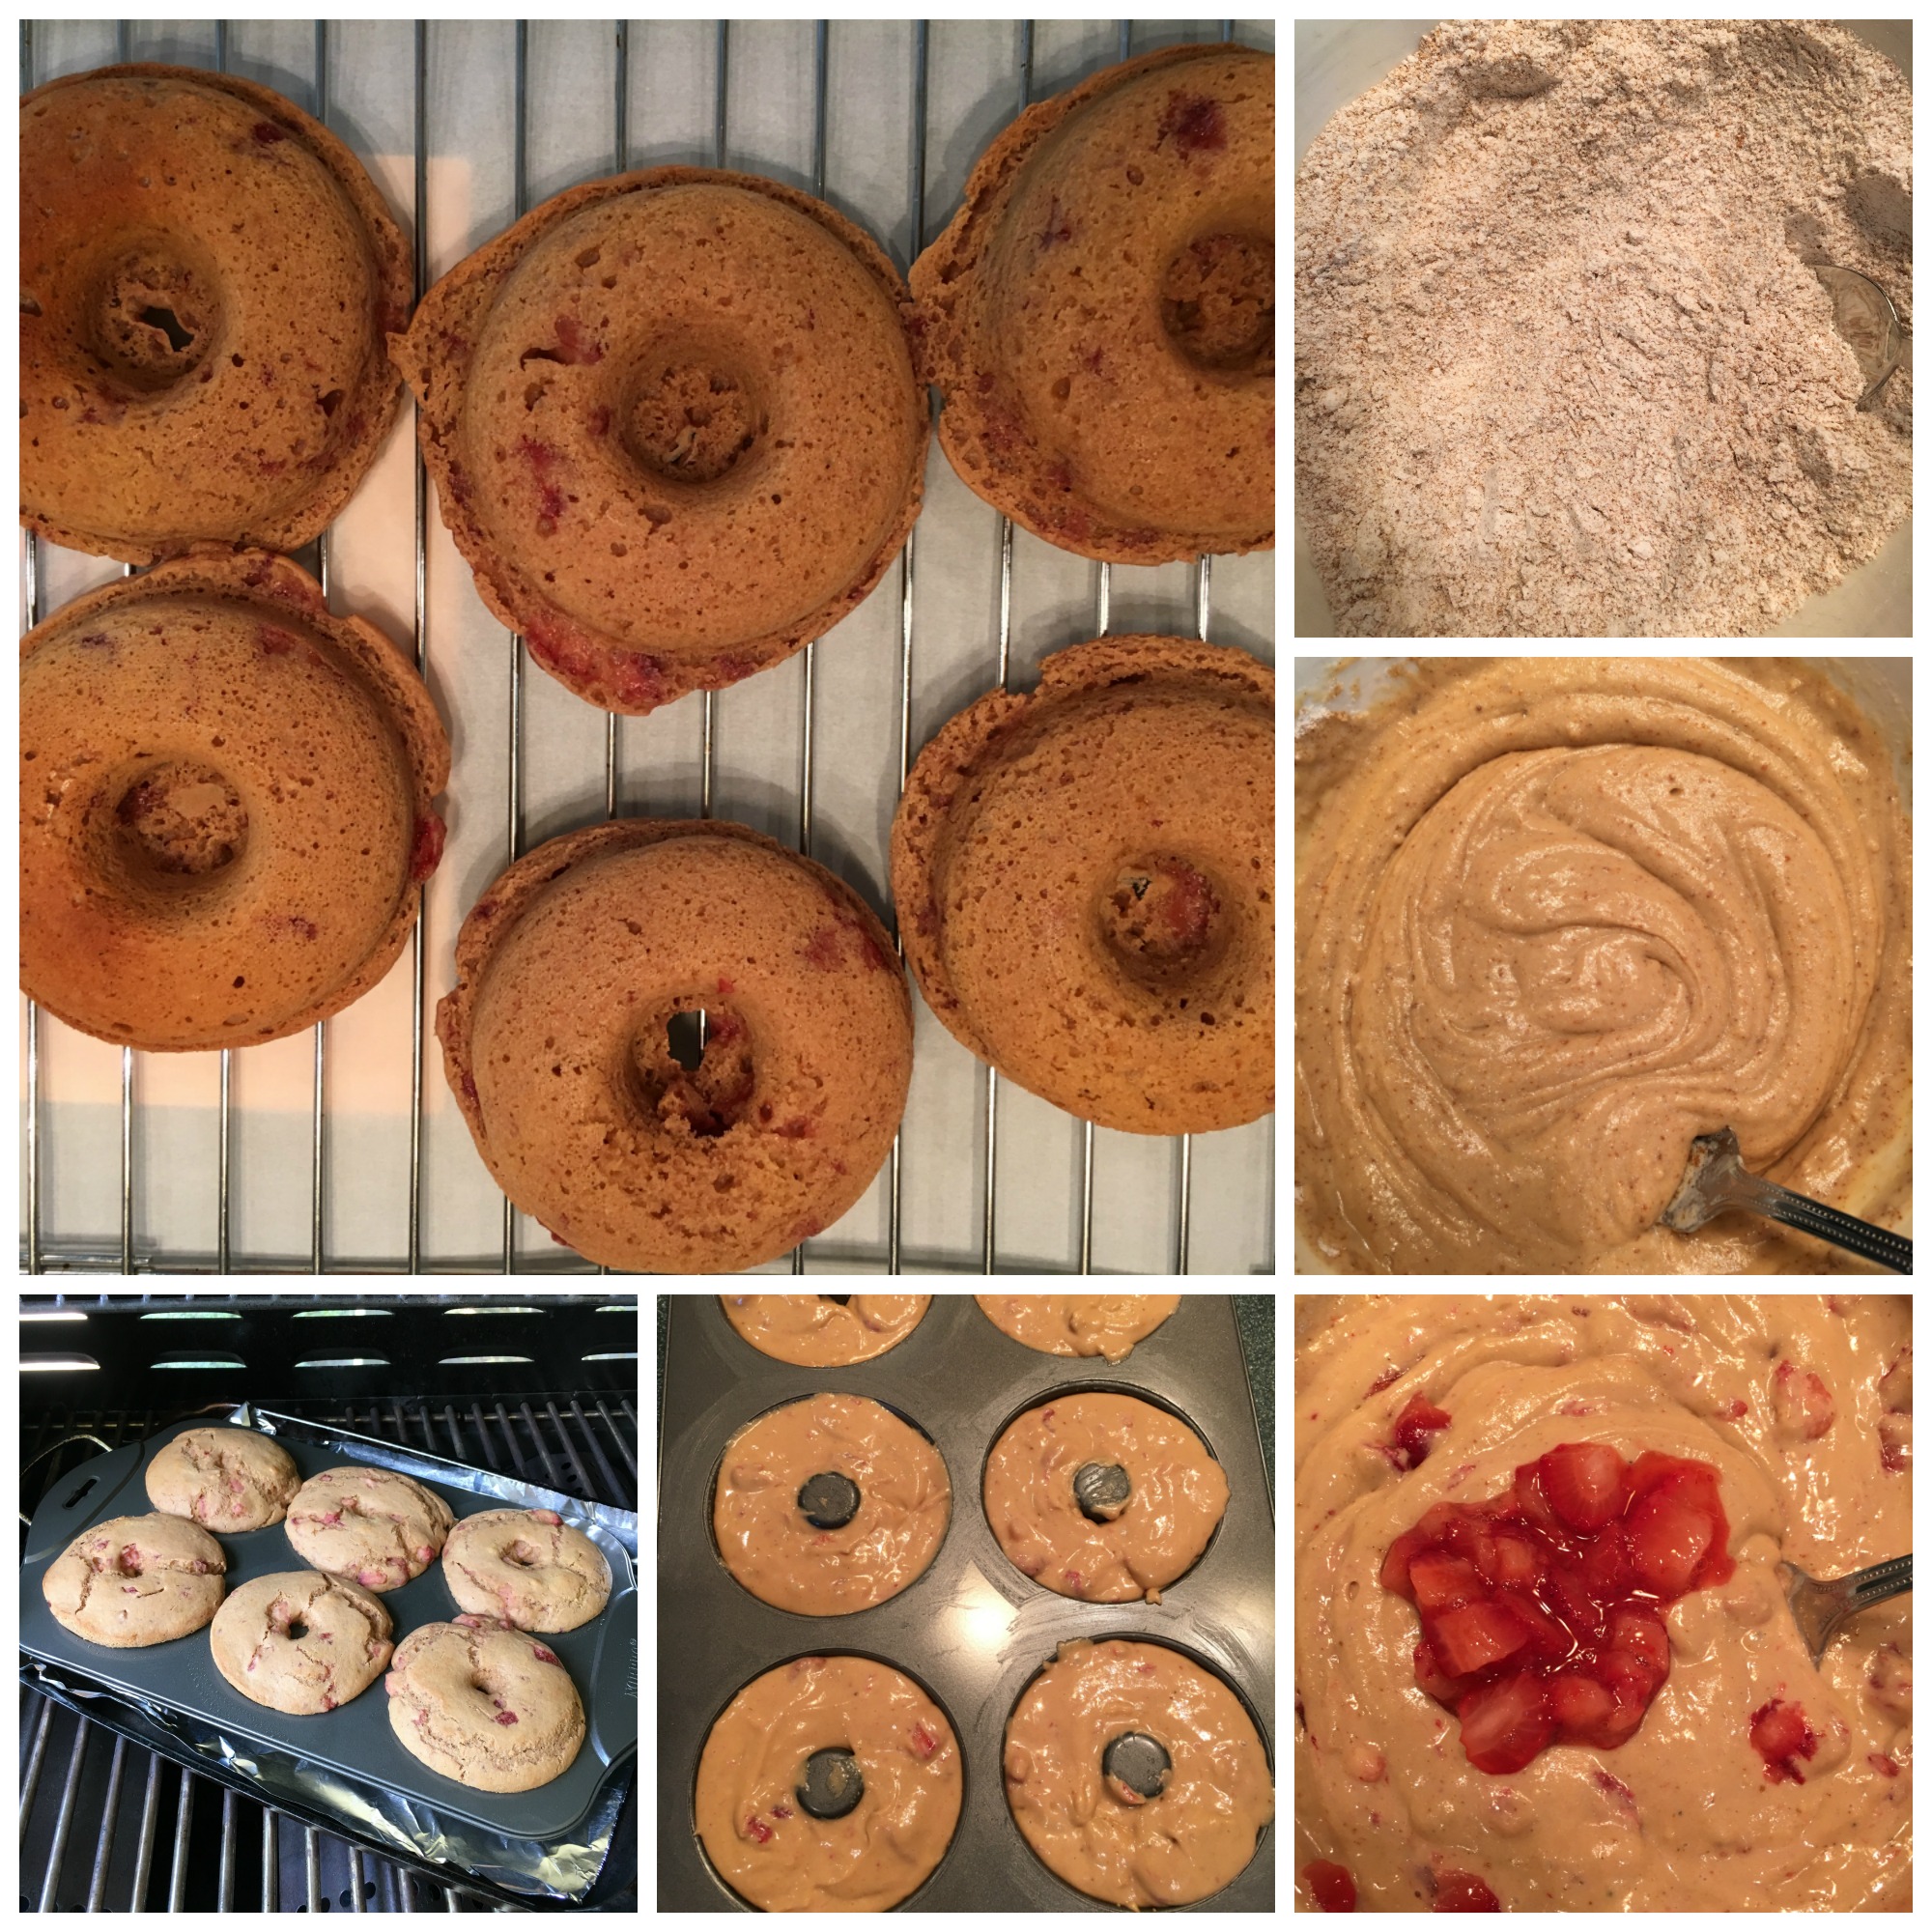
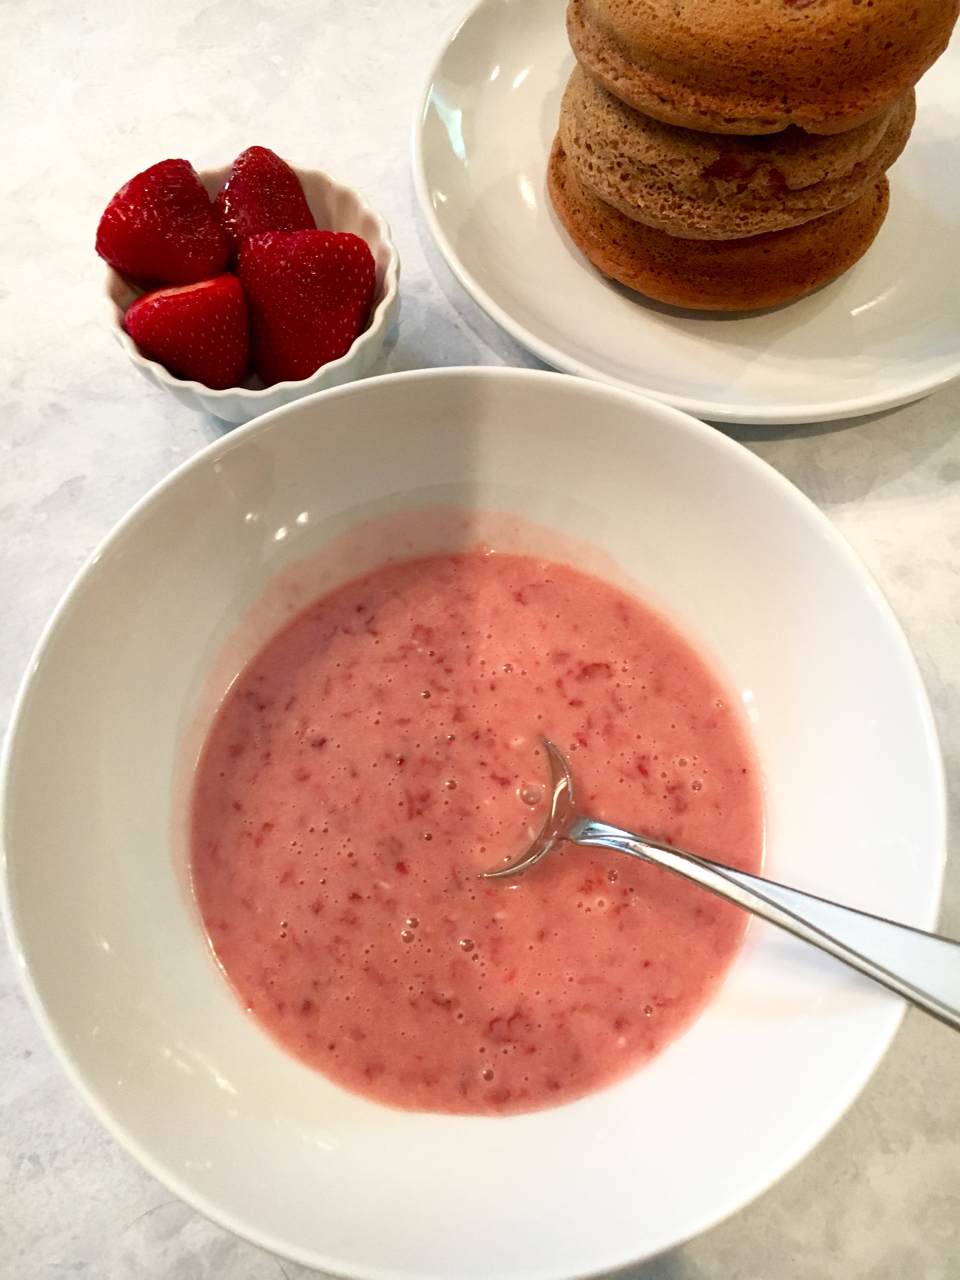
I wanted to make these gluten-free, so I used my old standby, Bob’s Red Mill Gluten-Free One-to One Baking Flour. To that I added, baking powder, organic coconut sugar, and salt. I also used buttermilk in this recipe. If you don’t have buttermilk on hand, just make your own by adding vinegar to milk, which is what I did for this recipe. (Complete instructions are in the recipe details at the end of this post.) You’ll also need an egg, vanilla extract and a little melted coconut oil. And of course, strawberries – you’ll need a cup of finely chopped strawberries.
Here’s a quick look at the batter mix and resulting doughnuts. Notice I over-filled my doughnut pan, because I really wanted only 6 doughnuts. However, you could stretch this batter and get 8 or 9 doughnuts out of it if you do the right thing and fill each doughnut section just 1/2 way full like you’re supposed to. Clearly, I didn’t follow the rules. Again, it did not affect the taste, just the aesthetics, but I didn’t care!
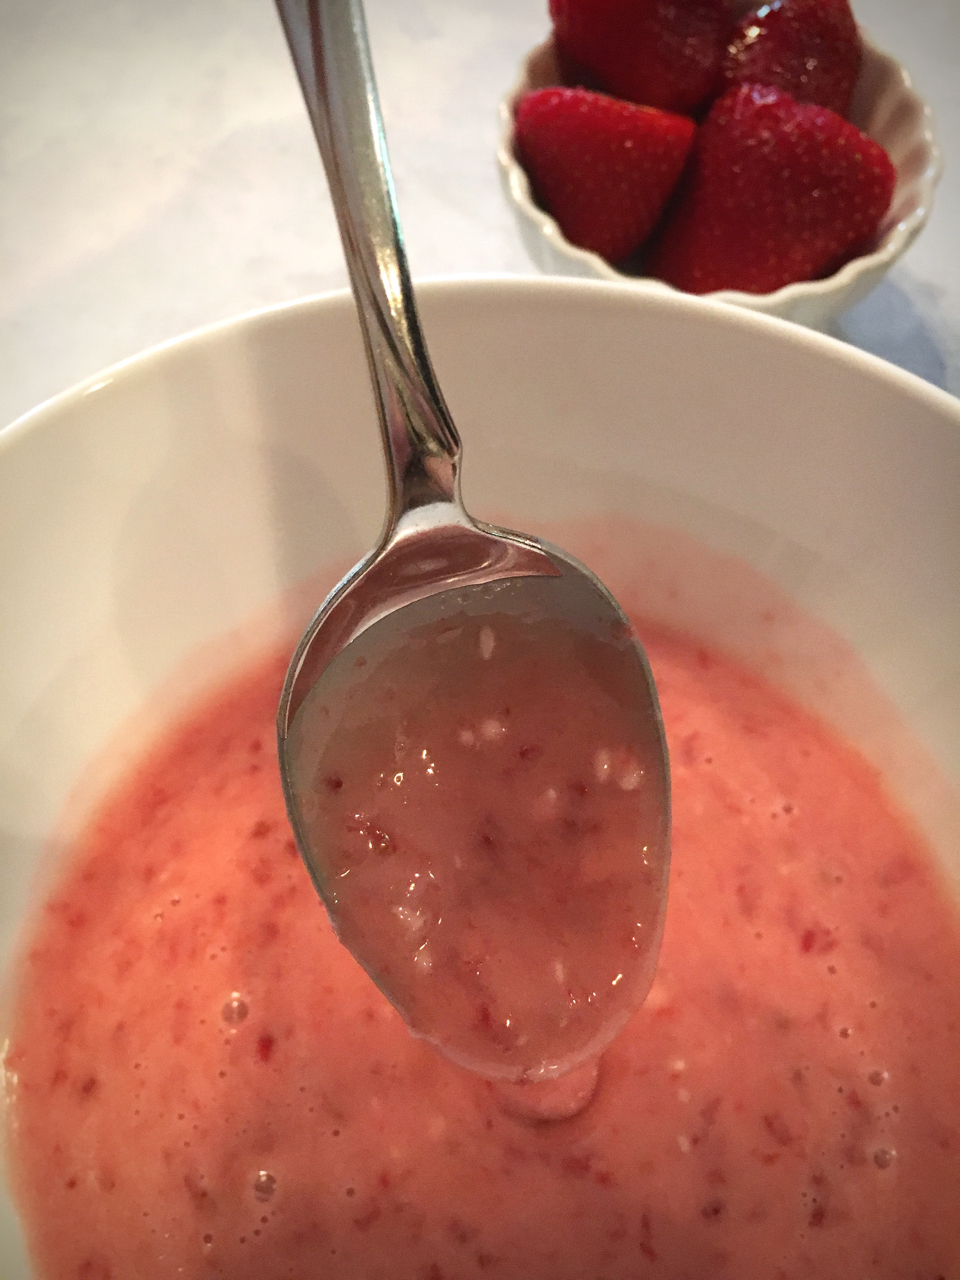
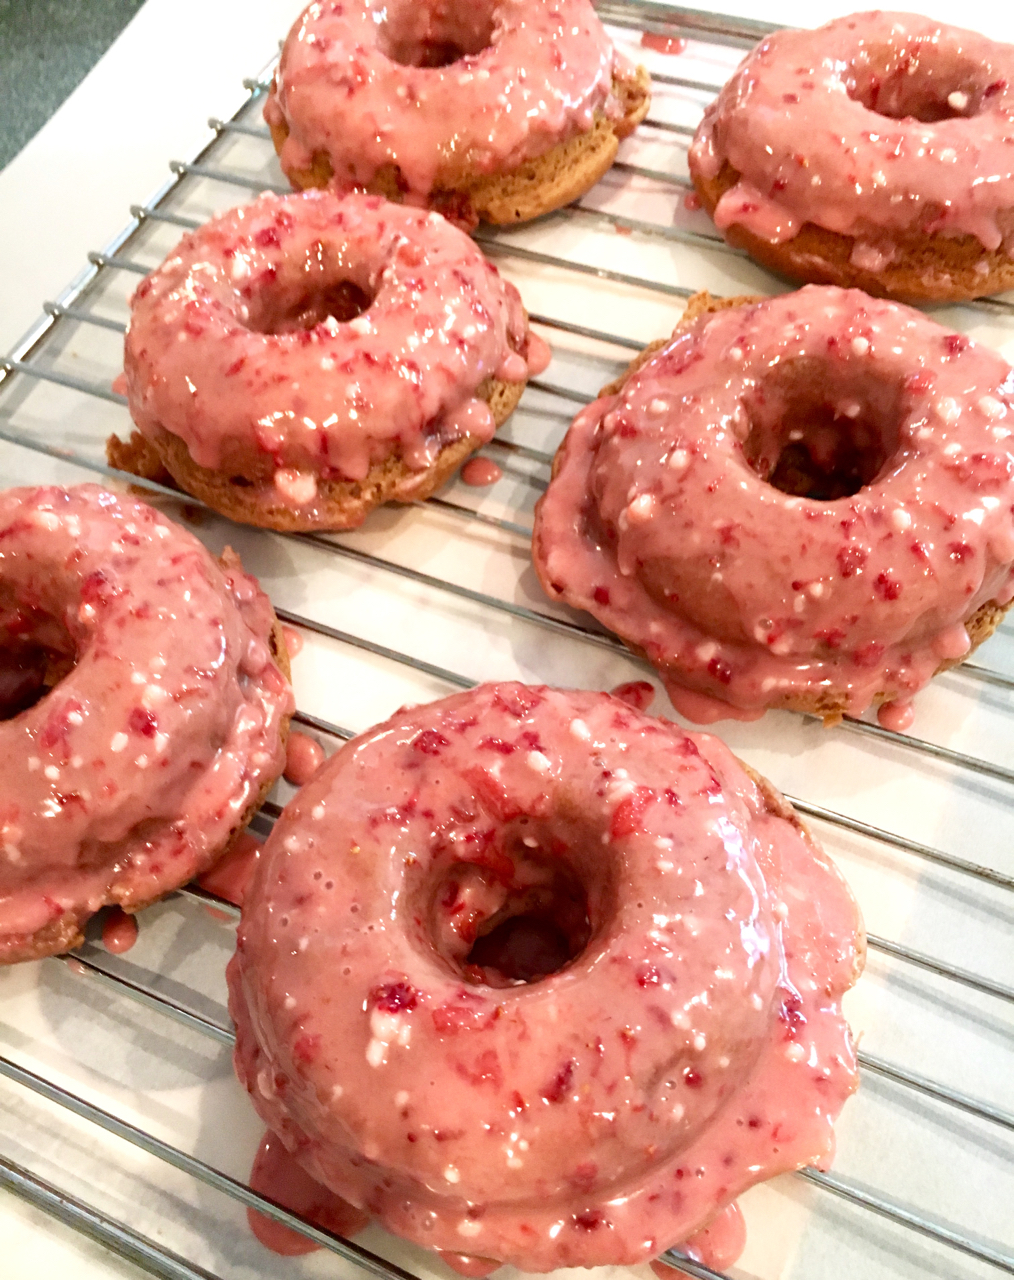
While the doughnuts were baking, I mixed the glaze which is just confectioner’s sugar, vanilla extract, a little half and half (or milk), and about 1/4 cup of finely chopped juicy strawberries. Once the doughnuts were baked, I let them cool for about 15 minutes before dunking them in the glaze.
I glazed these twice, with a little drying time in between. So pretty (even with the white “dots” of sugar!).

 This is my favorite donut pan!
Okay, I couldn’t wait any longer – I had to have a bite!
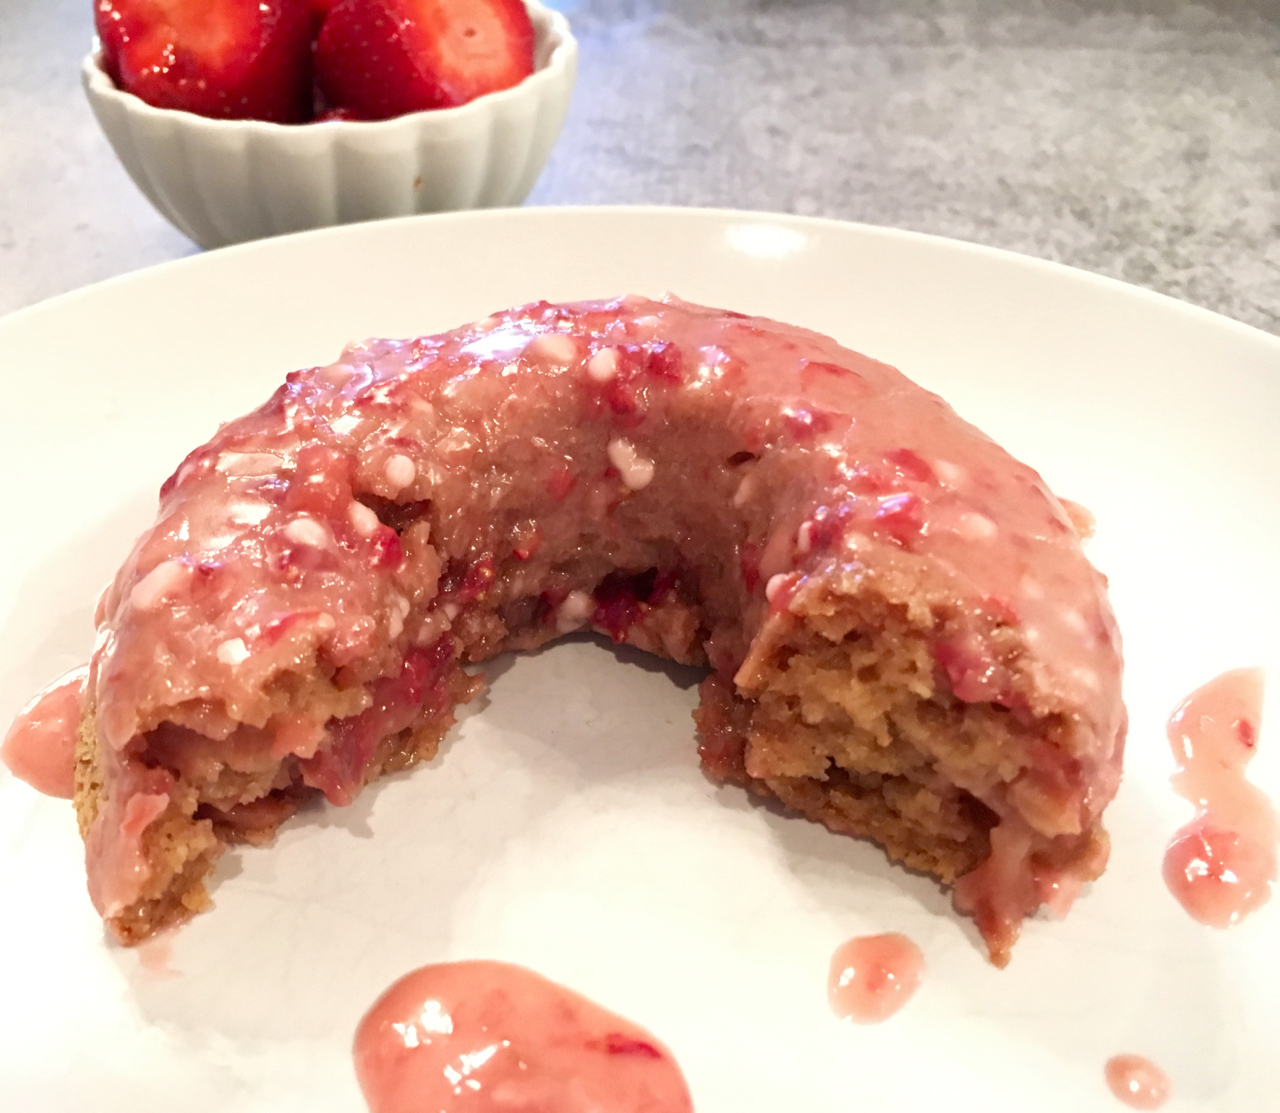
They were delicious! If you have leftovers(!?), refrigerate them.
**Pro doughnut-eater tip: They taste amazing the next day if you heat them for about 20 seconds or so in the microwave to warm them up a bit. Do not overheat! But do enjoy them warm.
YOU MAY ALSO LIKE:
Gluten-Free Almond Butter and Chocolate Chip Brownies
Flourless Chocolate Brownies
Cherry Chocolate Chip Blondie Bars (Gluten-Free)
Gluten-Free Baked Strawberry Doughnuts With Strawberry Glaze
- DOUGHNUTS
- 1 cup Bob's Red Mill Gluten Free 1-to-1 Baking Flour
- ½ cup organic coconut sugar
- 1 teaspoon baking powder
- ¼ teaspoon salt
- 1 egg
- ½ cup buttermilk
- (to make your own buttermilk, combine ½ cup half and half (or milk) and ½ teaspoon white or apple cider vinegar. Let it sit for about 10 minutes to form buttermilk.)
- 2 teaspoons vanilla extract
- 3 Tablespoons coconut oil, melted and cooled
- ¾ cup fresh strawberries, diced and sitting in their own juices
- GLAZE:
- ¼ cup fresh strawberries, diced and sitting in their own juices
- 1½ cups confectioners sugar
- 1 teaspoon vanilla extract
- ¼ cup half and half
- TO MAKE THE DOUGHNUT BATTER:
- Preheat oven to 375°F and oil the doughnut pan with coconut oil. Set aside.
- Melt the coconut oil and set aside to cool.
- In a medium mixing bowl, add flour, coconut sugar, baking powder, and salt. Stir to combine.
- In a separate mixing bowl, whisk together buttermilk, egg and vanilla extract. Pour in the cooled coconut oil and whisk to combine.
- Pour the wet ingredients into the dry ingredients and mix well.
- Add in the diced strawberries and stir to combine.
- Spoon the batter into the doughnut pan. Do not overfill. You should be able to get 6 to 8 doughnuts out of this batter if you fill each doughnut circle only ½ way.
- Bake at 375°F for 8-10 minutes or until golden brown. Inserted knife (or toothpick) and if clean when removed, the doughnuts are cooked through.
- Remove from the oven and allow to cool for a few minutes before removing from pan.
- Cool on wire rack for at least 15 minutes prior to handling and dipping in the glaze.
- TO MAKE THE GLAZE:
- Combine ¼ cup diced strawberries with 1 tablespoon sugar. Stir and mash with a fork, letting it sit at room temperature until strawberry juice is produced.
- Add this mixture to the confectioners sugar and mix well. Add in half and half and mix. If glaze seems too thick or too thin, add more half and half or confectioners sugar.
- Before glazing doughnuts, make sure to have wax or parchment paper under wire rack to catch any glaze drippings.
- To glaze doughnuts, dip each doughnut into the glaze and quickly remove, allowing to dry on wire rack.
- You may want to re-glaze each doughnut for a thicker coating. If so, just repeat dipping and drying.
3.5.3208
DON’T FORGET TO PIN AND SHARE!