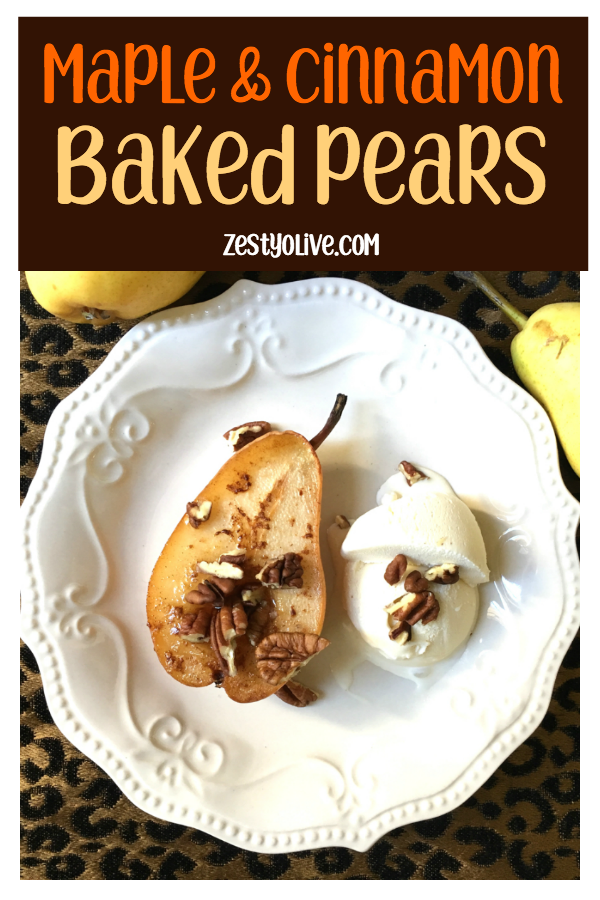
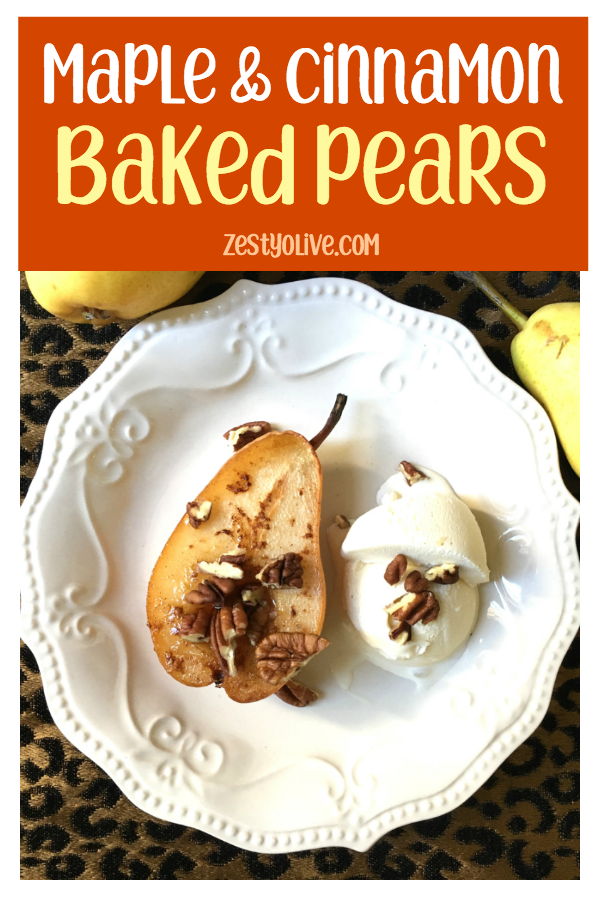
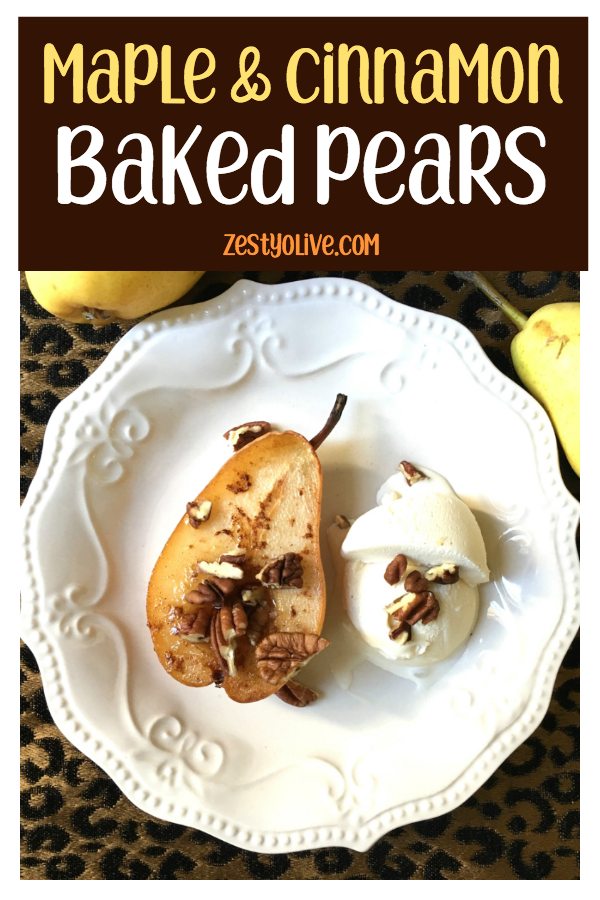
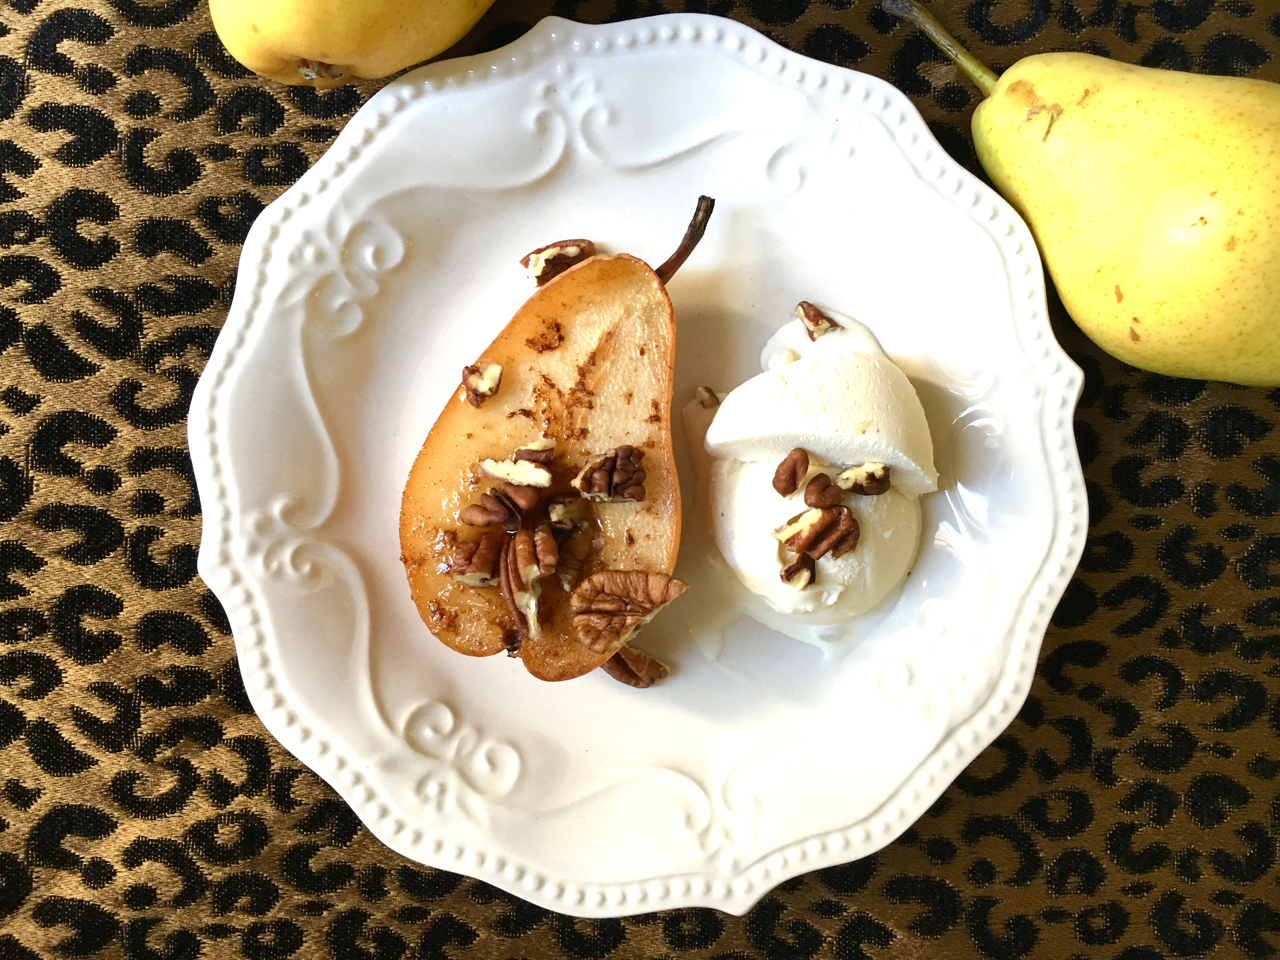
Maple Cinnamon Baked Pears are an easy and elegant dessert for fall and beyond.
Note: This post contains Amazon affiliate links.
It’s pear season and it’s the perfect time to infuse these delicate-flavored fruits with warm spices. Baking the pears allows the pears to soften and absorb the flavors of the maple, cinnamon and ginger.
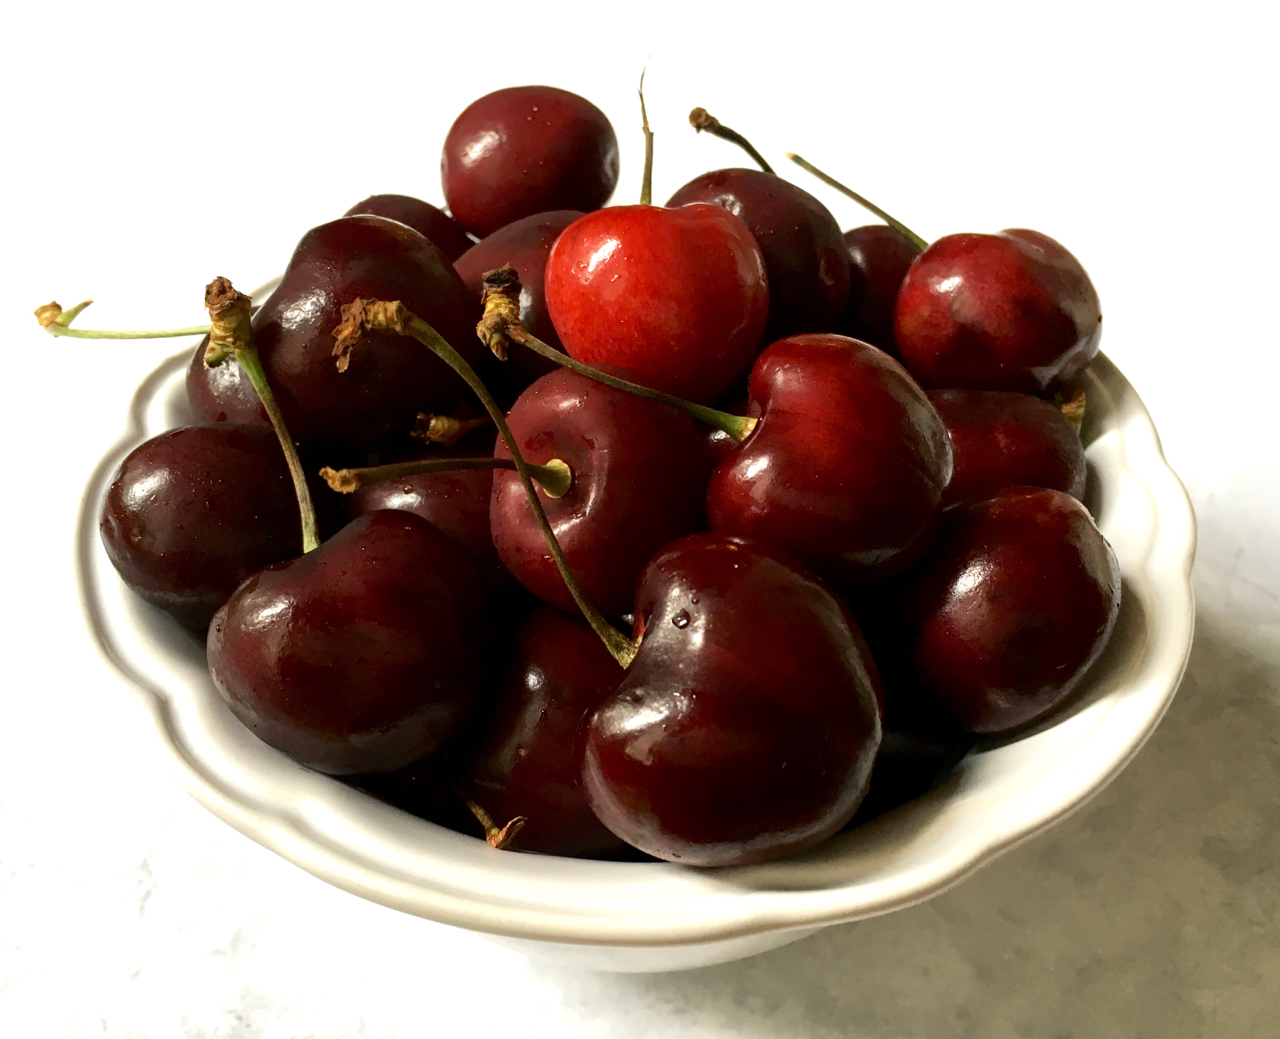
There are so many pear varieties from which to choose, so take your pick. Here, I used organic Bartlett pears.
Wash and dry your pears. Leave the skins on. Cut the pears lengthwise down the middle and using a melon baller or a small teaspoon, remove the core and seeds. Arrange pears, cut-side up, in a casserole dish or sheet pan. Optional: I like to line my casserole dish with parchment paper for easier cleanup.
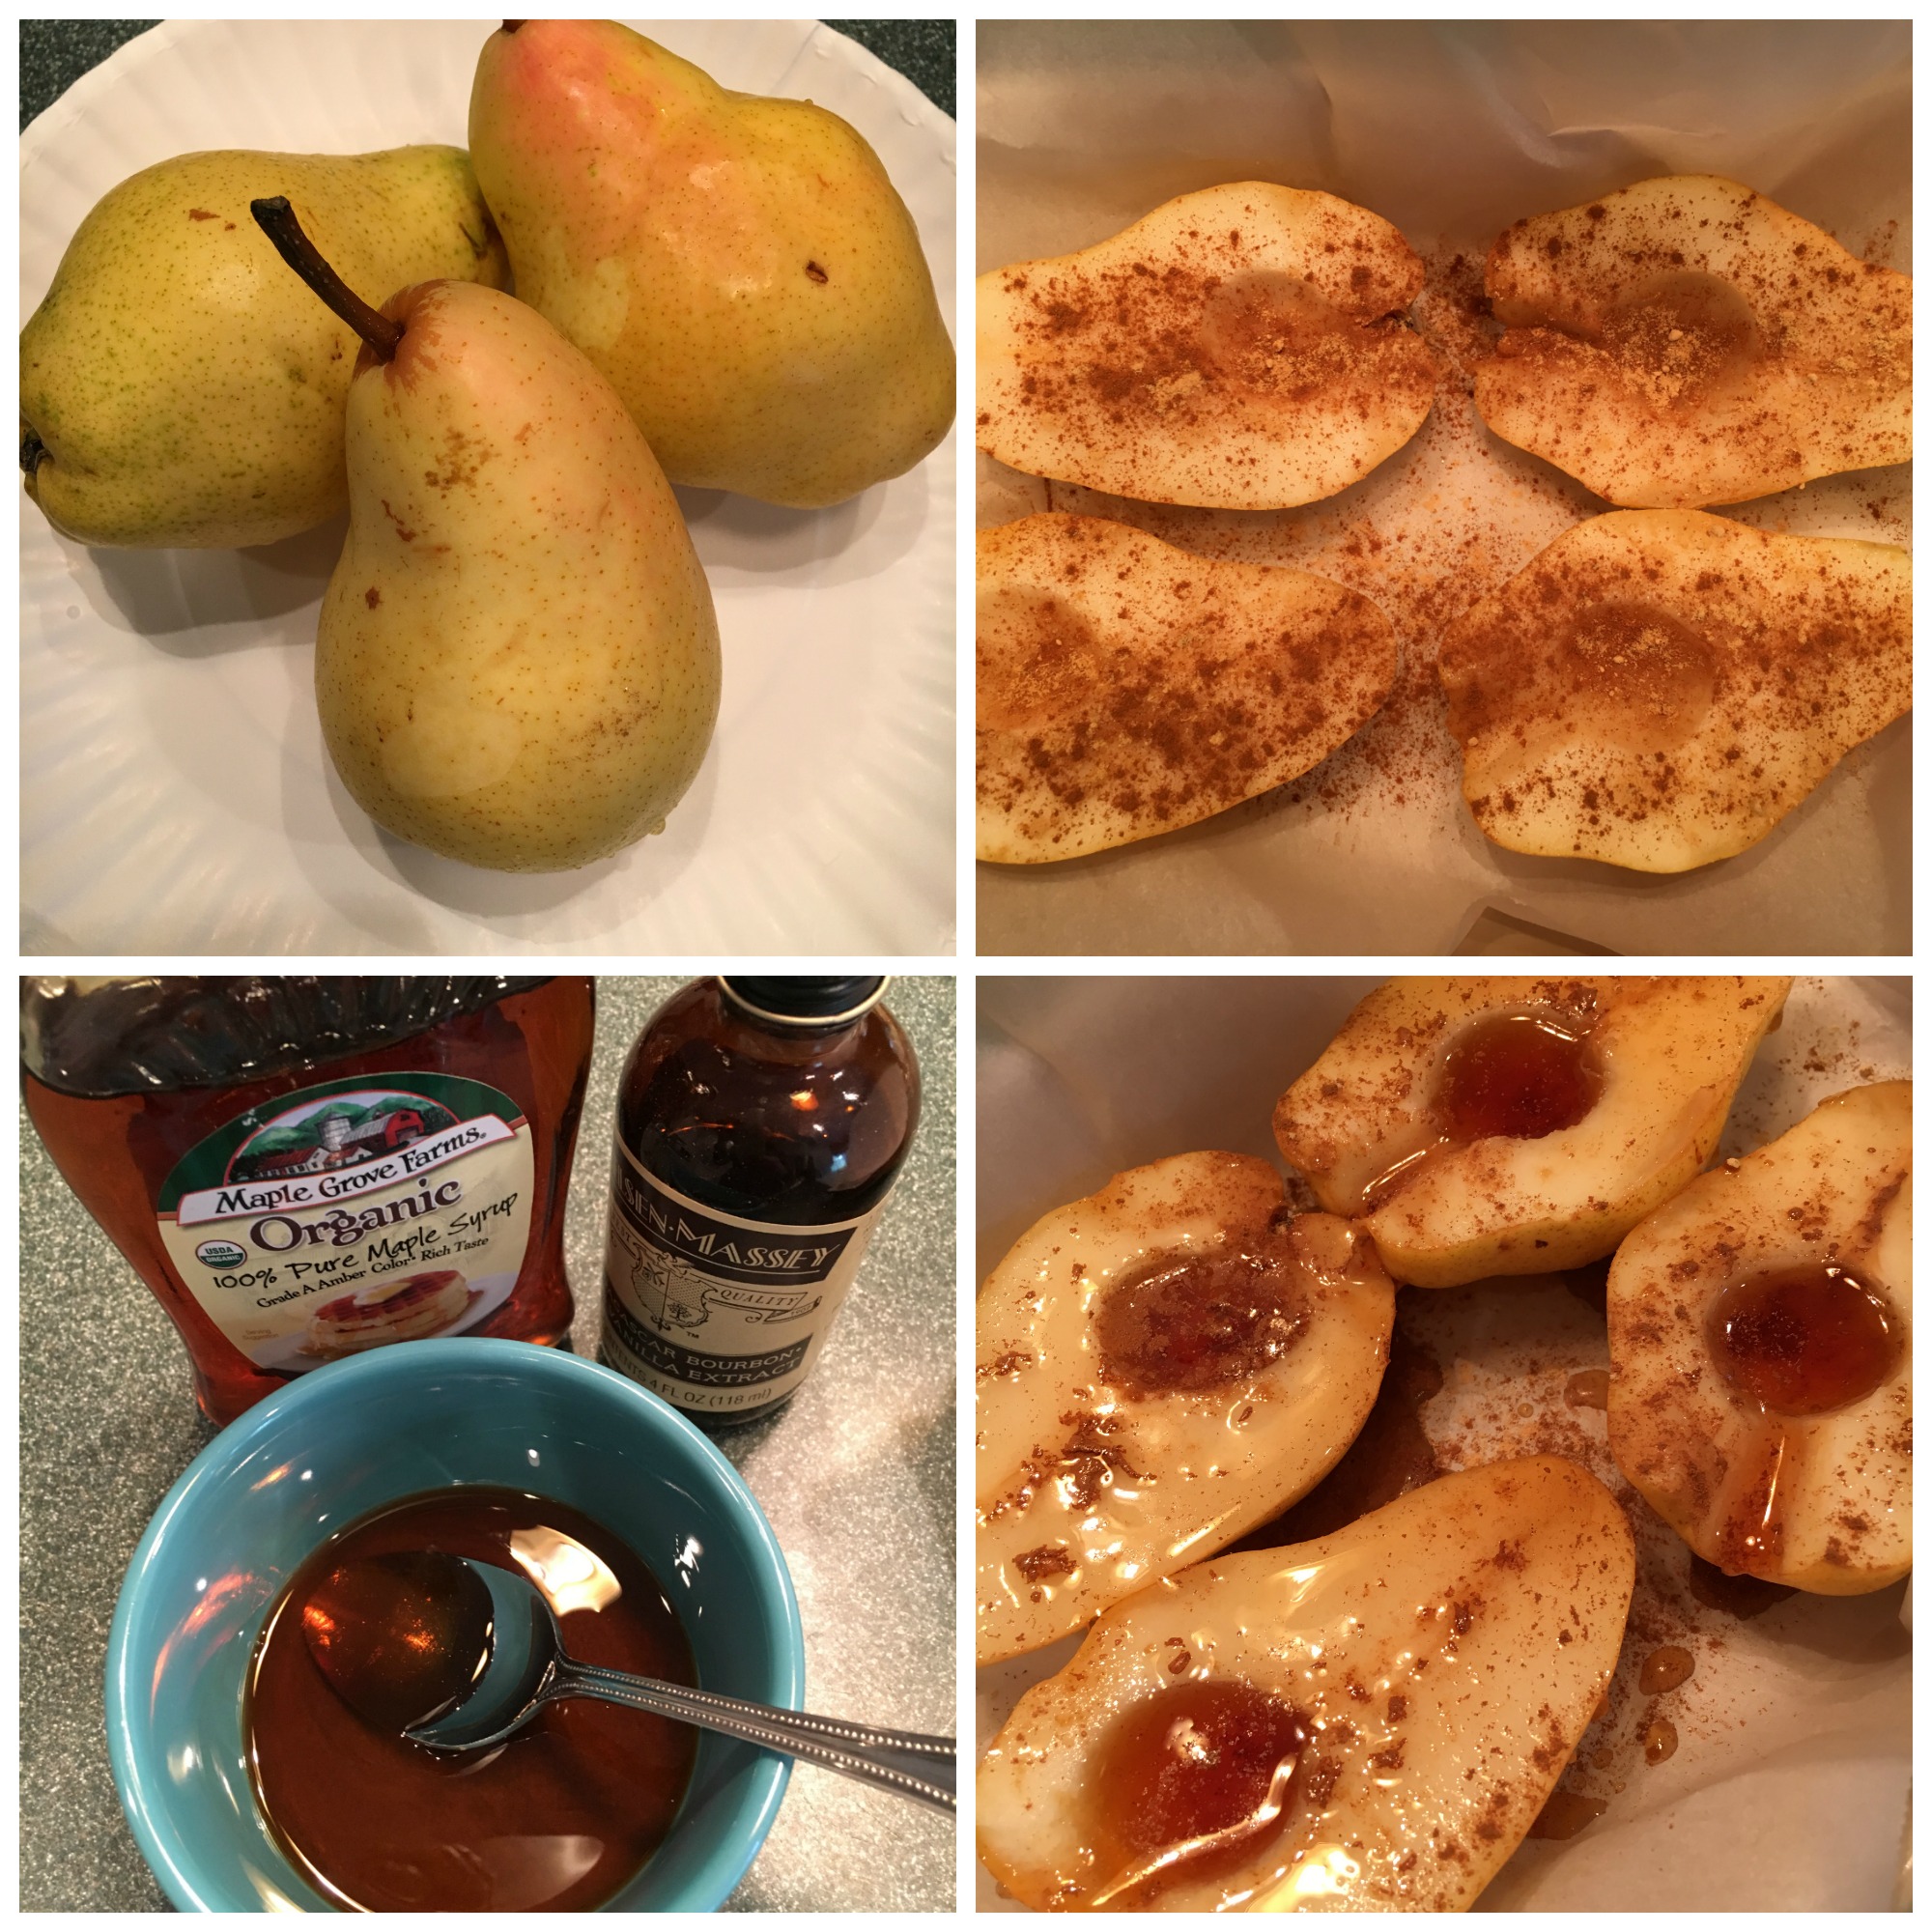
Sprinkle the pears with ground cinnamon and ground ginger. If you like lots of spice, add more. I’m fairly liberal with my use of the spices! Add vanilla extract to maple syrup and stir to combine. Carefully spoon or pour the mixture over the pears, making sure to cover all the flesh. You’ll probably have a small pool of syrup in the bottom of the dish. That’s fine; I like to spoon a bit of the warm syrup over the finished product right before serving. If you serve the pears with a scoop of ice cream, drizzle a bit of the syrup over the ice cream, too!
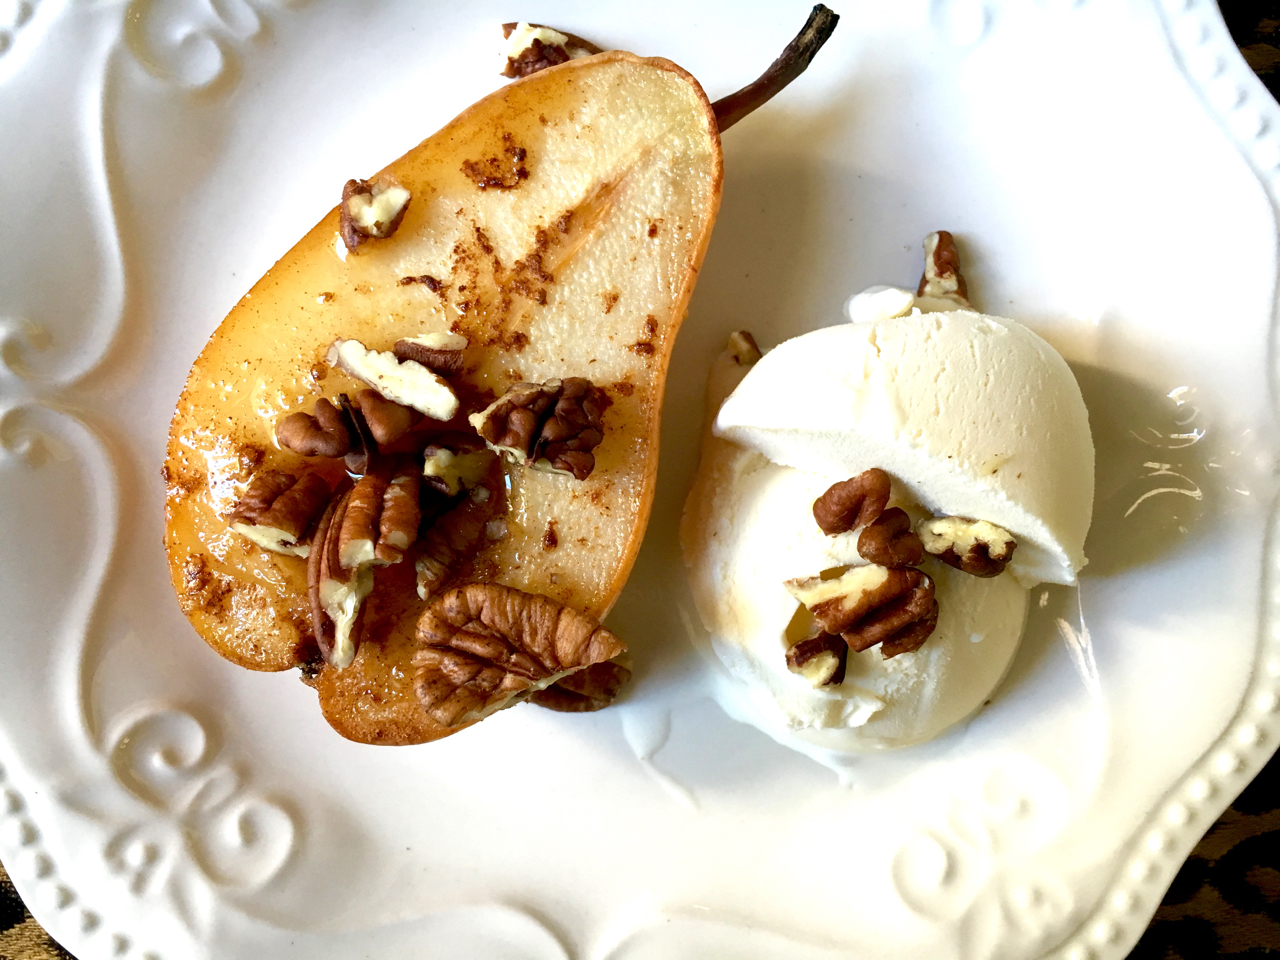
Optional garnish: I like to add a chopped nuts to the pears before serving. Here, I used chopped pecans, but walnuts would be yummy, too.
If you like these recipes, consider joining the Zesty Recipes Facebook Group. We’d love to have you!

You may also like:
Italian Almond Pear Cake
Spiced Pear Custard Pie
Apple Cinnamon Protein Smoothie
- 4 Bartlett pears
- ½ cup maple syrup
- 1 teaspoon vanilla extract
- ¼ teaspoon ground cinnamon
- ¼ teaspoon ginger
- Optional toppings: chopped pecans or walnuts, a scoop of vanilla ice cream
- Preheat oven to 375° F.
- Optional: Line baking dish or baking sheet with parchment paper for easier cleanup.
- Wash and dry your pears. Leave the skins on. Cut the pears lengthwise down the middle and using a melon baller or a small teaspoon, remove the core and seeds. Arrange pears, cut-side up, in a casserole dish or sheet pan.
- Sprinkle the pears with ground cinnamon and ground ginger.
- Add vanilla extract to maple syrup and stir to combine. Carefully spoon or pour the mixture over the pears, making sure to cover all the flesh.
- Bake pears, uncovered for 25-30 minutes until tender and lightly browned around the edges.
- Serve immediately, garnished with nuts and a side of vanilla ice cream.
- Optional garnish: Chopped nuts; pecans or walnuts. Drizzle with any remaining syrup mixture from baking dish.
- Note: Leftover pears will keep in the refrigerator, tightly sealed, for 2-3 days.
DON’T FORGET TO PIN AND SHARE!