Recipes

Roasted Cauliflower Soup

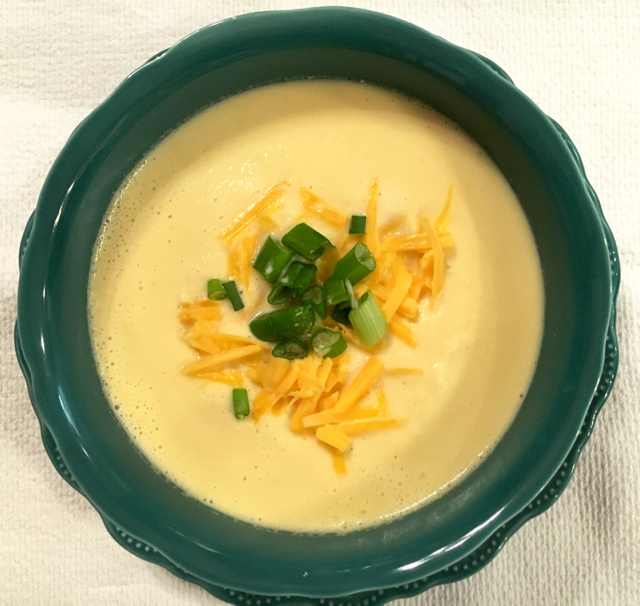
Here’s a creamy and elegant roasted cauliflower soup recipe that works well paired with a sandwich or a salad.

Roasted Cauliflower Soup

Roasting the cauliflower adds another dimension to the flavor of the soup. Here’s how I make it:

Roast a head of cauliflower in the oven by cutting the cauliflower into large chunks, drizzling with olive oil and seasoning with salt and pepper. While the cauliflower is in the oven, chop and saute some onion and garlic. This is optional; you can also use onion powder and garlic powder if you prefer. Here, I used green onion and saved a little for garnish on the soup when ready to serve.

Since I puree the soup in a blender (I use my trusty Vitamix), go ahead and pour 1 cup of vegetable broth, the onion, garlic and 1/2 cup of half and half in the blender.

Roasted Cauliflower Soup Collage 1

Here’s another option: add some cheddar cheese to your soup, either as a garnish or melt it into the soup, as I’ve done here. Again, this is optional depending if you like your soup cheesy. Sometimes I add it, other times I prefer to have more cauliflower flavor come through.

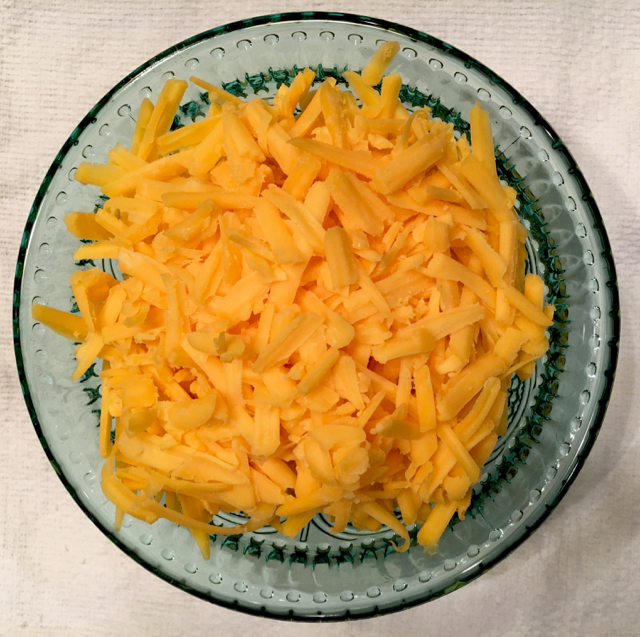
If you opt for it, grate about 1 cup of cheddar cheese and set aside.

Grated cheddar cheese

Once the cauliflower is roasted, add about half the chunks into the blender and lightly puree. Taste it and decide you need to add more seasoning. Instead of more salt and pepper, sometimes I like to use a blend called Herbamare. Season if needed, and add in the remainder of the cauliflower; puree again. If needed, add a splash more of half and half, or water, if the soup needs to be thinned out.

Roasted Cauliflower Soup Collage 2

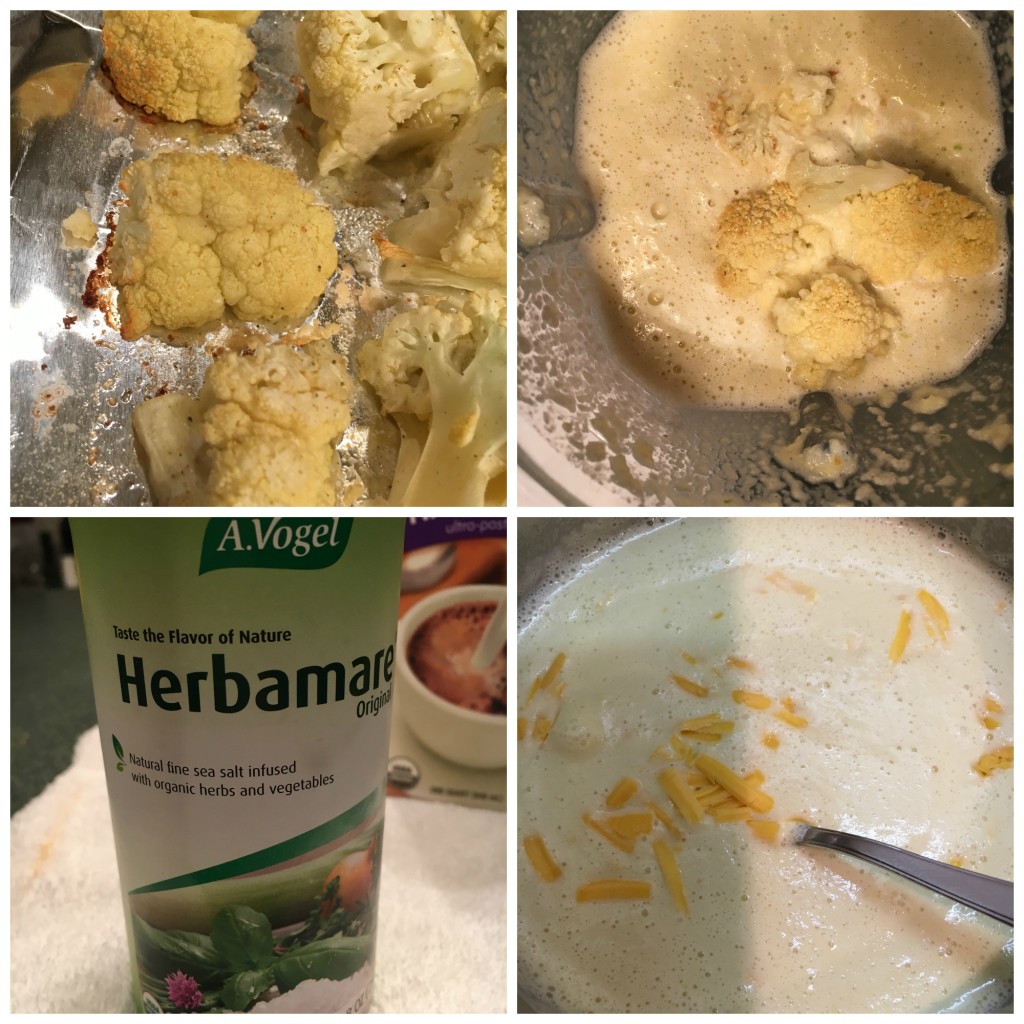
Pour the soup into a large saucepan on the stove and heat over medium heat. Add about half the grated cheese to the soup and stir until melted. Continue to taste the soup and season as needed. Once the soup is warm enough and the cheese is melted, serve it with a garnish of cheese and green onion.

Roasted Cauliflower Soup

Roasted Cauliflower Soup
 
Prep time
Cook time
Total time
 
Roasted Cauliflower Soup
Author:
Serves: 2 servings
Ingredients
  • 1 head cauliflower
  • 1 small onion (sweet, white, yellow or green) OR onion powder
  • 1-2 cloves garlic OR garlic powder
  • 1 cup vegetable broth
  • ½ cup half and half
  • 1 cup grated cheddar cheese
  • Salt and pepper, to taste
  • Olive oil
  • Optional garnish: grated cheddar cheese and chopped green onions
Instructions
  1. Remove stem and leaves from cauliflower head. Wash cauliflower, chop into large chunks and spread on baking sheet. Drizzle with olive oil and season with salt and pepper. Roast in a 350 oven for 25 minutes.

  2. While roasting cauliflower, chop onion and garlic and lightly saute. (Omit this step if using onion and garlic powder.)

  3. Grate cheese and set aside.

  4. Add the vegetable broth, half and half, onion and garlic to blender. Carefully add half of the roasted cauliflower to the blender and lightly puree.

  5. Taste; add more seasoning and half and half or water if needed. Add remaining cauliflower chunks and blend again.

  6. Pour soup into saucepan and simmer on stove.

  7. Add in cheddar cheese, stirring to melt. Reserve a small amount of cheddar cheese for garnish, if desired.

  8. When cheese has melted, pour into bowls, garnish with cheese and/or green onions and serve.


1 Comment

Pour Over Coffee Maker

Are you a coffee lover? If so, you should try the pour over coffee method. Pour over coffee gives you great control over the strength and amount of coffee that you make. Here’s how I make it:

Chemex Pour Over Coffee Maker Carafe

Note: This post contains Amazon affiliate links.

I use the Chemex glasshandle pour over coffee maker and I love it.  Most people are familiar with the iconic wood collar Chemex pour over glass coffee carafe, which is equally lovely. If you love coffee and are particular about the bean, grind, flavor, and strength of your coffee, consider giving pour over coffee a try.

Tip: Using a gooseneck kettle like this one makes the whole pour over method a breeze and it’s much safer than trying to pour from a wide spout tea kettle or even a small pan.  I eventually invested in one once I became serious about pour over coffee.

(You may also like: Coffee Lovers Gift Guide)

Chemex Pour Over Coffee Maker

Yes, it takes just a little longer than a drip coffee maker or a single serve machine, but the end results are totally worth it for superior coffee made just the way you like it. It really has become a morning ritual for me.

How To Make Pour Over Coffee

It’s really easy:

  1. Boil your water. I use a gooseneck kettle like this one for easy pouring; it’s the best for pour over coffee.
  2. While your water is coming to a boil, grind your beans, unless you’re using pre-ground. The suggested ratio is 3 Tablespoons of coffee for every 1 cup of water. However, you know what you like, so play around with this ratio until you get it just right for you!
  3. Take your water off the boil and let sit for 30-45 seconds.
  4. Add the filter to the Chemex carafe. Do not add the coffee grounds yet. I use the Chemex pre-folded filters which just tuck right down in the top of the carafe. I’ve tried other brands and types of filters, but the Chemex filters are a special weight of paper that seems to filter with a precision that produces the best taste, in my opinion.
  5. Very slowly pour just a little water in and around the filter to wet it. That helps the filter stay put and adhere to the top section of the carafe. Trust me, you want to do this. A dry filter will tend to move around with the grounds in it and any splash of boiling water jumping the filter is not a good thing. So wet the filter just a bit.
  6. You can discard the water in the bottom of the carafe.
  7. Now add the ground coffee to the filter.
  8. Very slowly pour the water over the grounds as it drips through the carafe. Avoid pouring too much water too quickly. If you do, just take a spoon and stir the grounds a little to make sure they’re not clumping. Continue pouring slowly until desired strength and amount of coffee is reached. (You will want to play around with the coffee to water ratio until you get it just right for you.)
  9. After coffee has fully dripped, carefully remove the filter and grounds and discard.
  10. Pour your coffee into your cup and enjoy!

So if you have some extra time in the morning or even on the weekends, give the pour over method a try. You may never go back!

Be sure and check out my Coffee Lovers Gift Guide!

Chemex Pour Over Coffee Carafe And Filters

Save


YOU MAY ALSO LIKE:
Coffee Lovers Gift Guide
Gift Guide For The Wellness And Yoga Lover

Gift Guide For The Smoothie Lover
15 Thoughtful Gift Ideas For Wine Lovers

If you like these recipes, consider joining the Zesty Recipes Facebook Group. We’d love to have you!

Facebook Group Zesty Recipes

DON’T FORGET TO PIN AND SHARE!

How To Make Pour Over Coffee

How To Make Pour Over Coffee Step By Step Guide

Pour Over Coffee DIY Step By Step Guide

Pour Over Coffee DIY Step By Step Guide

0 comments

Egg Salad With Olives And Celery

Here’s a quick and tasty egg salad recipe that’s sure to please the olive lover in you. I love how the crunch of the celery gives you a light, bright flavor while the green olives lend a bit of tartness to an overall egg-based dish. This egg salad with olives and celery recipe is simple to whip up!

Egg Salad With Olives and Celery

Note: This post contains affiliate links to Amazon products.

Start by hard boiling your eggs. I used three medium-sized eggs for this recipe, which was enough for two small sandwiches, or in this case, to use as an open-faced dip. I boiled for approximately 8 minutes on medium heat after the water came to a boil. Remove from heat, rinse with cool water, and as soon as the eggs are cool enough to handle, peel them.

Egg Salad With Olives and Celery

Dice your celery and green olives. This is about 3 stalks of celery and about 12 olives. Set aside until needed.


Egg Salad With Olives and Celery

Slice your eggs and then dump them into a mixing bowl. You do have an egg slicer, don’t you? Mine is as old as the hills, but it gets the job done. Here’s a no-frills egg slicer that’s a bit more modern.


Egg Salad With Olives and Celery

Add the mayonnaise and salt and pepper; mix lightly with fork. Add in the celery and olives and mix lightly. Taste and add more seasoning if needed.

Egg Salad With Olives and Celery

Serve it immediately and enjoy.

Egg Salad With Olives and Celery

Here, I served it with some crusty rolls for easy open-faced sandwiches. If making ahead, store in refrigerator until ready to serve.

Egg Salad With Olives and Celery

Note: This post contains affiliate links to Amazon products.


Egg Salad With Olives And Celery
 
Prep time
Cook time
Total time
 
Egg Salad With Olives and Celery
Author:
Serves: 2 servings
Ingredients
  • 3 hard boiled eggs, peeled and sliced
  • ¼ c. mayonnaise
  • 3 stalks celery; diced
  • 12 green olives, diced
  • salt and pepper, to taste
Instructions
  1. Hard boil eggs; cool and peel. Using an egg slicer, slice eggs and add to a medium-sized mixing bowl.

  2. Add mayonnaise and salt and pepper. Mix lightly with a fork.

  3. Add celery and olives. Mix lightly.

  4. Serve immediately or store in refrigerator up to 24 hours.

Here's a quick and tasty egg salad recipe that's sure to please the olive lover in you. I love how the crunch of the celery gives you a light, bright flavor while the green olives lend a bit of tartness to an overall egg-based dish. This egg salad with olives and celery recipe is simple to whip up!

Egg Salad with Olives and Celery


1 Comment