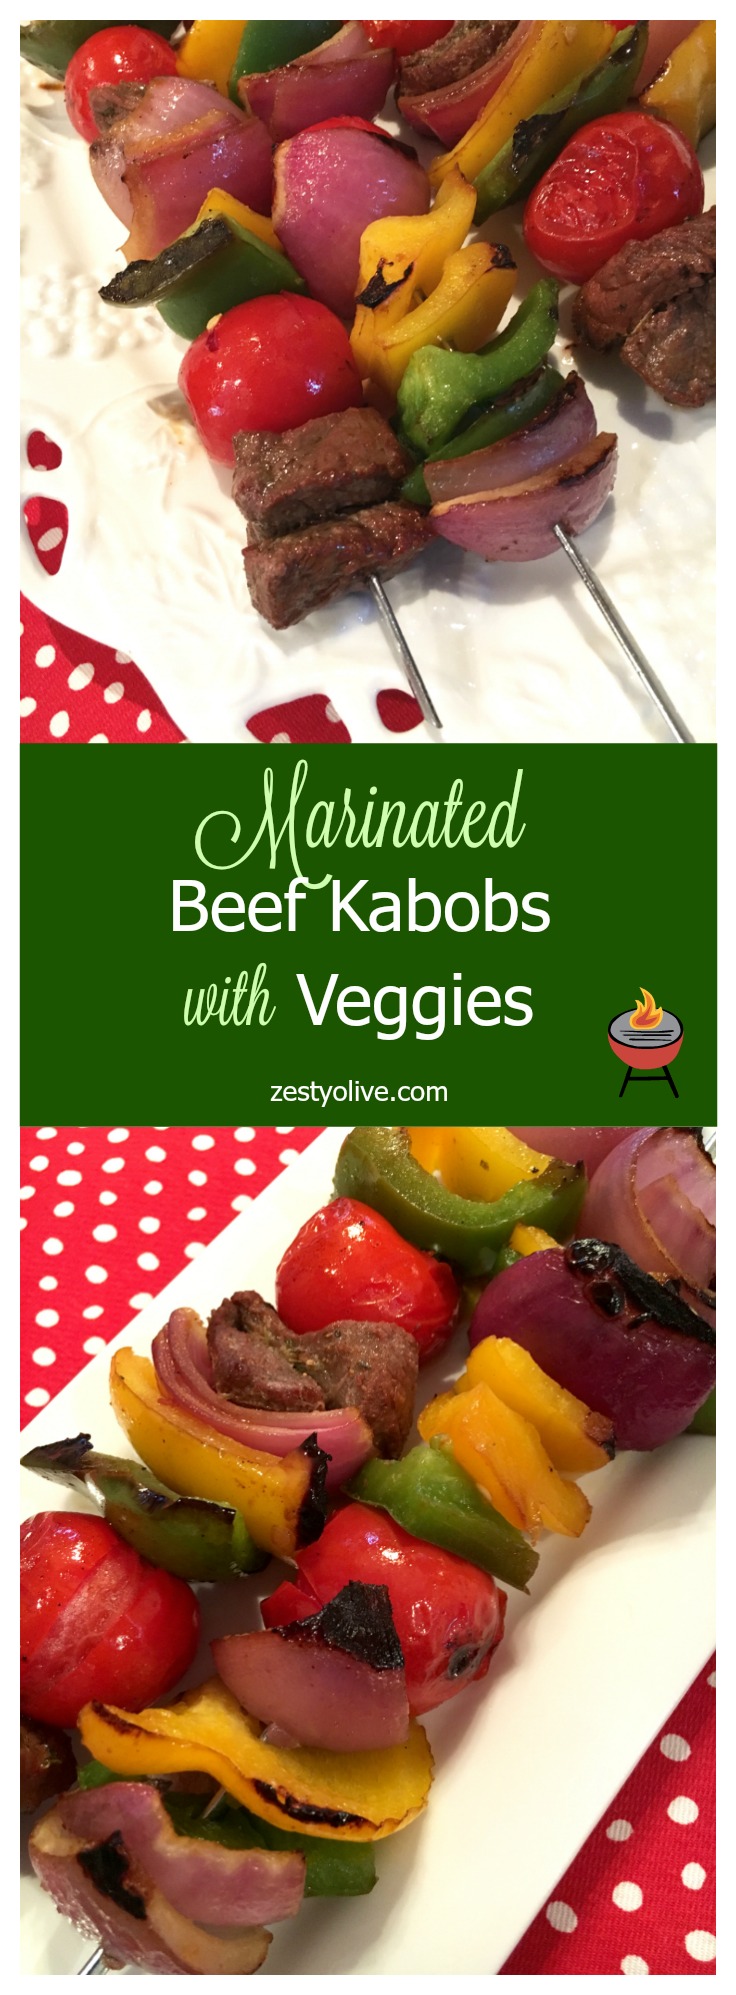
These colorful Marinated Beef Kabobs With Veggies are easy to assemble and even easier to grill.
Note: This post contains affiliate links for products on Amazon.
It’s that time of the year – time to fire up the grill. Well, anytime is the time to grill, but especially during the spring and summer months when burgers and kabobs are the name of the game. These colorful Marinated Beef Kabobs With Veggies are easy to assemble and even easier to grill.
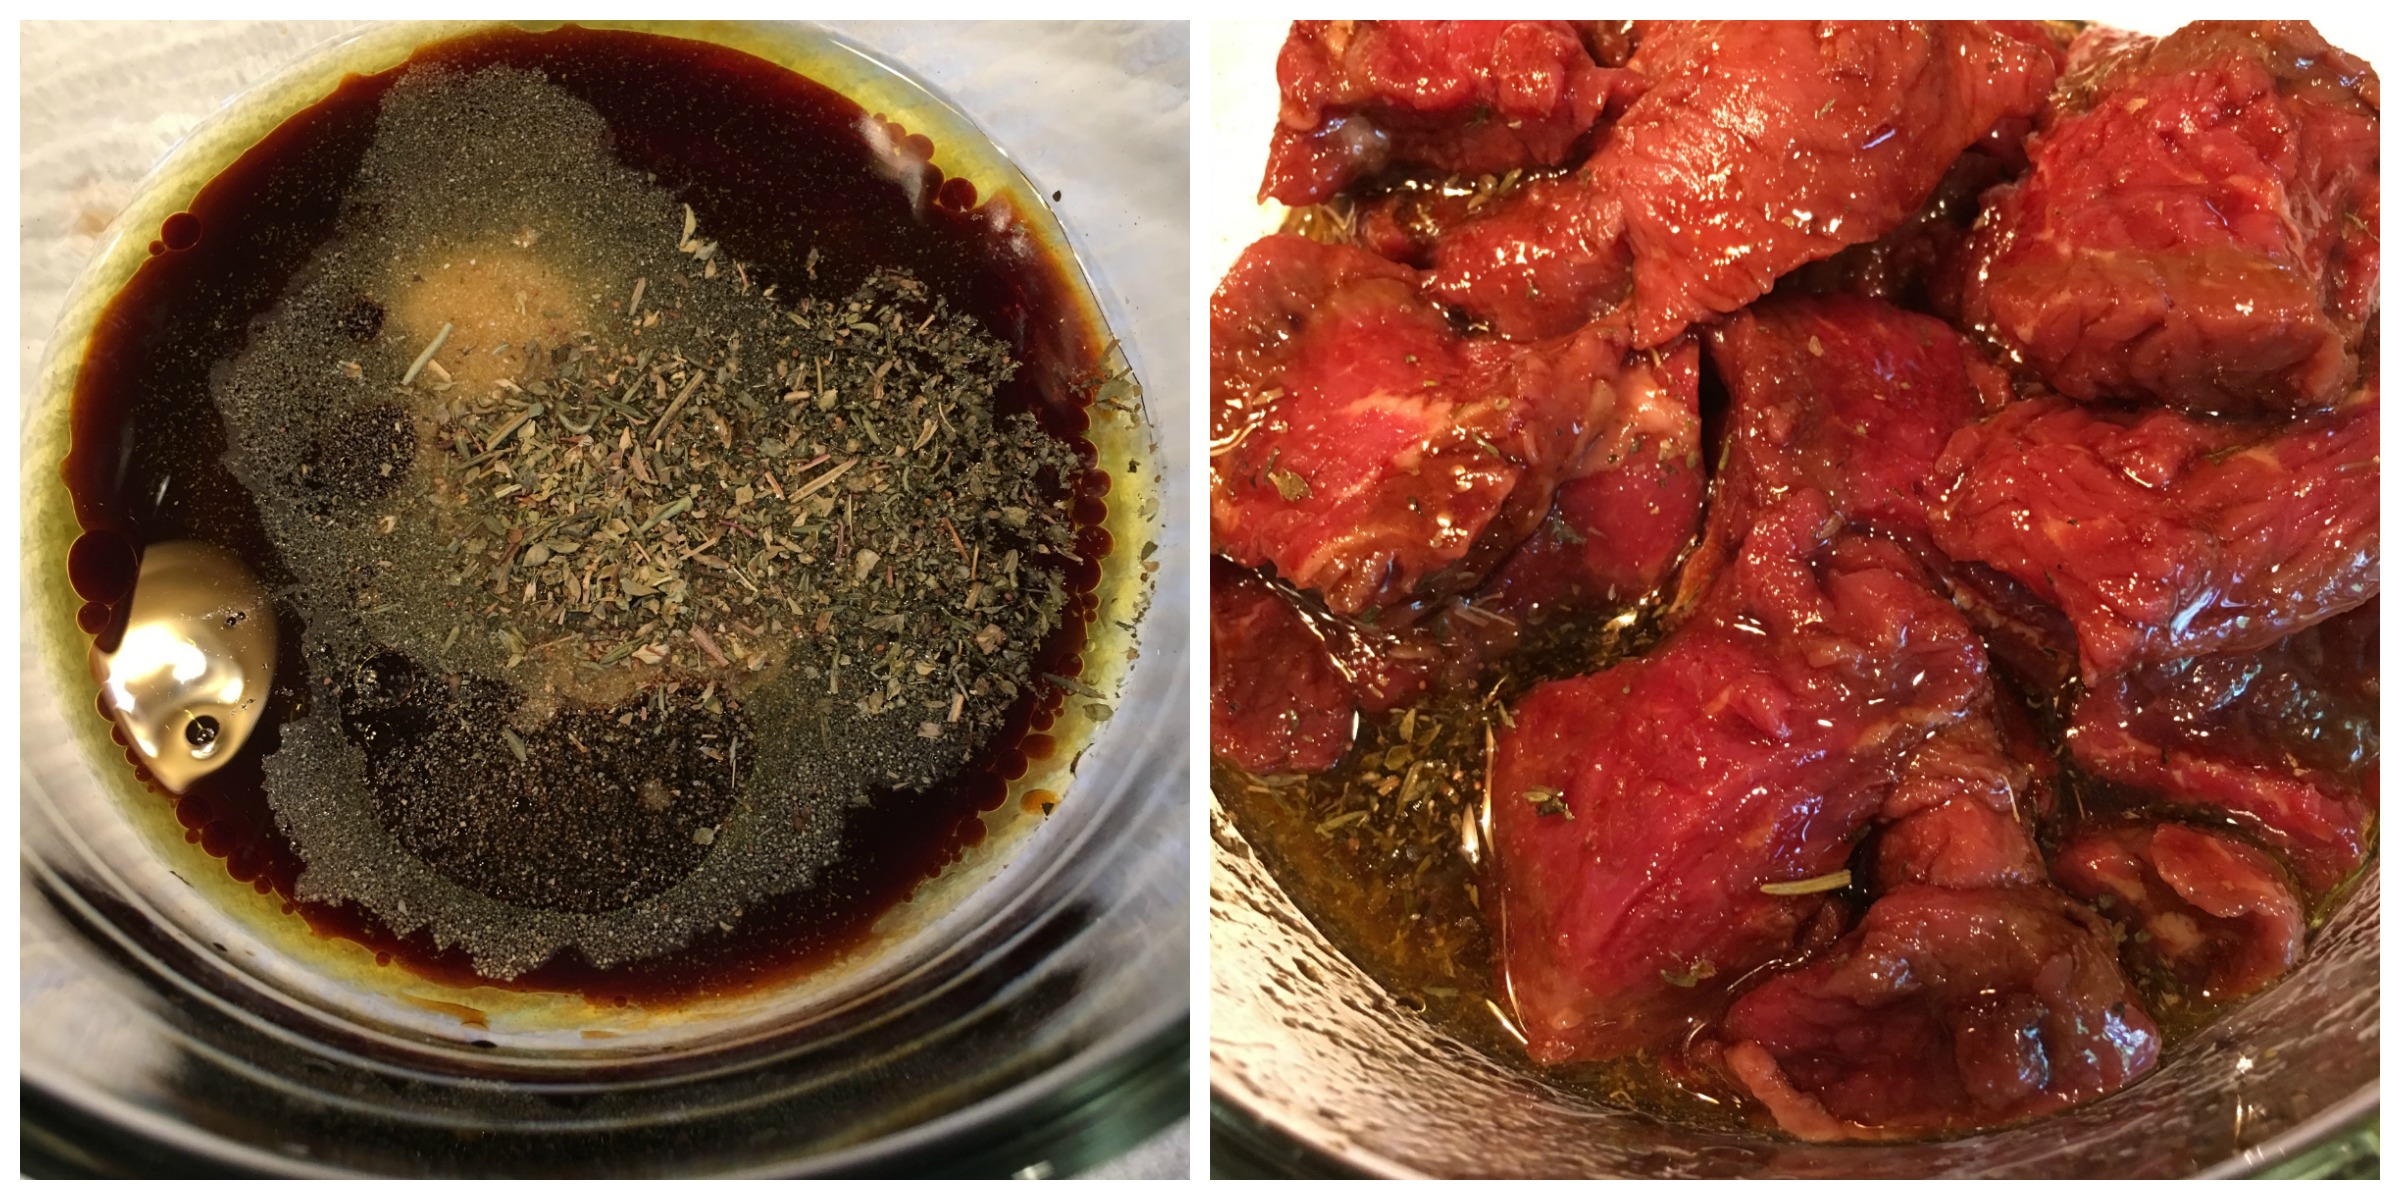
I like to make my own kabob marinade using gluten-free soy sauce, olive oil, garlic powder and Italian-blend herbs. I cut the steak into cube-sized chunks and throw them in the marinade and let them hang out in the fridge for a few hours. If you plan way ahead, you can let the beef marinate overnight.
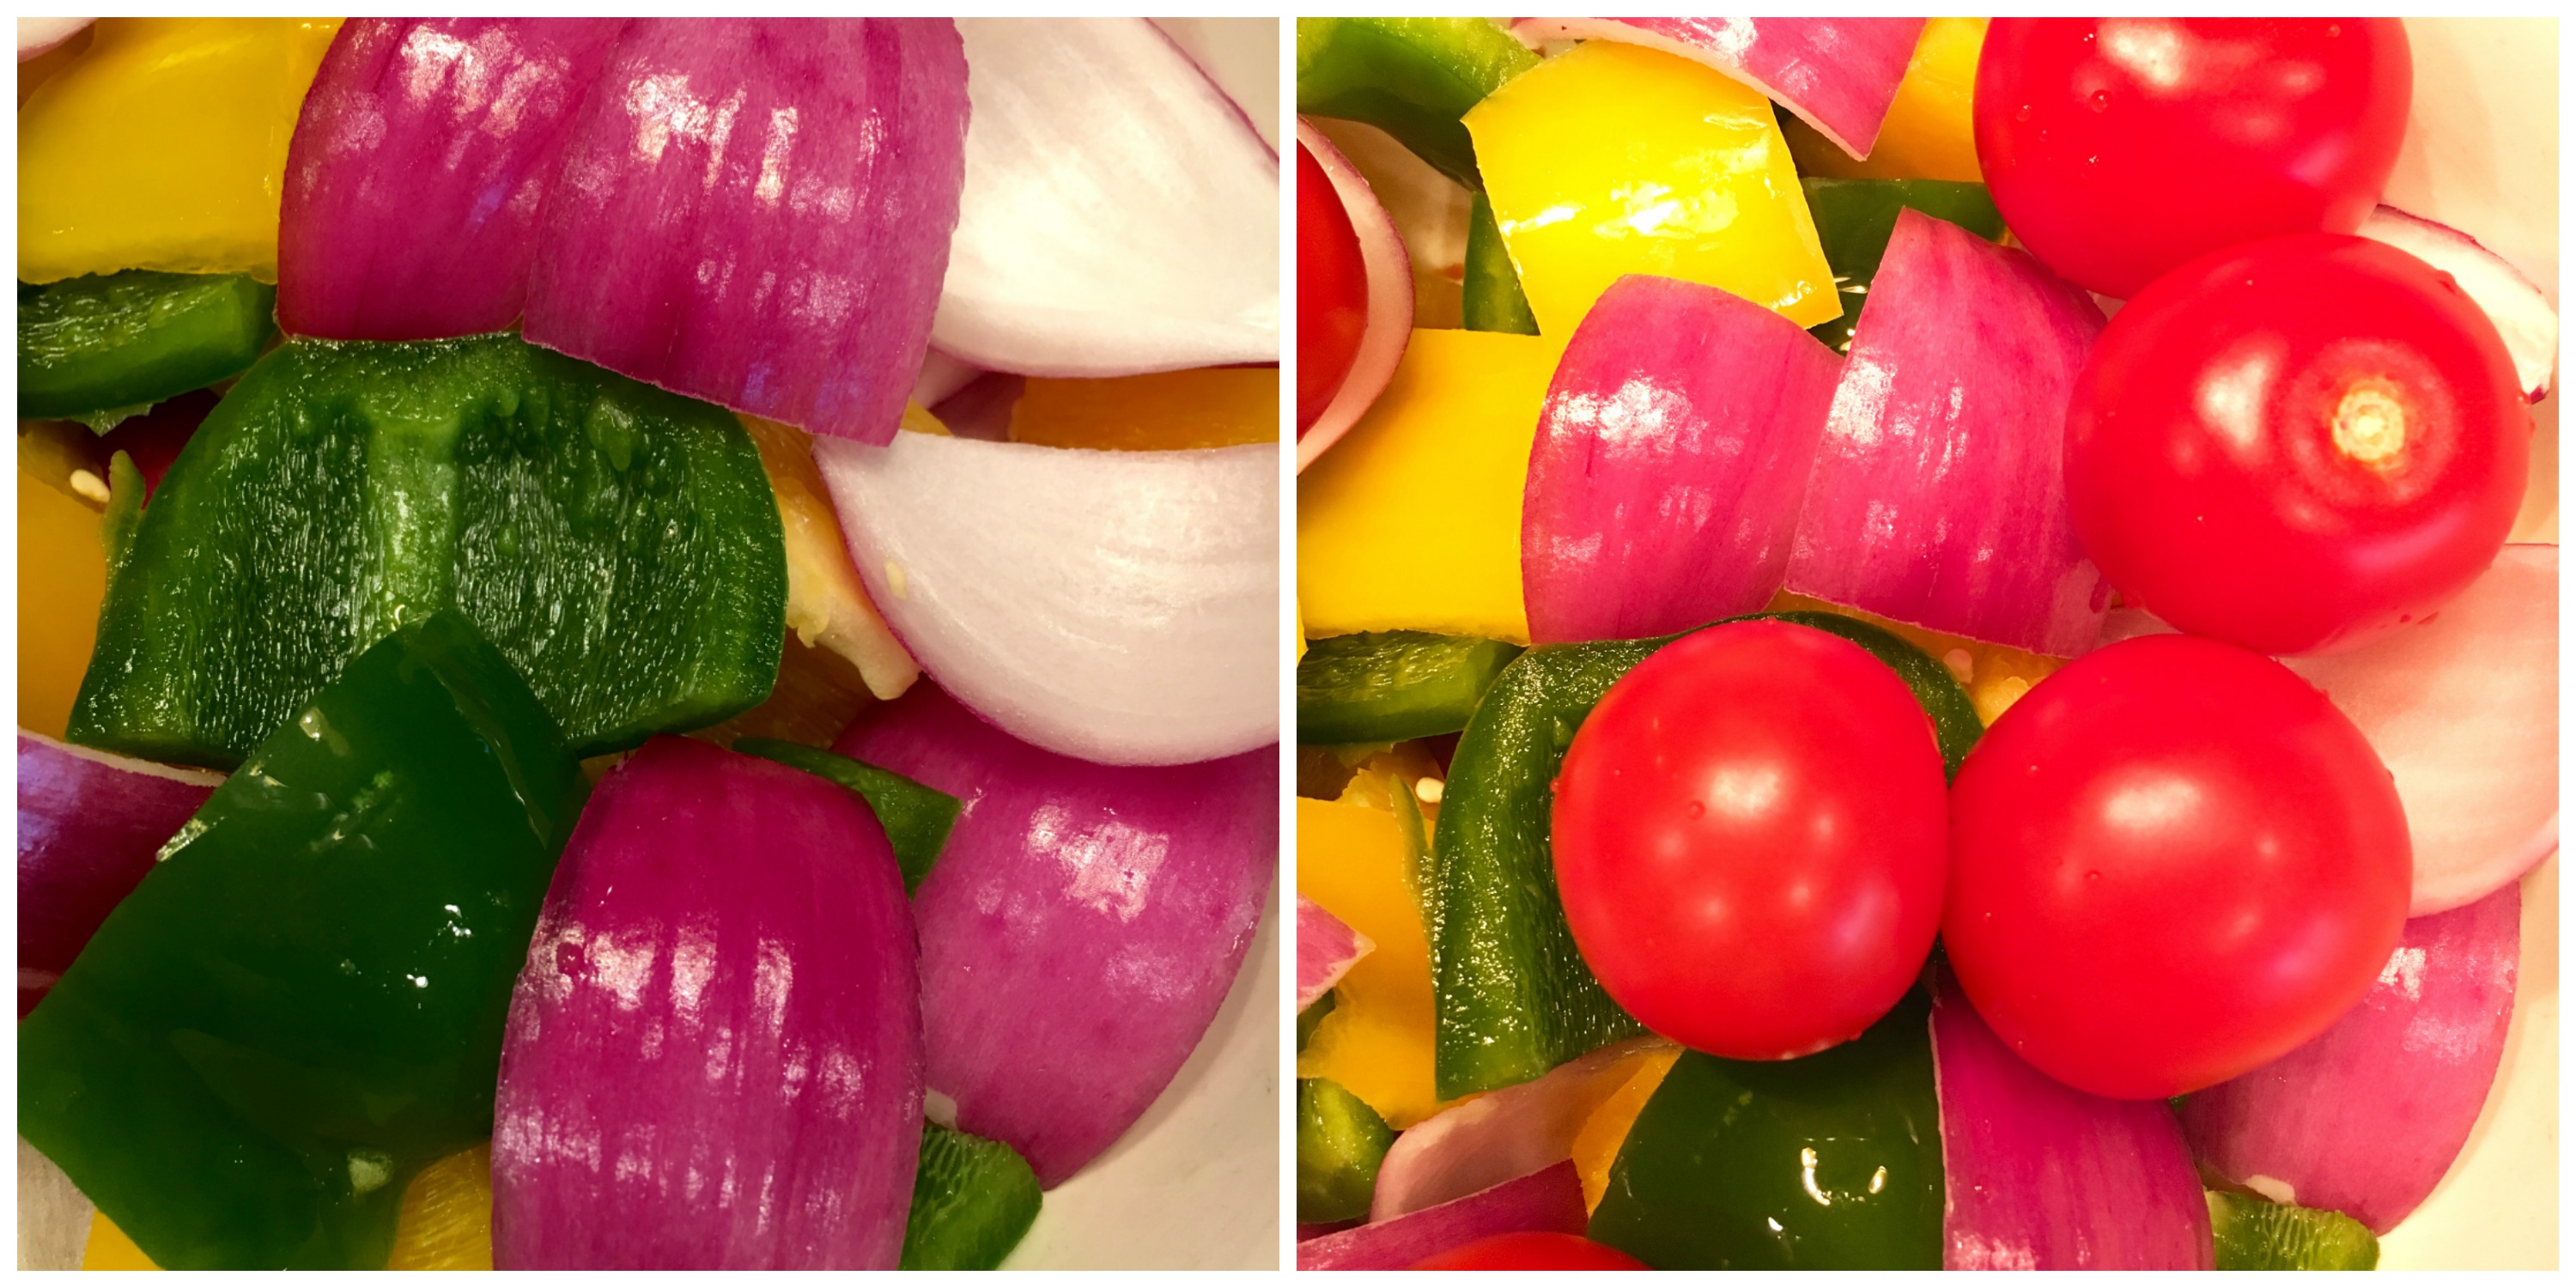
For the veggies, I like to use a colorful combo of peppers, onions and tomatoes. Just cut into large chunks that will easily fit onto a skewer. I make the same marinade again and toss the veggies in it before skewering.
Years ago someone gave us a set of stainless steel BBQ skewers, which may possibly be one of the best gifts ever, especially if you grill kabobs! If you want some easy to use, easy to clean, flameproof skewers, consider grabbing a set.

Once you have everything skewered, put the kabobs on the grill. I like to line a grill pan (or two) with foil and set the skewers on that before placing on the grill. I do this because the oil from the kabobs tends to flare up. Safety first!
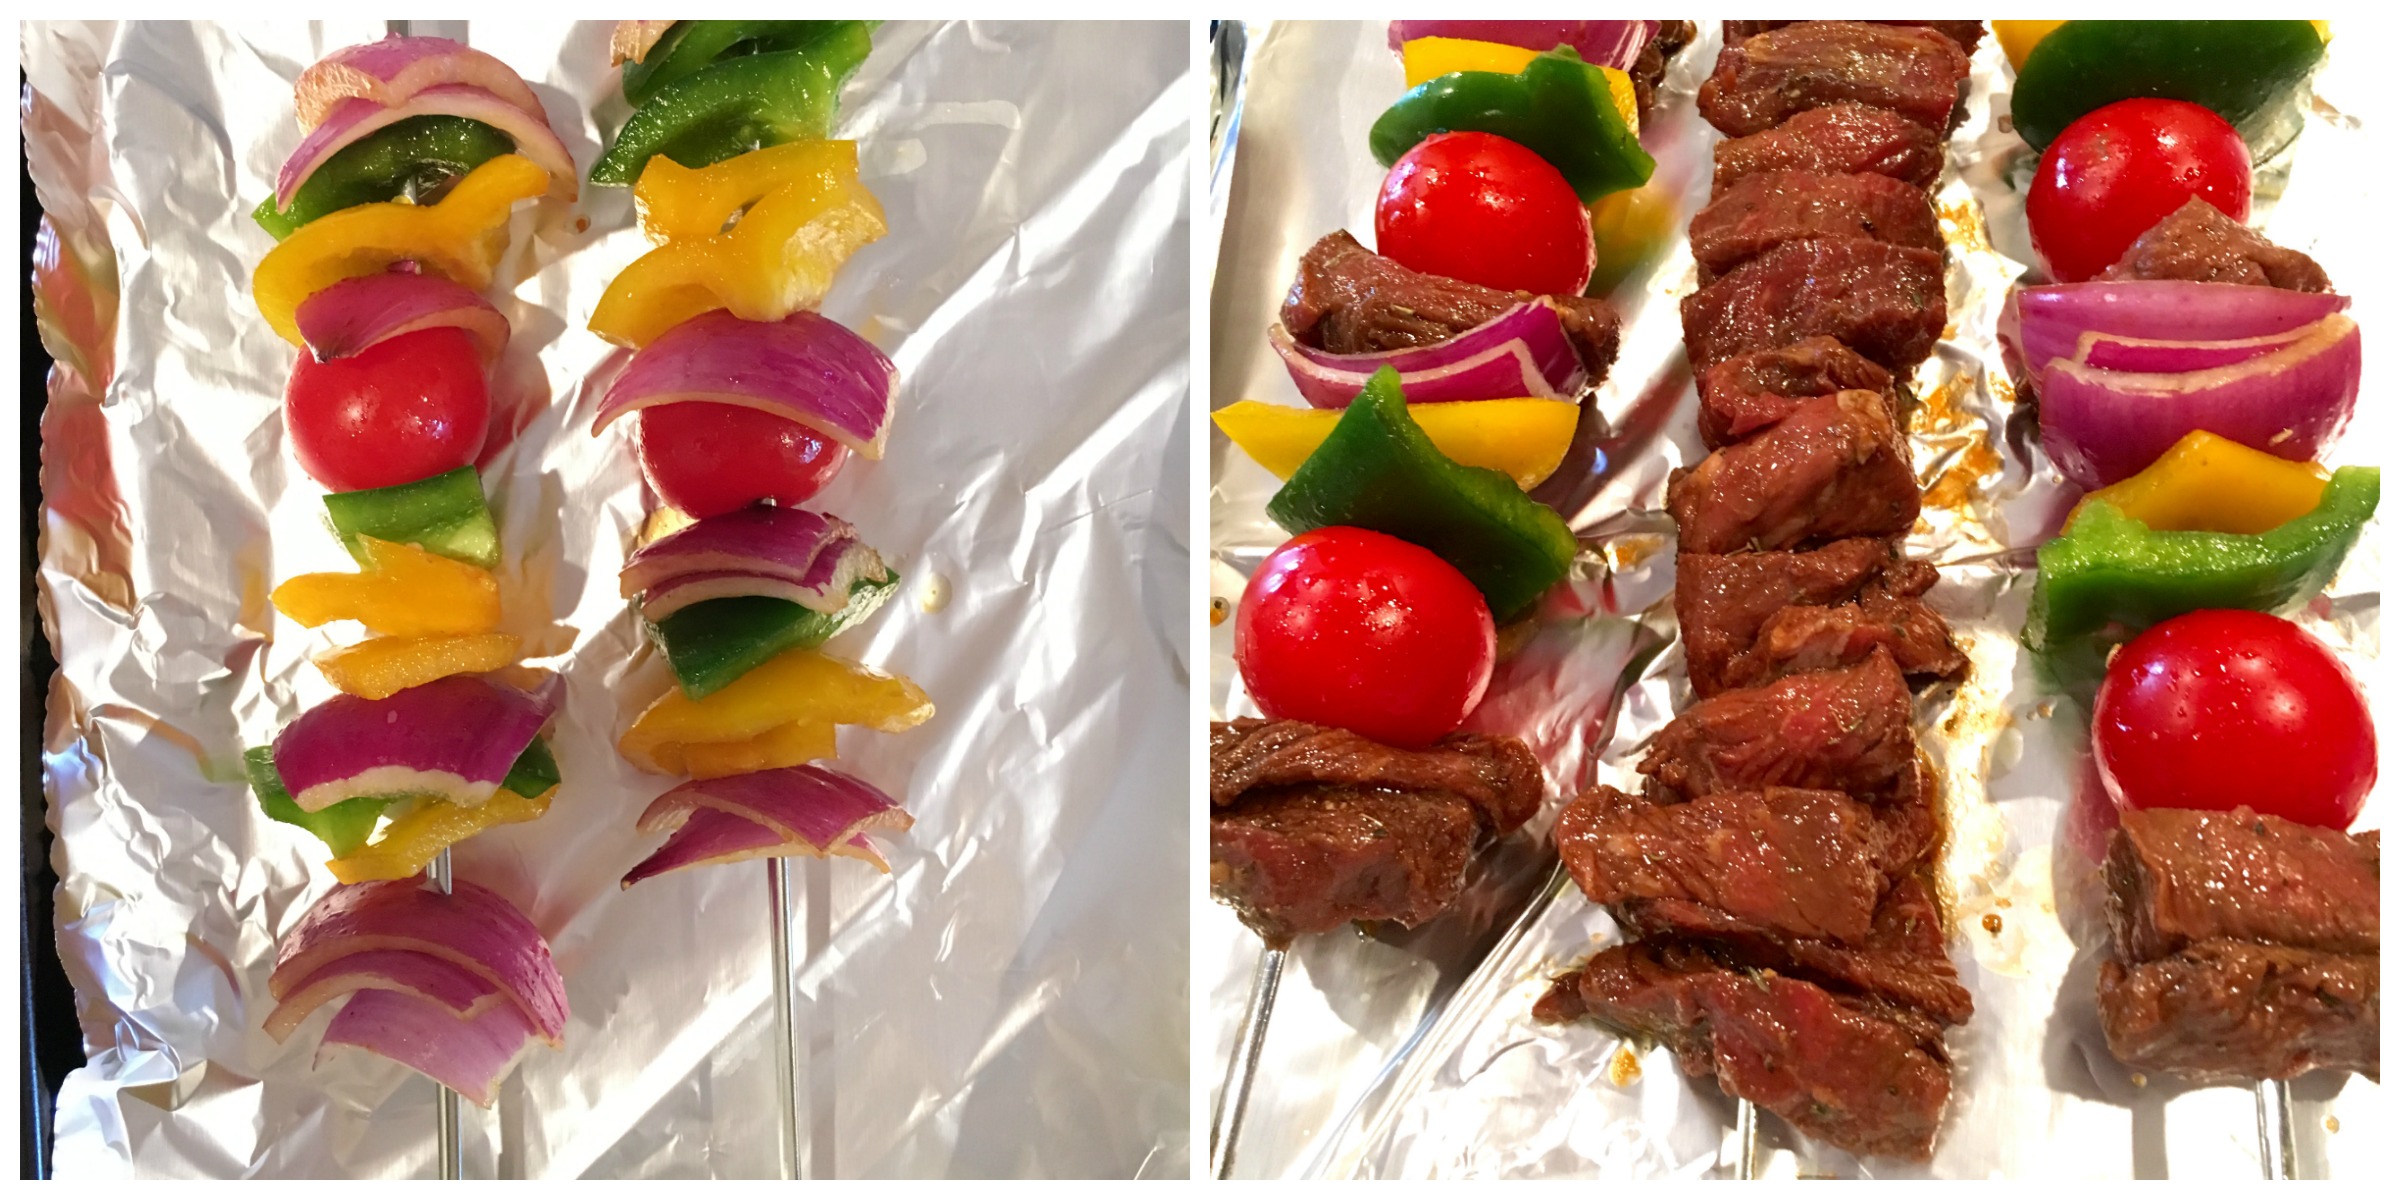
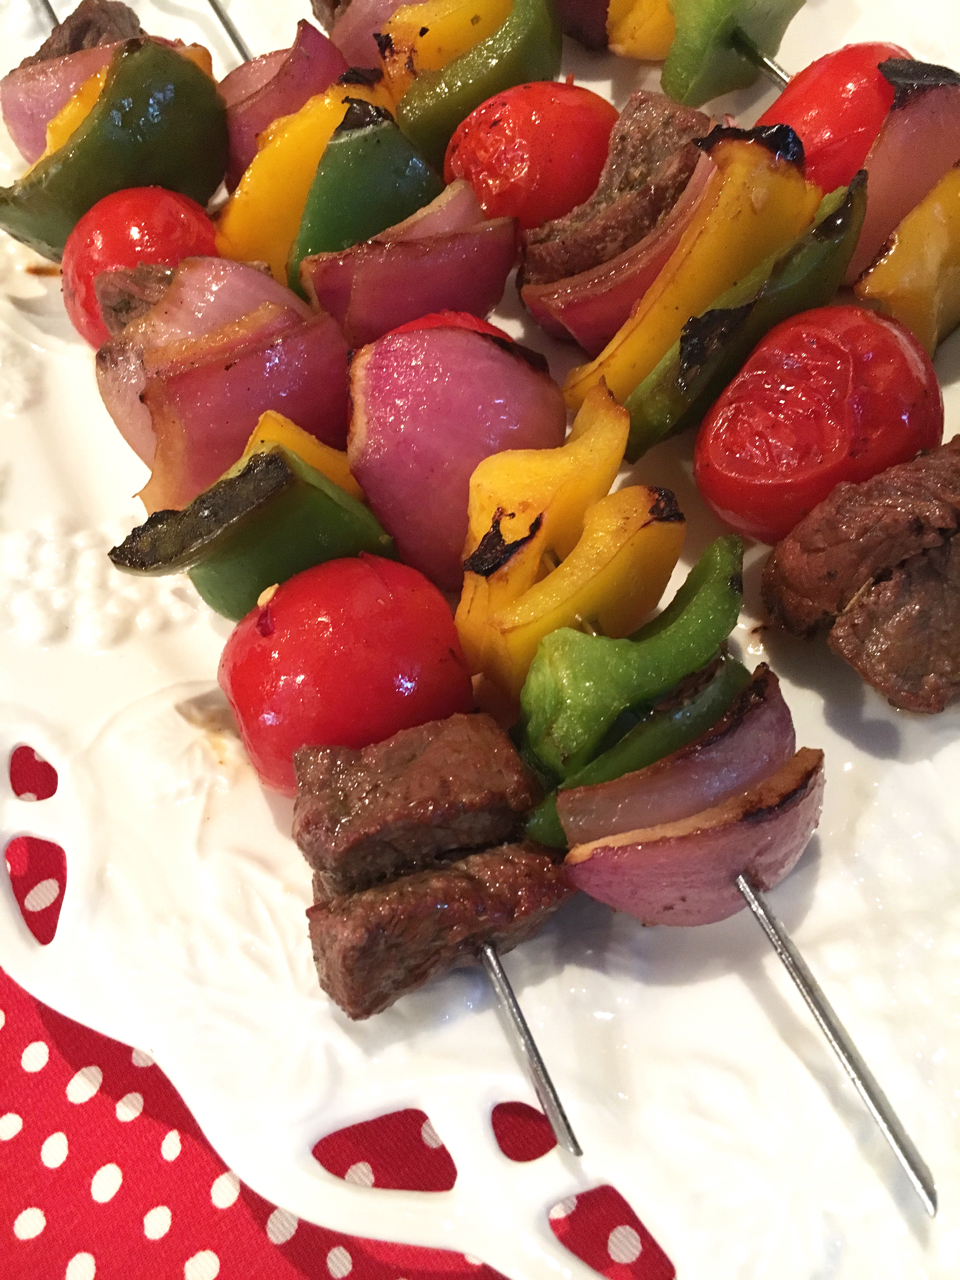
Your kabobs will still grill beautifully with the char marks. Use tongs to turn the skewers while on the grill so that all sides get evenly cooked. See:
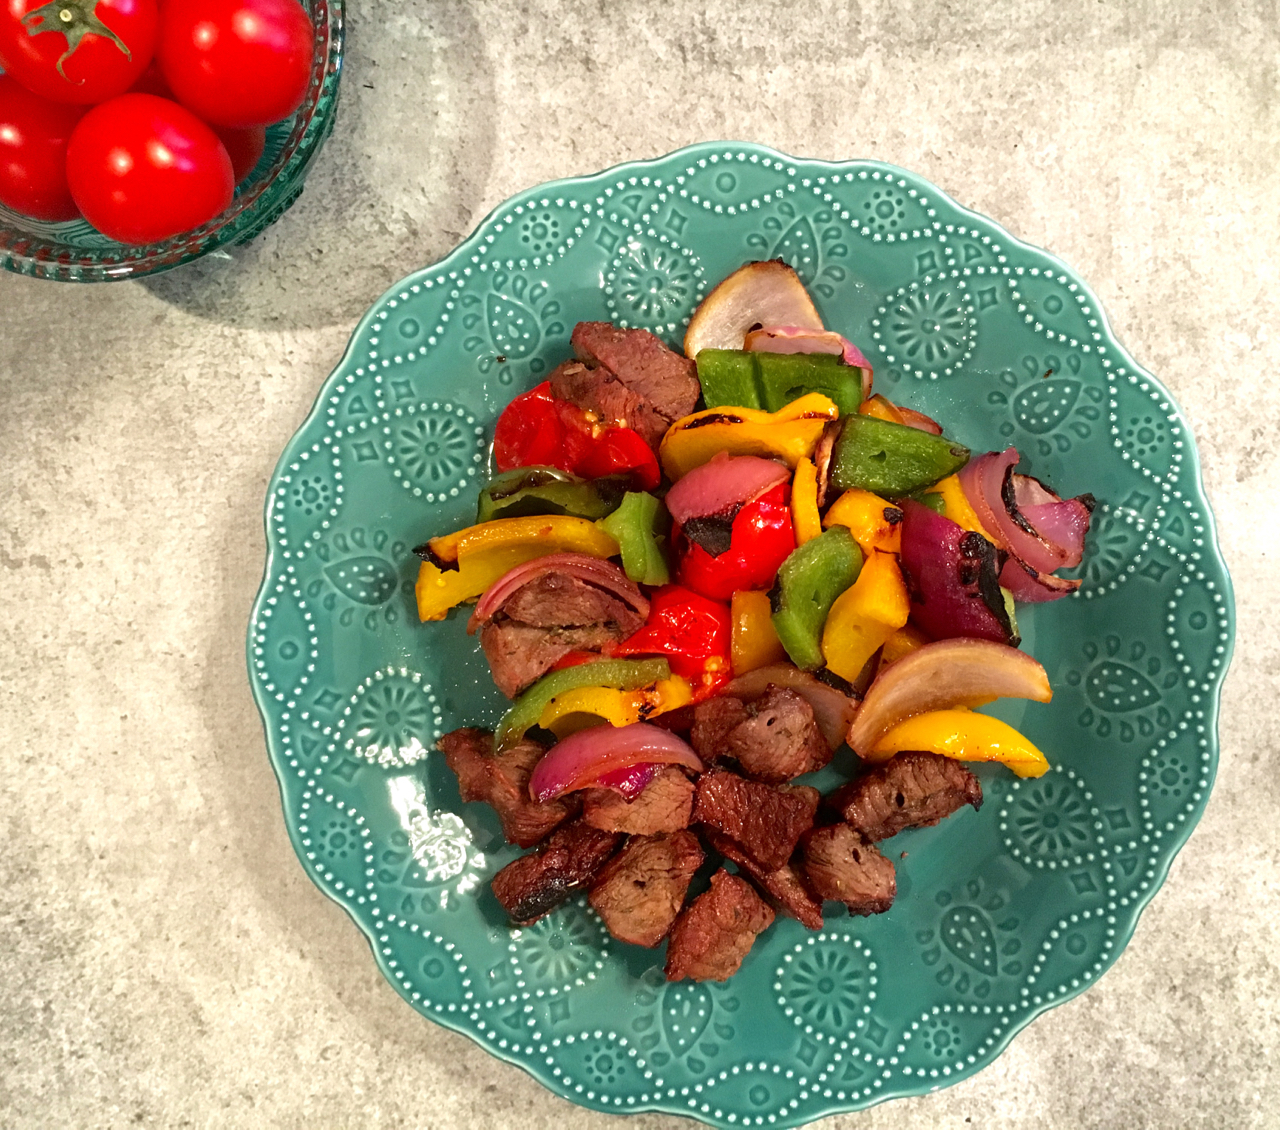
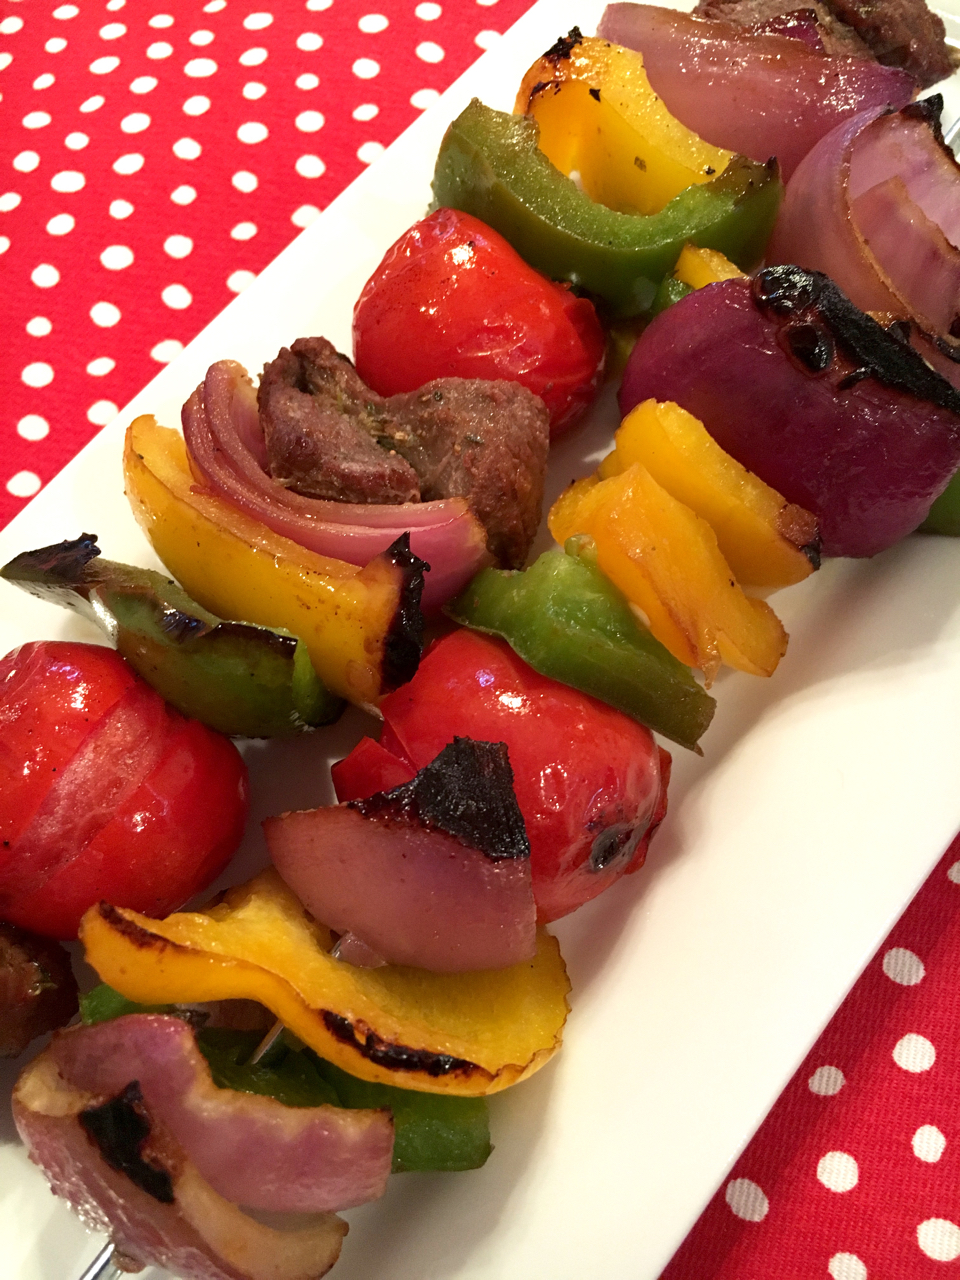 You can serve up the beef kabobs individually, or carefully slide them off the skewers onto a big plate and dig in.
Enjoy!
Note: This post contains affiliate links for products on Amazon.
- 2 grass-feed steaks
- 1 large red onion
- 1 large green bell pepper
- 1 large yellow bell pepper
- 1 large orange bell pepper
- 6-8 Campari tomatoes
- Marinade:
- (Note: I use this marinade twice in this recipe, so you will need double the ingredient volume listed.)
- ⅓ cup gluten-free soy sauce
- ⅓ cup extra virgin olive oil
- 1 Tablespoon garlic powder
- 1 Tablespoon Italian seasoning blend
- Stainless Steel BBQ Skewers (affiliate link)
- Make marinade for the meat by whisking gluten-free soy sauce, olive oil, garlic powder and Italian seasoning blend together in a glass bowl. Set aside.
- Cut steak into large chunks. Add steak chunks to marinade. Stir to combine and cover steak with marinade. Cover bowl tightly and marinate in refrigerator for at least 2 hours.
- In another glass bowl, make marinade again for the veggies. Set aside.
- Chop onions and bell peppers into large chunks. Add to marinade along with tomatoes. Toss to cover.
- Line your grill pan(s) with foil.
- When ready to skewer, alternate meat and veggies on each skewer and set on lined grill pans.
- Grill over medium heat, using long-handled tongs to turn each skewer periodically to ensure even grilling on all sides.
- Remove from heat and serve kabobs as individual skewers or remove from skewers to large plate and serve.
Pin for later and share!