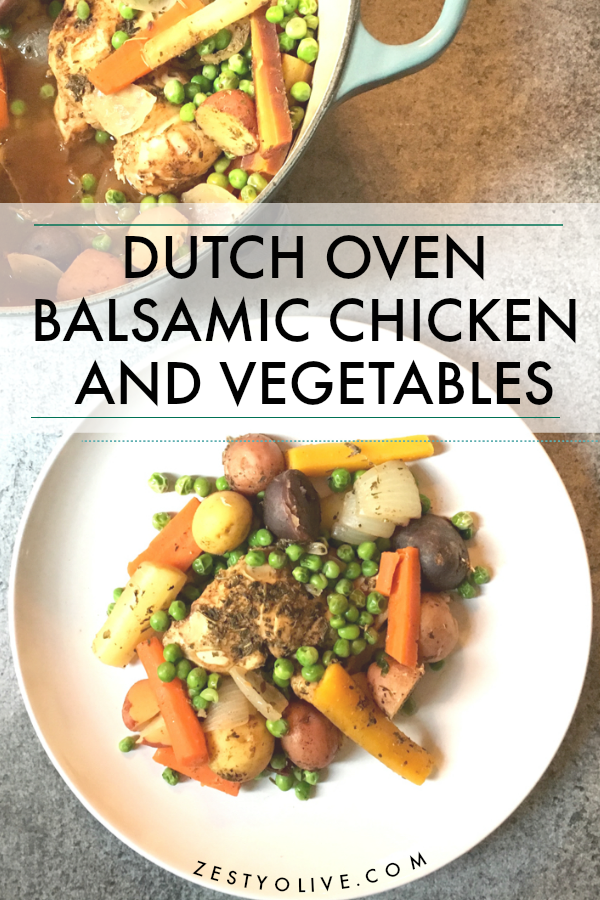
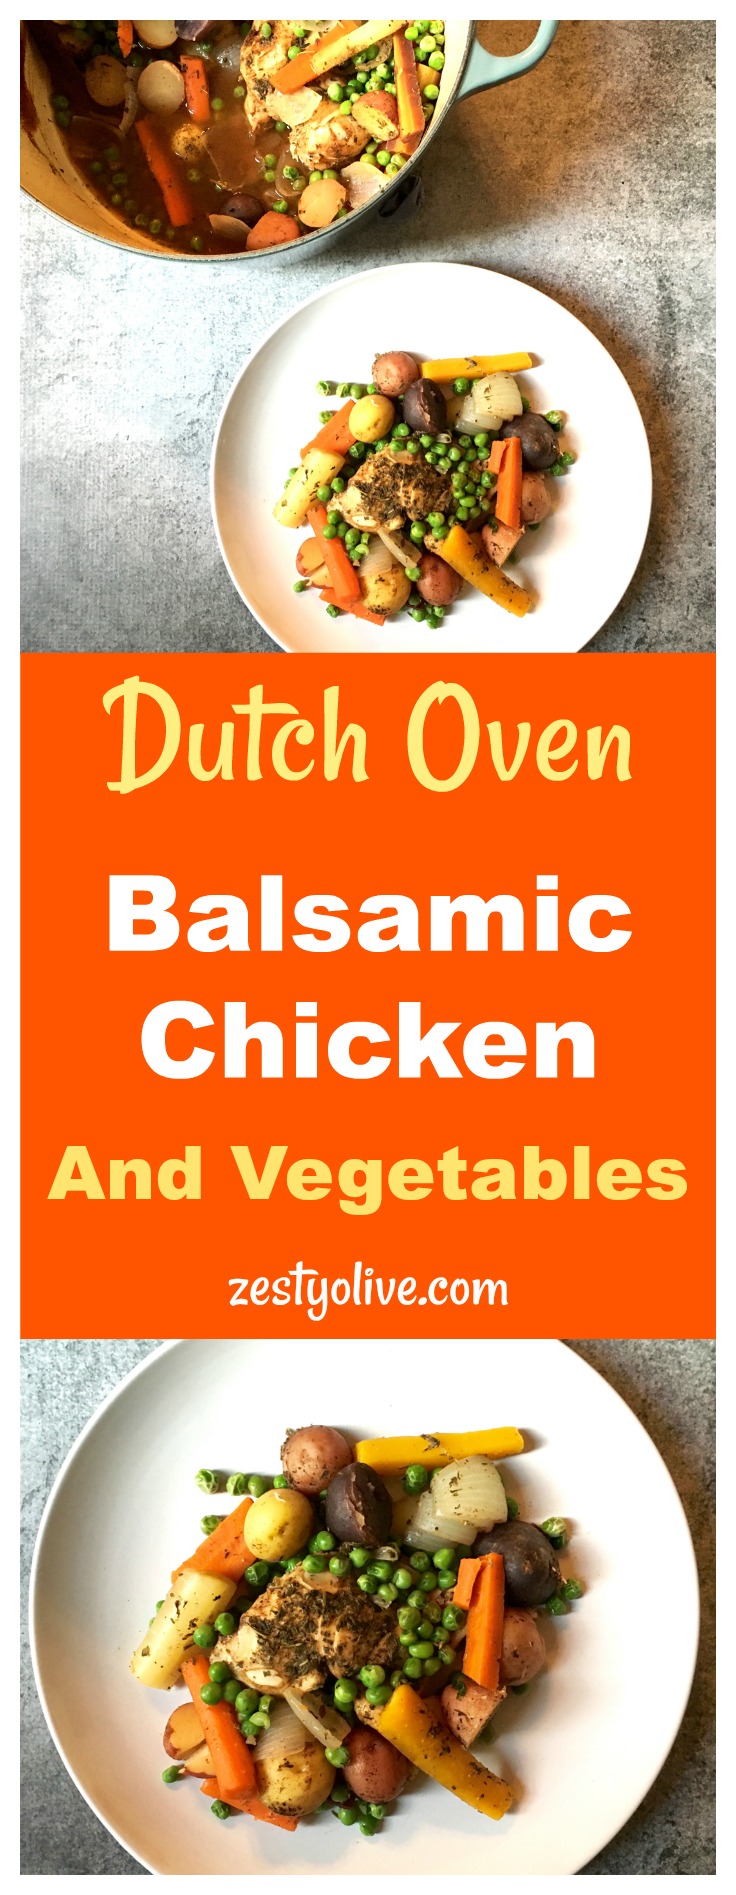
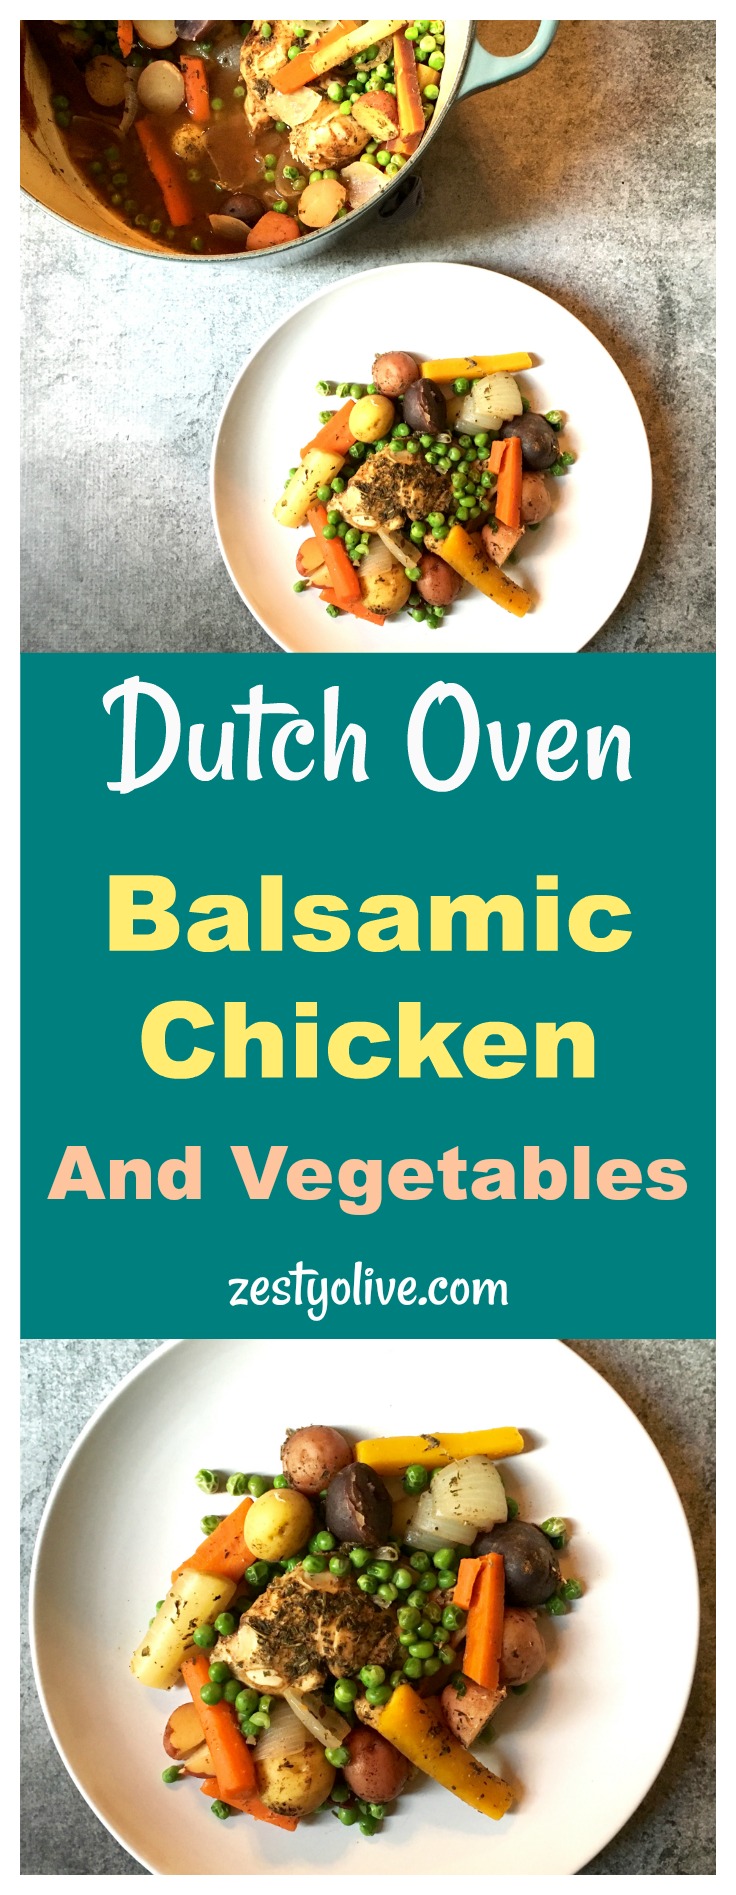
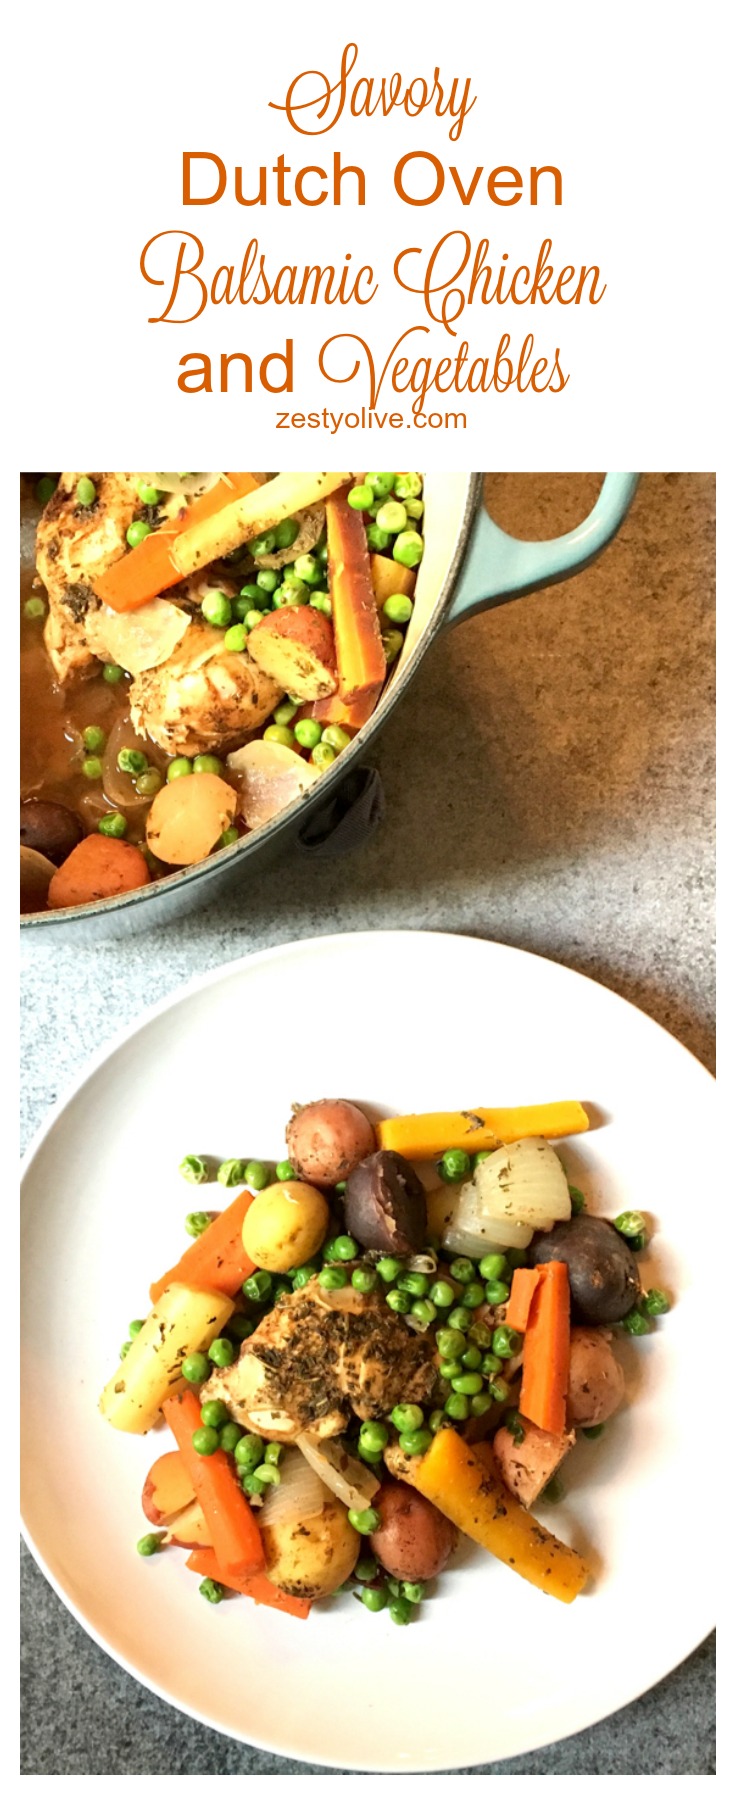
Savory Dutch Oven Balsamic Chicken And Vegetables are a fall and winter favorite!

Note: This post contains affiliate links for products on Amazon.
I used a dutch oven for this meal, but you can also use a large baking/casserole dish if you prefer. Just make sure it’s large enough to hold all the ingredients without spilling over because you’ll need to cover it tightly with foil.
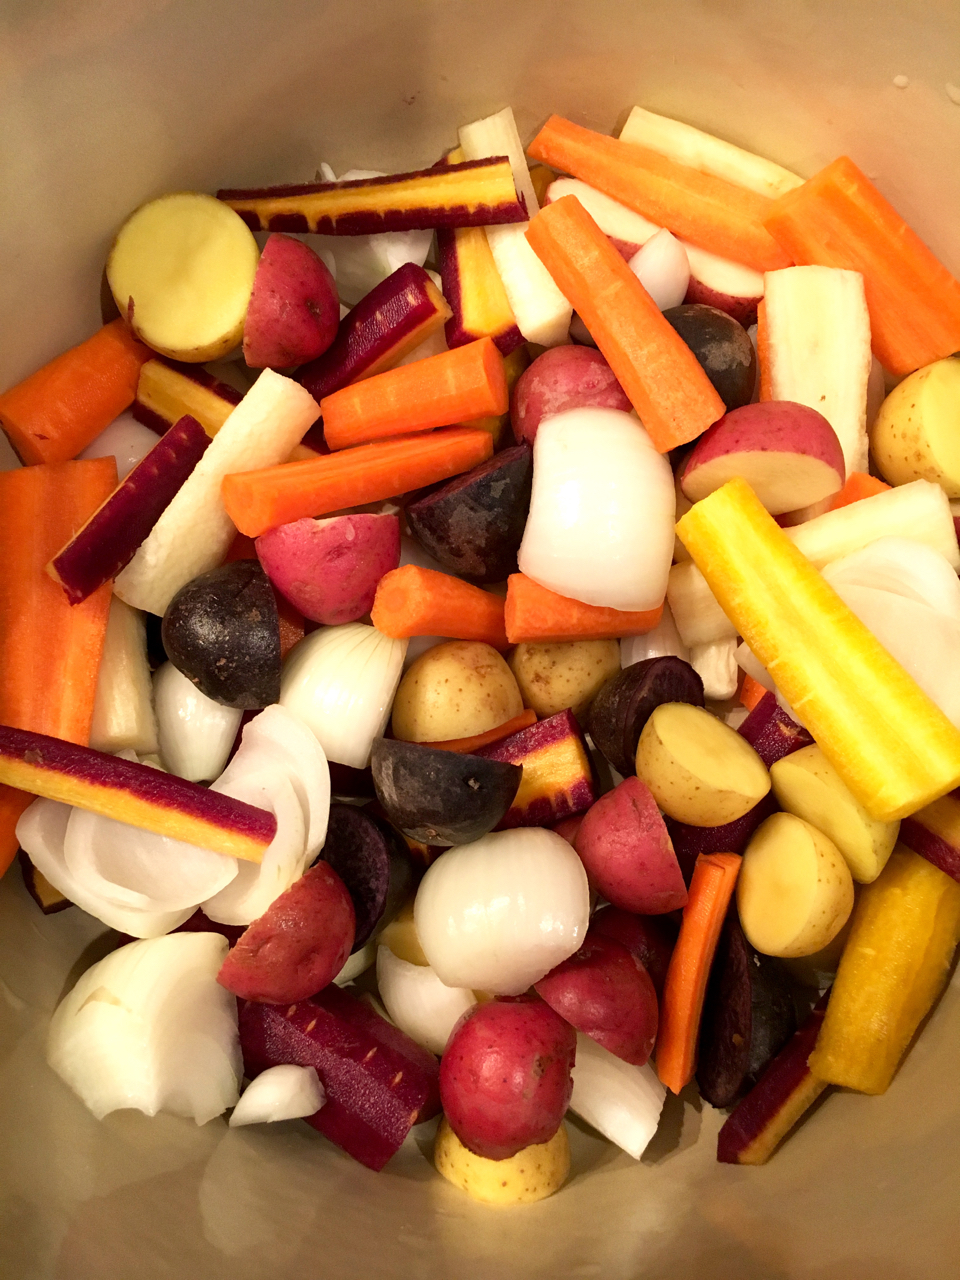
Lightly oil the bottom of your dutch oven with olive oil. Nestle 2-4 boneless chicken breasts in the bottom. I use thin breasts, so if each piece is large and thick, consider butterflying the meat or slicing each breast horizontally to create two thiner pieces from each piece. Then pile on the veggies. I used a bag of tri-colored potatoes, a few rainbow carrots, and one large sweet onion. I chopped them into large chunks and seasoned them with salt and pepper. I also added a few cloves of garlic, rough-chopped. Look how pretty they are!
Want more dutch oven recipes? Check out this amazing cookbook with oodles of recipes for soups, stews, desserts, savory meals and more. It’s a keeper!

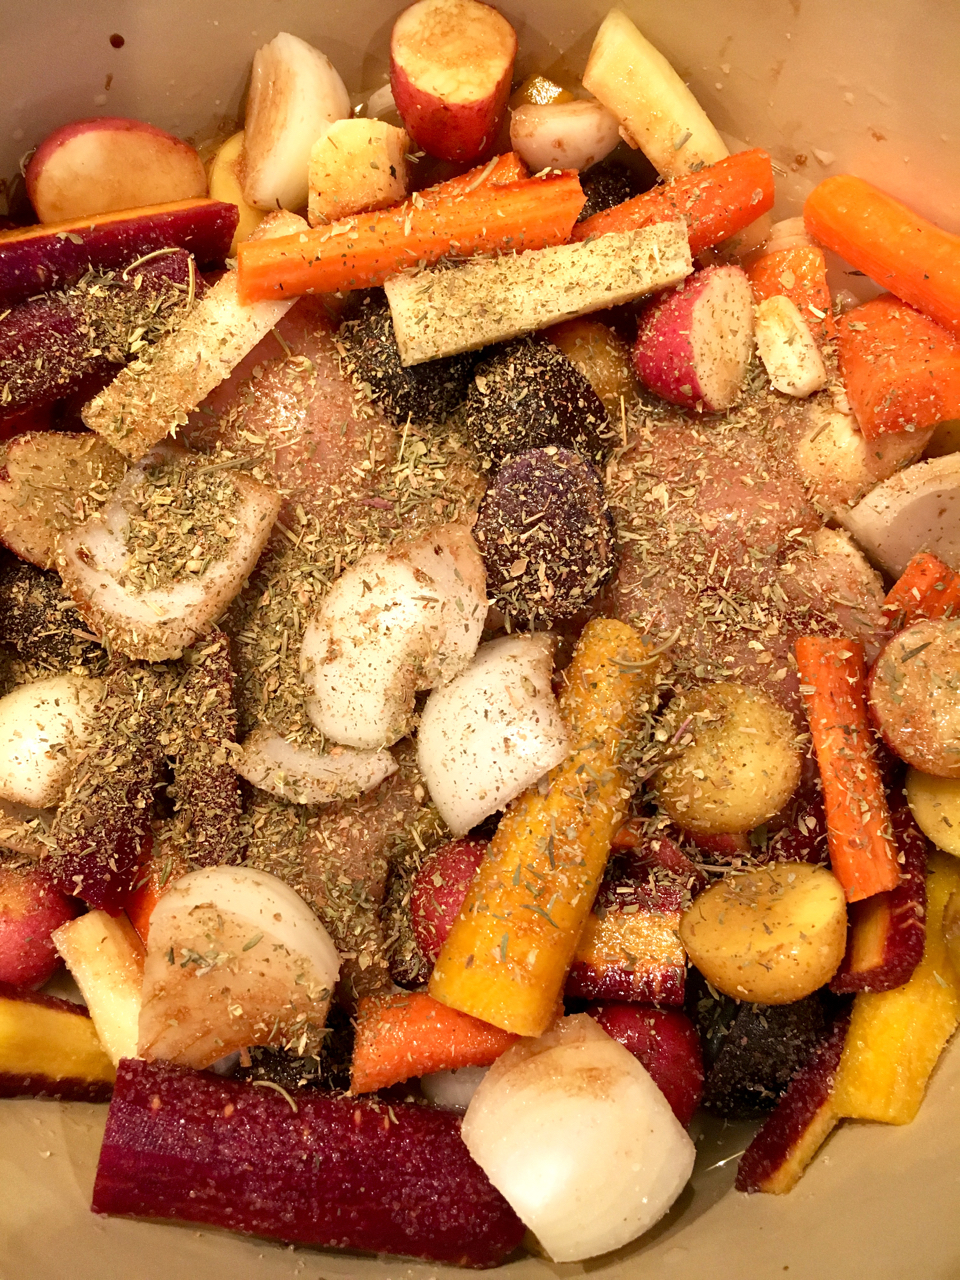
Add 1 cup water or white wine, and 1/3 cup balsamic vinegar to the pot. Lastly, add some herbs – I used about 1 tablespoon of an Italian seasoning blend. Fresh herbs would be amazing if you have them on hand. Put the lid on and bake for an hour at 350°.
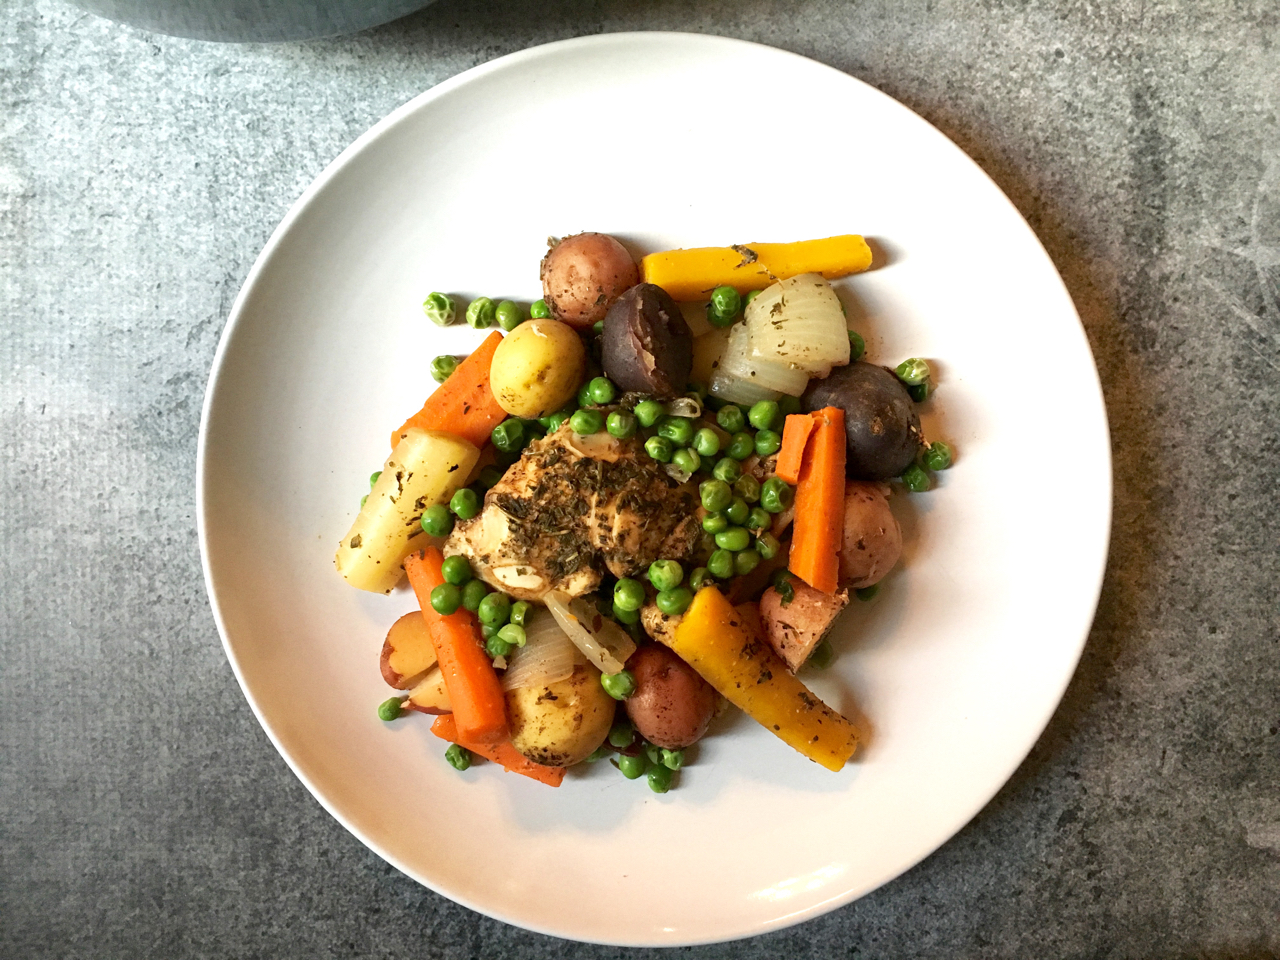
About half way through I added some frozen peas to the pot and checked the liquid levels. You may or may not need to add a little more wine or water. Depending on how tender you like your veggies, continue cooking for another 30 to 45 minutes.
(Here’s my favorite dutch oven. Everything cooks evenly and cleanup is a breeze!)
When ready, serve up this deliciousness!

If you’re a balsamic vinegar lover, you might want to add just a dash more of that yumminess to the final product. Enjoy!
If you like these recipes, consider joining the Zesty Recipes Facebook Group. We’d love to have you!

- 2-4 boneless chicken breasts (I use thin breasts, so if each piece is large and thick, consider butterflying the meat or slicing each breast horizontally to create two thiner pieces from each piece.)
- 1 bag (1.5 lbs) tri-colored potatoes
- 4-5 large carrots
- 1 large sweet onion,
- 2 cloves garlic
- 1½ cups frozen peas
- 1 cup white wine (or water)
- ⅓ cup balsamic vinegar
- 1 Tablespoon Italian Seasoning
- Salt and Pepper, to taste
- Equipment: Dutch Oven or large baking/casserole dish
- Preheat oven to 350° F.
- Lightly oil the bottom of your dutch oven with olive oil. Nestle 2-4 boneless chicken breasts in the bottom.
- Wash and scrub potatoes. Cut in half and add to pot.
- Wash carrots. Cut off ends. Peel if desired. Chop into large chunks and add to pot.
- Peel and chop onion and garlic cloves into large chunks and add to pot.
- Salt and pepper generously.
- Add 1 cup water or white wine, and ⅓ cup balsamic vinegar to the pot.
- Lastly, add Italian seasoning blend.
- Put the lid on and bake for 50 minutes.
- Carefully remove dutch oven and/or lid and add frozen peas to the pot. Also check liquid level and add more wine or water if needed.
- **Continue baking for another 30-45 minutes, depending on how tender you want your vegetables.
DON’T FORGET PIN AND SHARE!