Sides

Fried Okra Recipe

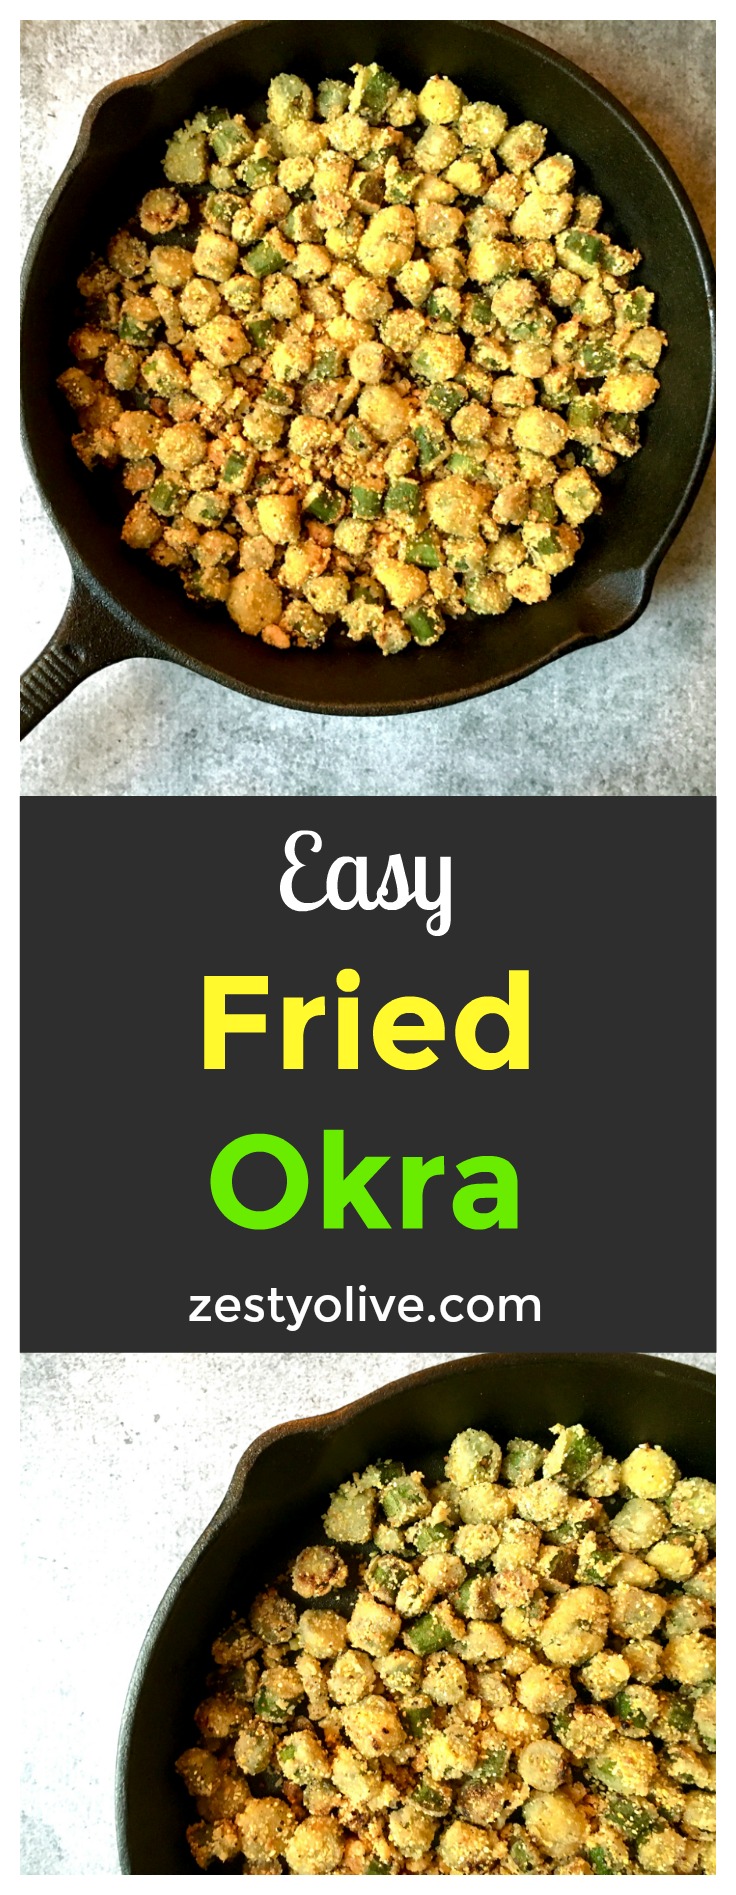
Here’s my easy recipe for fried okra, a classic southern side dish, made in a cast-iron skillet!

Fried Okra

Note: This post contains affiliate links for products on Amazon.

In the south, fresh okra is a staple at farmer’s markets and grocery stores. It’s so easy to prepare in a cast iron skillet. This classic southern fried okra dish is very simple and easy to make. I’ll even show you how to minimize any slime factor when preparing this okra recipe!

Fried Okra


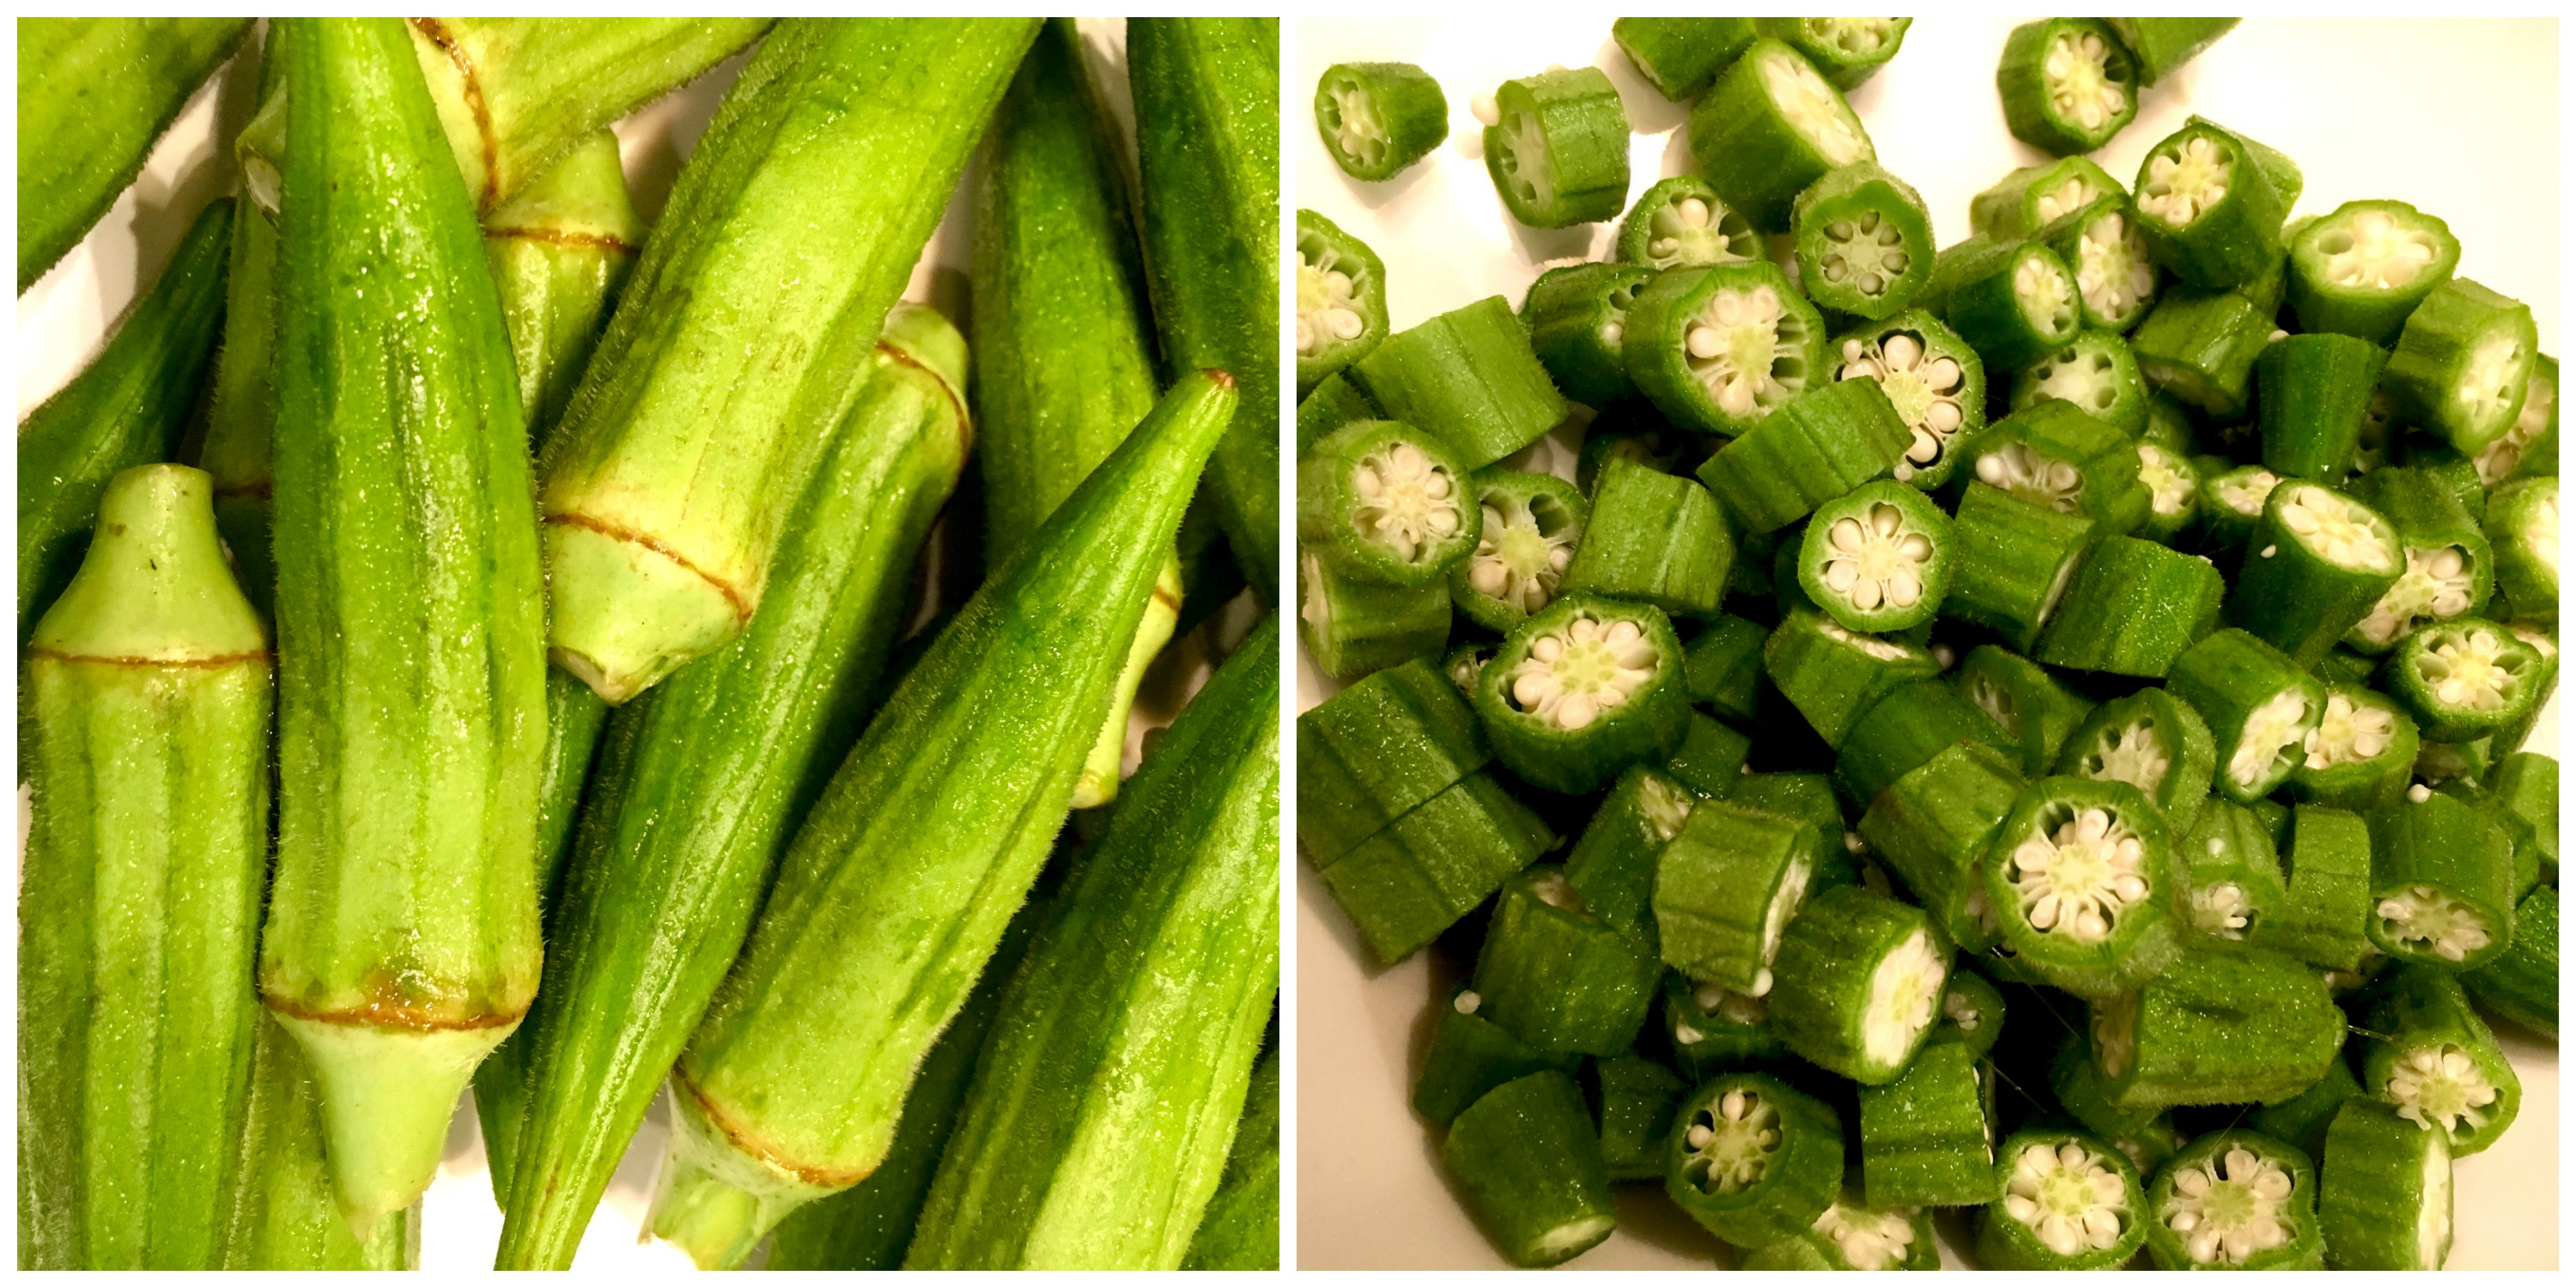
When purchasing okra at the market, look for and choose the smaller pods. Smaller pods will equal less slime factor. Plus, the larger pods are usually less tender, so really seek out small to medium pods. Wash, rinse and completely dry the okra before slicing the pods for this recipe. Dry okra pods equal less slime when slicing and cooking.

Cut off the ends and tips of each okra pod and then slice each pod into small pieces, about half an inch per piece. If you slice the pieces too small, you’ll induce the slime factor. Once the okra is sliced, set aside.

If you love southern produce, check out this amazing cookbook with recipes specifically for southern style veggies!

Fried Okra

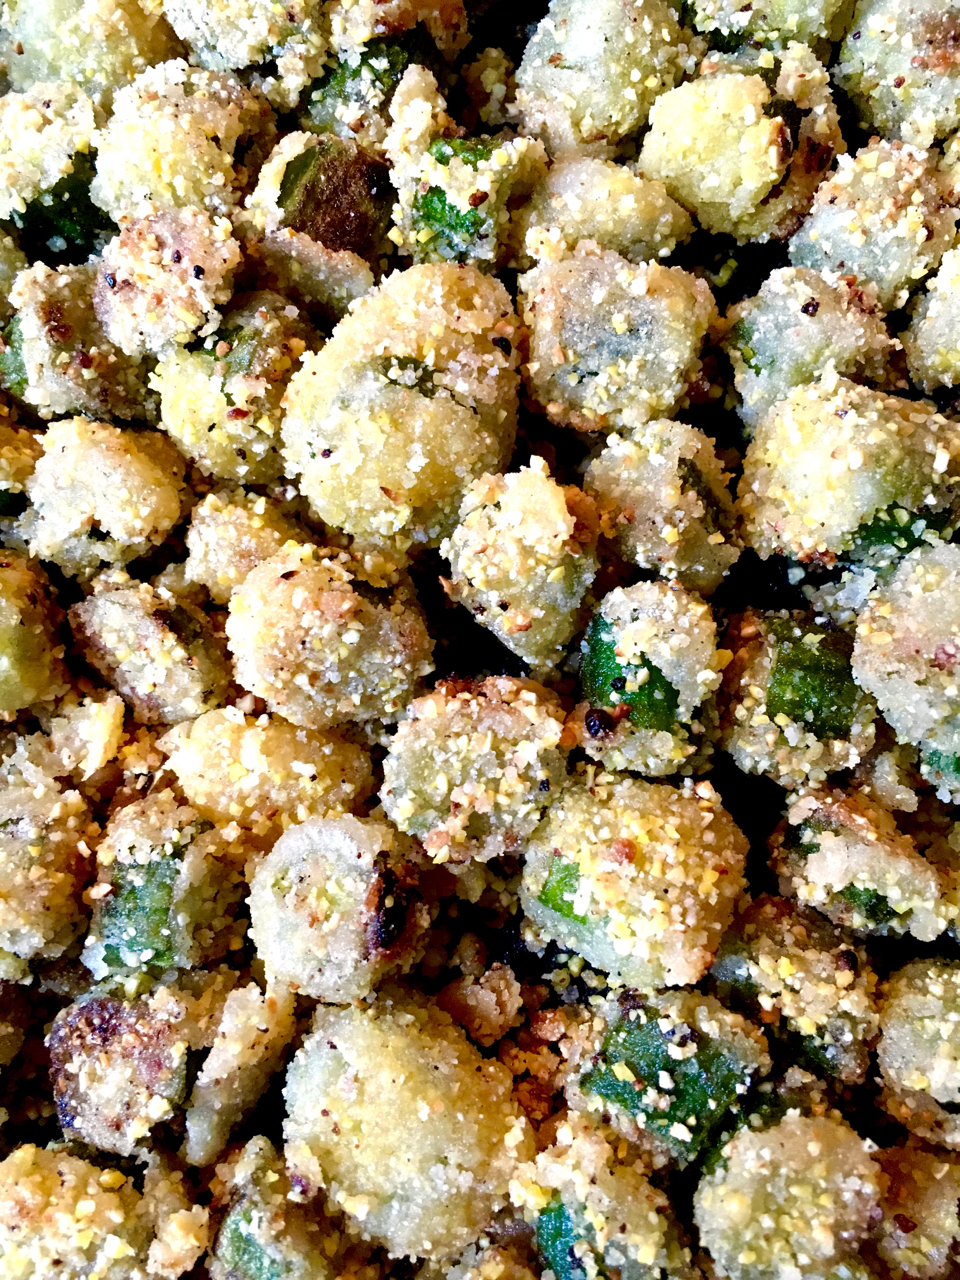
In a mixing bowl, combine flour, corn meal and salt and pepper. Add the sliced okra and stir to combine and coat each pod in the cornmeal mixture.

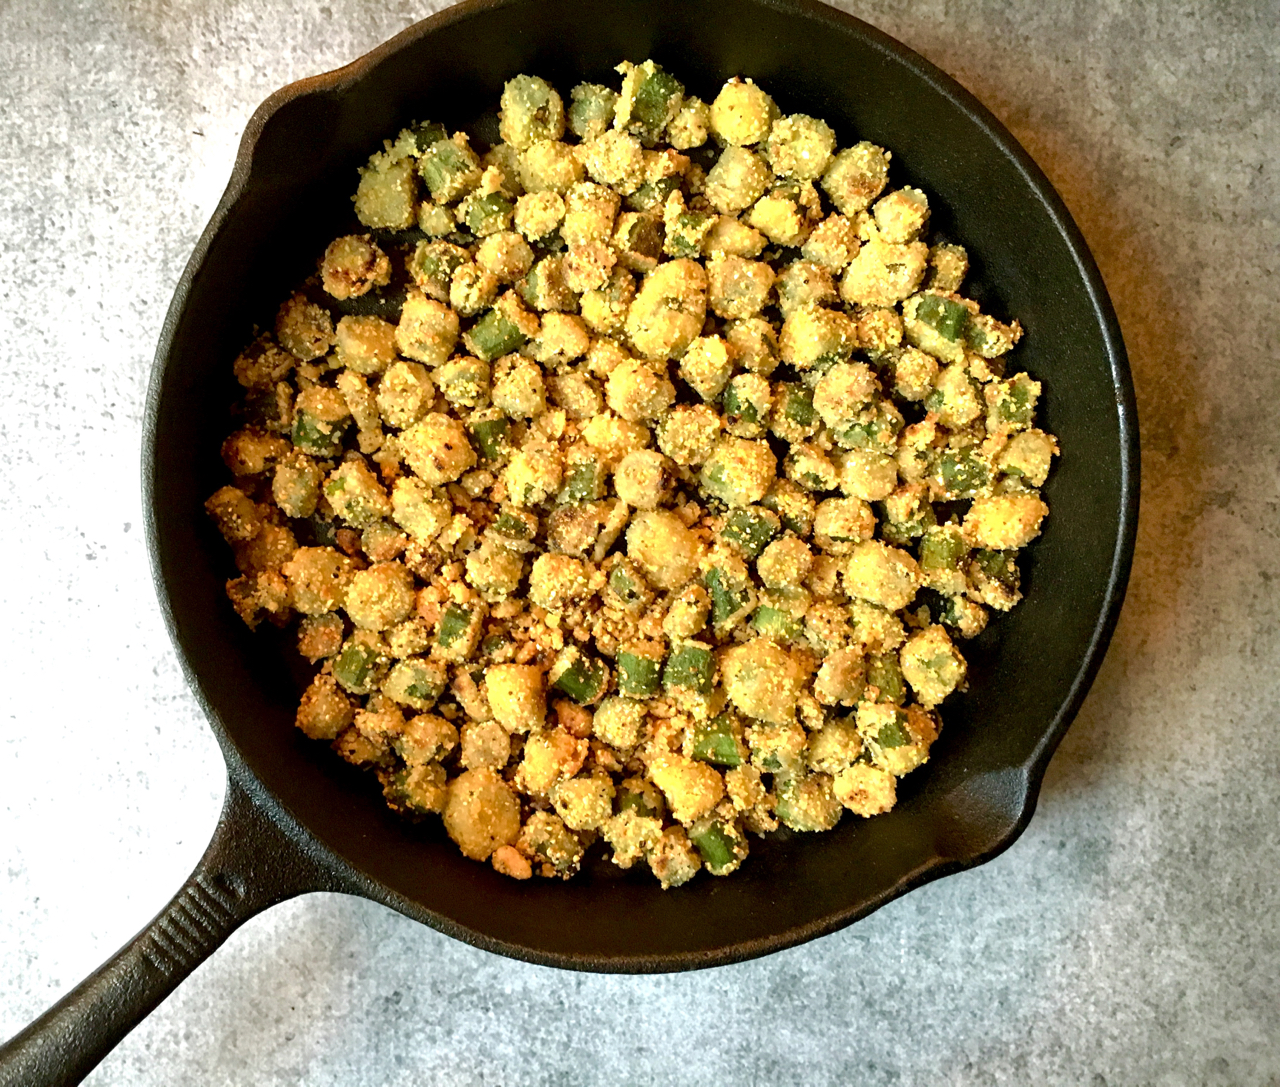
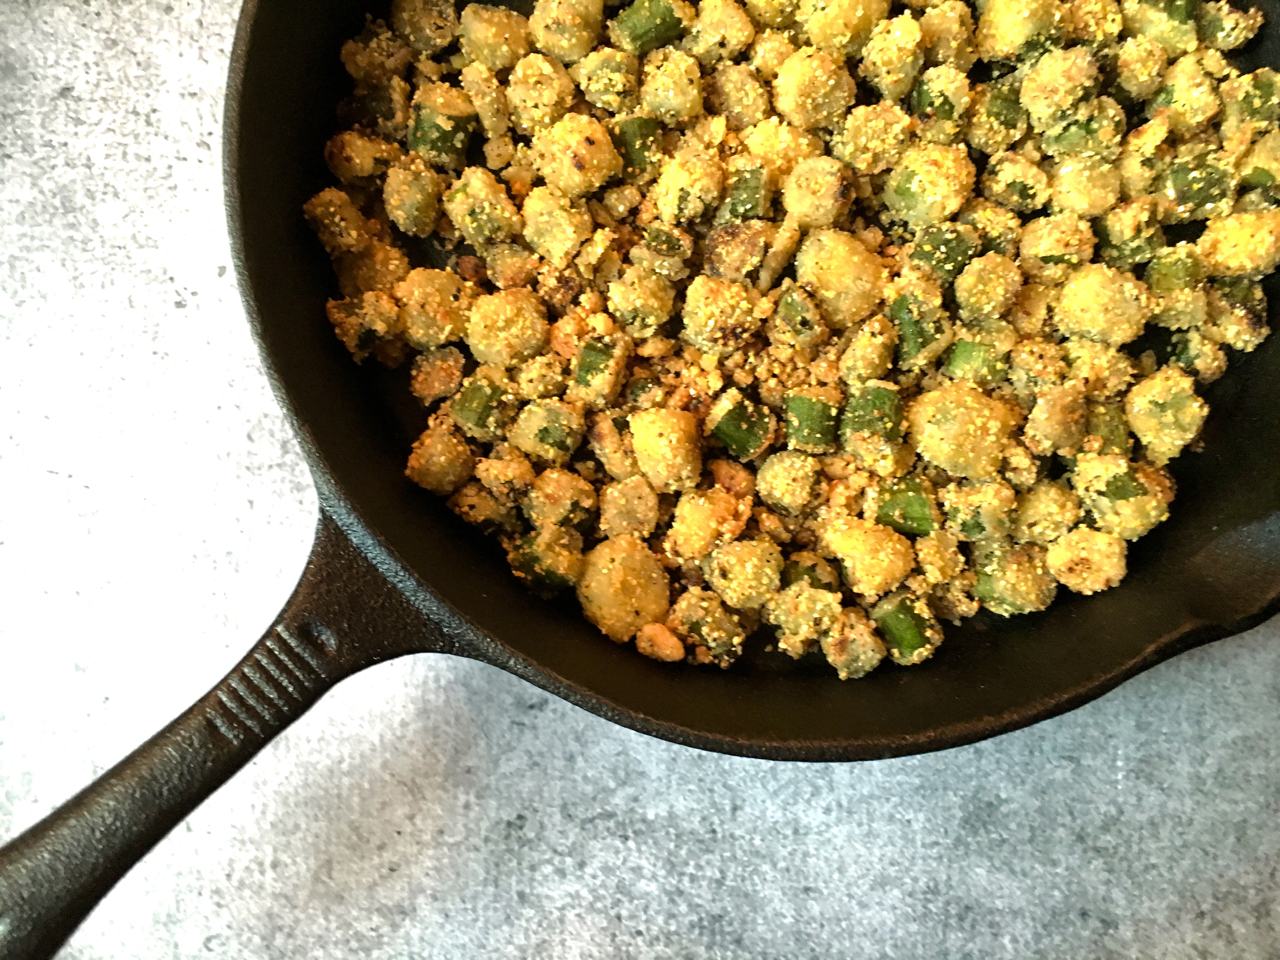
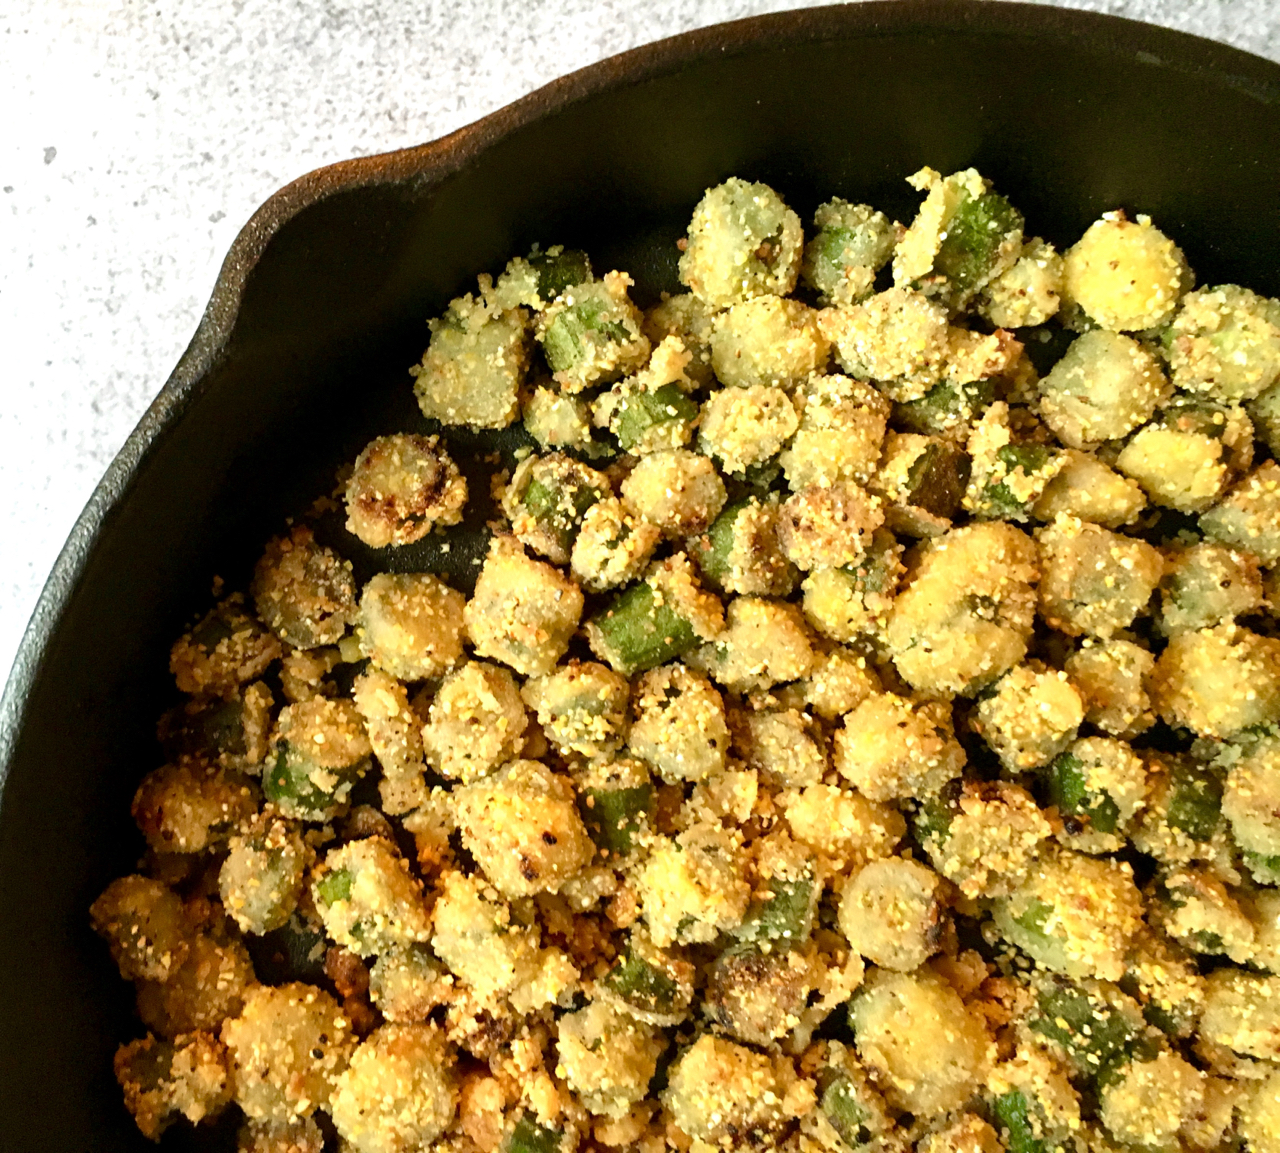
In a cast iron skillet, add oil and heat until sizzling. Use a slotted spoon to add okra to skillet. The slotted spoon will help shake off any cornmeal mixture that didn’t adhere to the okra. You don’t want the excess cornmeal in the skillet because it will fry quickly and burn. Layer the okra on the bottom of the skillet and let fry until lightly brown on the bottom. Turn heat down and gently turn the okra over and brown the other side. Make sure all sides have fried to a golden brown before removing from skillet.


Fried Okra

Drain okra on a paper towel before serving.

Fried Okra


If you love cooking with a cast iron skillet, check out more skillet recipes:
Skillet Chicken Fajitas
Skillet Garlic Chicken With Sun-Dried Tomatoes
Quick & Easy Chicken Fiesta Skillet

If you like these recipes, consider joining the Zesty Recipes Facebook Group. We’d love to have you!


Fried Okra Recipe
 
Prep time
Cook time
Total time
 
Fried Okra Recipe
Author:
Serves: 2-4
Ingredients
  • 2 pounds okra, sliced
  • ¾ cup corn meal
  • ½ cup all-purpose flour
  • Salt and pepper, to taste
  • ¼ cup Sesame oil (or vegetable oil)
  • Note: best prepared in a cast iron skillet.
Instructions
  1. Wash and completely dry okra before slicing. Slice in half-inch thick pieces, or slightly smaller. Set aside.

  2. In mixing bowl, combine flour, cornmeal and salt and pepper.

  3. Add sliced okra to cornmeal mixture and stir to coat each piece.

  4. Heat oil in iron skillet until sizzling.

  5. Use a slotted spoon to add okra to skillet. The slotted spoon will help shake off any cornmeal mixture that didn't adhere to the okra.

  6. Layer the okra on the bottom of the skillet and let fry until lightly brown on the bottom.

  7. Turn heat down to medium, and gently turn the okra over and brown the other side. Make sure all sides have fried to a golden brown before removing from skillet.

  8. Drain okra on paper towels before serving.

DON’T FORGET TO PIN AND SHARE!

Easy Fried Okra Recipe
Here's my simple recipe for fried okra, a classic southern side dish, made in a cast-iron skillet!

Easy Fried Okra Recipe

Save

Save

Save

Save

5 Comments

Roasted Sweet Potato Wedges With Maple And Cinnamon

These roasted sweet potato wedges with maple and cinnamon are perfect as a side item, appetizer, or a sweet treat. (Naturally gluten-free)

Roasted Sweet Potato Wedges

Note: This post contains Amazon affiliate links.

Bonus: these sweet potato wedges are naturally gluten-free, healthy, and they’re simple to make. When you’re tired of french fries or mashed potatoes as a side, consider these cinnamon and maple sweet potato wedges.

Roasted Sweet Potato Wedges

Here’s how simple it is to make these. I like to leave the skins on, so be sure you clean, rinse, and dry the potatoes before cutting them into wedges. Sweet potatoes can be difficult to cut, so be sure your knife is up to the task! If possible, choose smaller sweet potatoes rather than larger for this recipe, just because cutting smaller potatoes is easier. Cut them length-wise, and then cut those pieces length-wise again so that you’re cutting wedges and not cubes. Place the wedges on a baking sheet. I like to line my baking sheet with foil for easy clean-up.

Roasted Sweet Potato Wedges

For the maple cinnamon seasoning, which can also double as a dipping sauce, melt half a stick of butter in a microwave-safe bowl (or saucepan if melting on stove top), add 1/4 cup maple syrup and 1 Tablespoon ground cinnamon. If you use unsalted butter, add a pinch of salt. Stir to combine. Drizzle sauce over sweet potato wedges. Don’t drown them, though, and reserve the remaining buttery concoction for dipping, if so desired. (You desire. Trust me. 😉 ) Lightly sprinkle a little more cinnamon on top of the wedges and then pop them into a pre-heated 400° oven for 25-30 minutes or until golden brown and tender. Remove from oven and let cool for 5 minutes before serving.

Roasted Sweet Potato Wedges

Don’t forget the leftover buttery maple cinnamon sauce for dipping! Or just drizzle the remainder over those crispy wedges and serve!

Note: This post contains Amazon affiliate links.


Would you like to join us on Facebook? Here’s our private group:
Facebook Group Zesty Recipes

Roasted Sweet Potato Wedges With Maple And Cinnamon
 
Prep time
Cook time
Total time
 
Roasted Sweet Potato Wedges With Maple And Cinnamon
Author:
Serves: 2-4
Ingredients
  • 4 medium-sized sweet potatoes, cut into wedges
  • 4 Tablespoon (half a stick) of butter, melted
  • ¼ cup maple syrup
  • 1 Tablespoon ground cinnamon
Instructions
  1. Preheat oven to 400°.

  2. Line a baking sheet with foil; set aside.

  3. Clean, rinse, and dry sweet potatoes before cutting into wedges. Cut them length-wise, and then cut those pieces length-wise again so that you're cutting wedges and not cubes. Place the wedges on the lined baking sheet. Set aside.

  4. Melt butter in a microwave-safe bowl (or saucepan if melting on stove top).

  5. Add maple syrup and ground cinnamon to melted butter and stir to combine. If you use unsalted butter, add a pinch of salt.

  6. Drizzle sauce over sweet potato wedges. Reserve any remaining sauce for dipping, if so desired.

  7. Lightly sprinkle a little more cinnamon on top of the wedges and then pop them into a pre-heated 400° oven for 25-30 minutes or until golden brown and tender.

  8. Remove from oven and let cool for 5 minutes before serving.

  9. Serve with remaining butter sauce for dipping or drizzle remaining sauce over sweet potatoes and serve.

Don’t forget to save to Pinterest!
Roasted Sweet Potato Wedges with Maple and Cinnamon

Save

Save

Save

Save

3 Comments

Grilled Corn On The Cob With Herb Butter

Nothing says summer like grilled corn on the cob with herb butter!

Grilled Corn On The Cob

Grilling vegetables is always a treat, and in the summer, grilled corn on the cob is no exception. Corn is available in abundance during the summer and stores practically give it away when their corn inventory exceeds available display space. Have you ever noticed that? Seriously, we just picked up 8 ears of corn for $2. (Next week they’ll probably have it BOGO!)

Grilled Corn On The Cob

I like to grill the corn and then take it off the cob, freeze it, and use it in yummy recipes later.

But first, here’s a simple way to grill corn without burning it.

Remove the husks from the corn and rinse well and remove any remaining corn silk. Lay each ear of corn on separate sheets of tin foil, very lightly drizzle corn with olive oil and salt and pepper generously. Wrap each ear of corn securely, making sure the ends are closed tightly. (You don’t want the olive oil leaking out and flaming up on the grill.)

Grilled Corn On The Cob

Place each wrapped ear of corn on a preheated grill. Turn flame down to medium. Grill for 15-20 minutes. Turn corn 2 or 3 times to make sure all sides get grilled. To check on progress of corn, using long-handled tongs, remove an ear from the grill and carefully open the foil.

When corn is done, remove from grill and foil packs and serve immediately. I like to add an herb butter to the hot corn. Look at all that buttery goodness! (Here’s my simple recipe for herb butter.)

Grilled Corn On The Cob

If you aren’t feeding a crowd and have some leftover ears of corn, consider cutting the corn off the cob and freezing it for later use. You’ll need two bowls – one large and one small. Place the small bowl upside down inside the larger bowl. Take a cooled ear of corn and place it upright on the small bowl. Holding the top of the corn with one hand, use a sharp knife to cut down the side of the cob. The corn will fall into the larger bowl. Turn the corn and continue slicing off all the corn. Repeat with remaining ears of corn. Place corn, divide if necessary, in quart-sized freezer bag and freeze for later use.

Grilled corn off the cob

Enjoy!

Grilled Corn On The Cob

Grilled Corn On The Cob With Herb Butter
 
Prep time
Cook time
Total time
 
Grilled Corn On The Cob With Herb Butter (Here's my recipe for Herb Butter)
Author:
Serves: 4
Ingredients
  • 4 ears of corn, husked and rinsed
  • olive oil
  • salt
  • pepper
  • Other:
  • tin foil
Instructions
  1. Remove the husks from the corn and rinse well and remove any remaining corn silk.

  2. Lay each ear of corn on separate sheets of tin foil, very lightly drizzle corn with olive oil and salt and pepper generously. Wrap each ear of corn securely, making sure the ends are closed tightly.

  3. Place each wrapped ear of corn on a preheated grill. Turn flame down to medium. Grill for 15-20 minutes. Turn corn 2 or 3 times to make sure all sides get grilled.

  4. To check on progress of corn, using long-handled tongs, remove an ear from the grill and carefully open the foil.

  5. When corn is done, remove from grill and foil packs and serve immediately. I like to add an herb butter to the hot corn. Here's my recipe for herb butter.

  6. How to cut corn off the cob
  7. If you have leftover ears of corn, consider cutting the corn off the cob and freezing it for later use. You'll need two bowls - one large and one small. Place the small bowl upside down inside the larger bowl. Take a cooled ear of corn and place it upright on the small bowl. Holding the top of the corn with one hand, use a sharp knife to cut down the side of the cob. The corn will fall into the larger bowl. Turn the corn and continue slicing off all the corn. Repeat with remaining ears of corn. Place corn, divide if necessary, in quart-sized freezer bag and freeze for later use.

Grilled Corn on the Cob
Grilled Corn On The Cob With Herb Butter


Save

Save

Save

Save

10 Comments