Roasted garlic is the mellow and buttery alternative to the pungent taste and smell of raw garlic. When you’re wanting a hint of garlic in your cooking, try using roasted garlic cloves. If you’re wondering how to roast garlic, read on!
 Here’s an easy method of roasting a head of garlic.
Preheat your oven to 375°. Take a head of garlic and cut off the top quarter so that the garlic cloves are exposed. Place the head of garlic on a piece of tin foil, and lightly drizzle with olive oil. Sprinkle a little salt on top and then seal up the garlic in the foil.
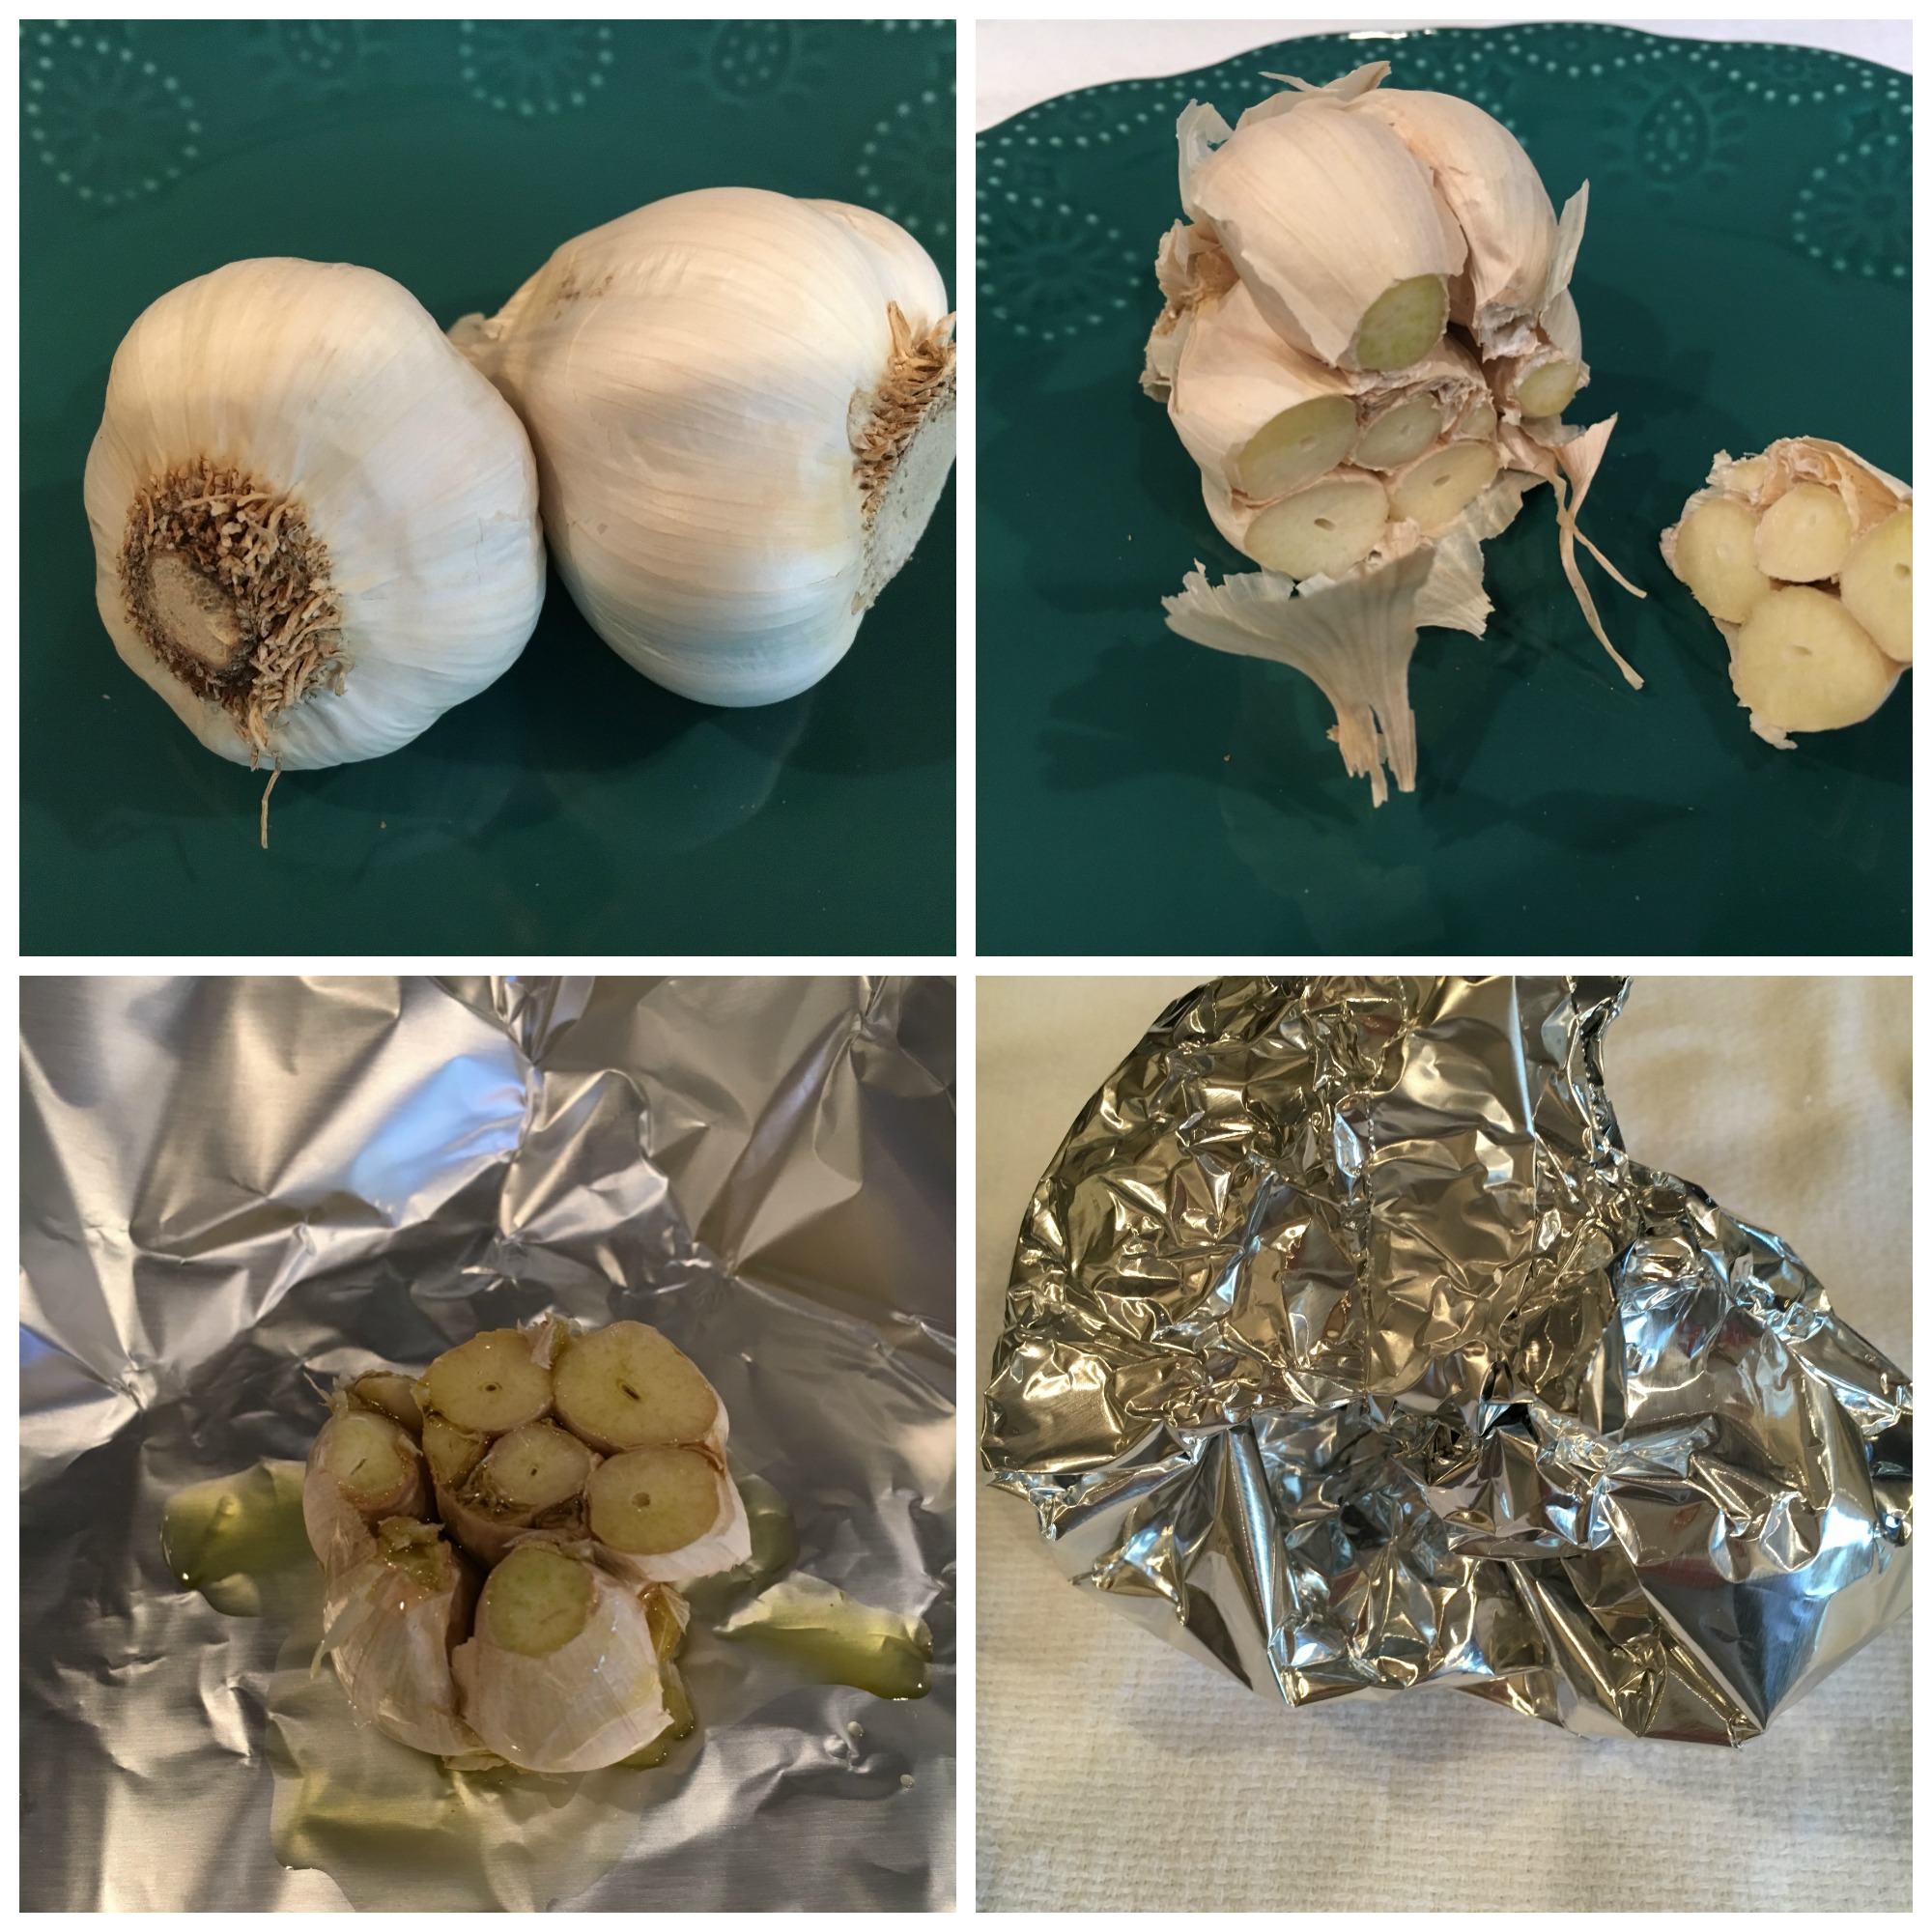
Place the foil pack on a cookie sheet or in an oven-safe baking dish and roast for 20 to 30 minutes. Check at the 20 minute mark to make sure the garlic isn’t burning. You want it nicely golden, like this:
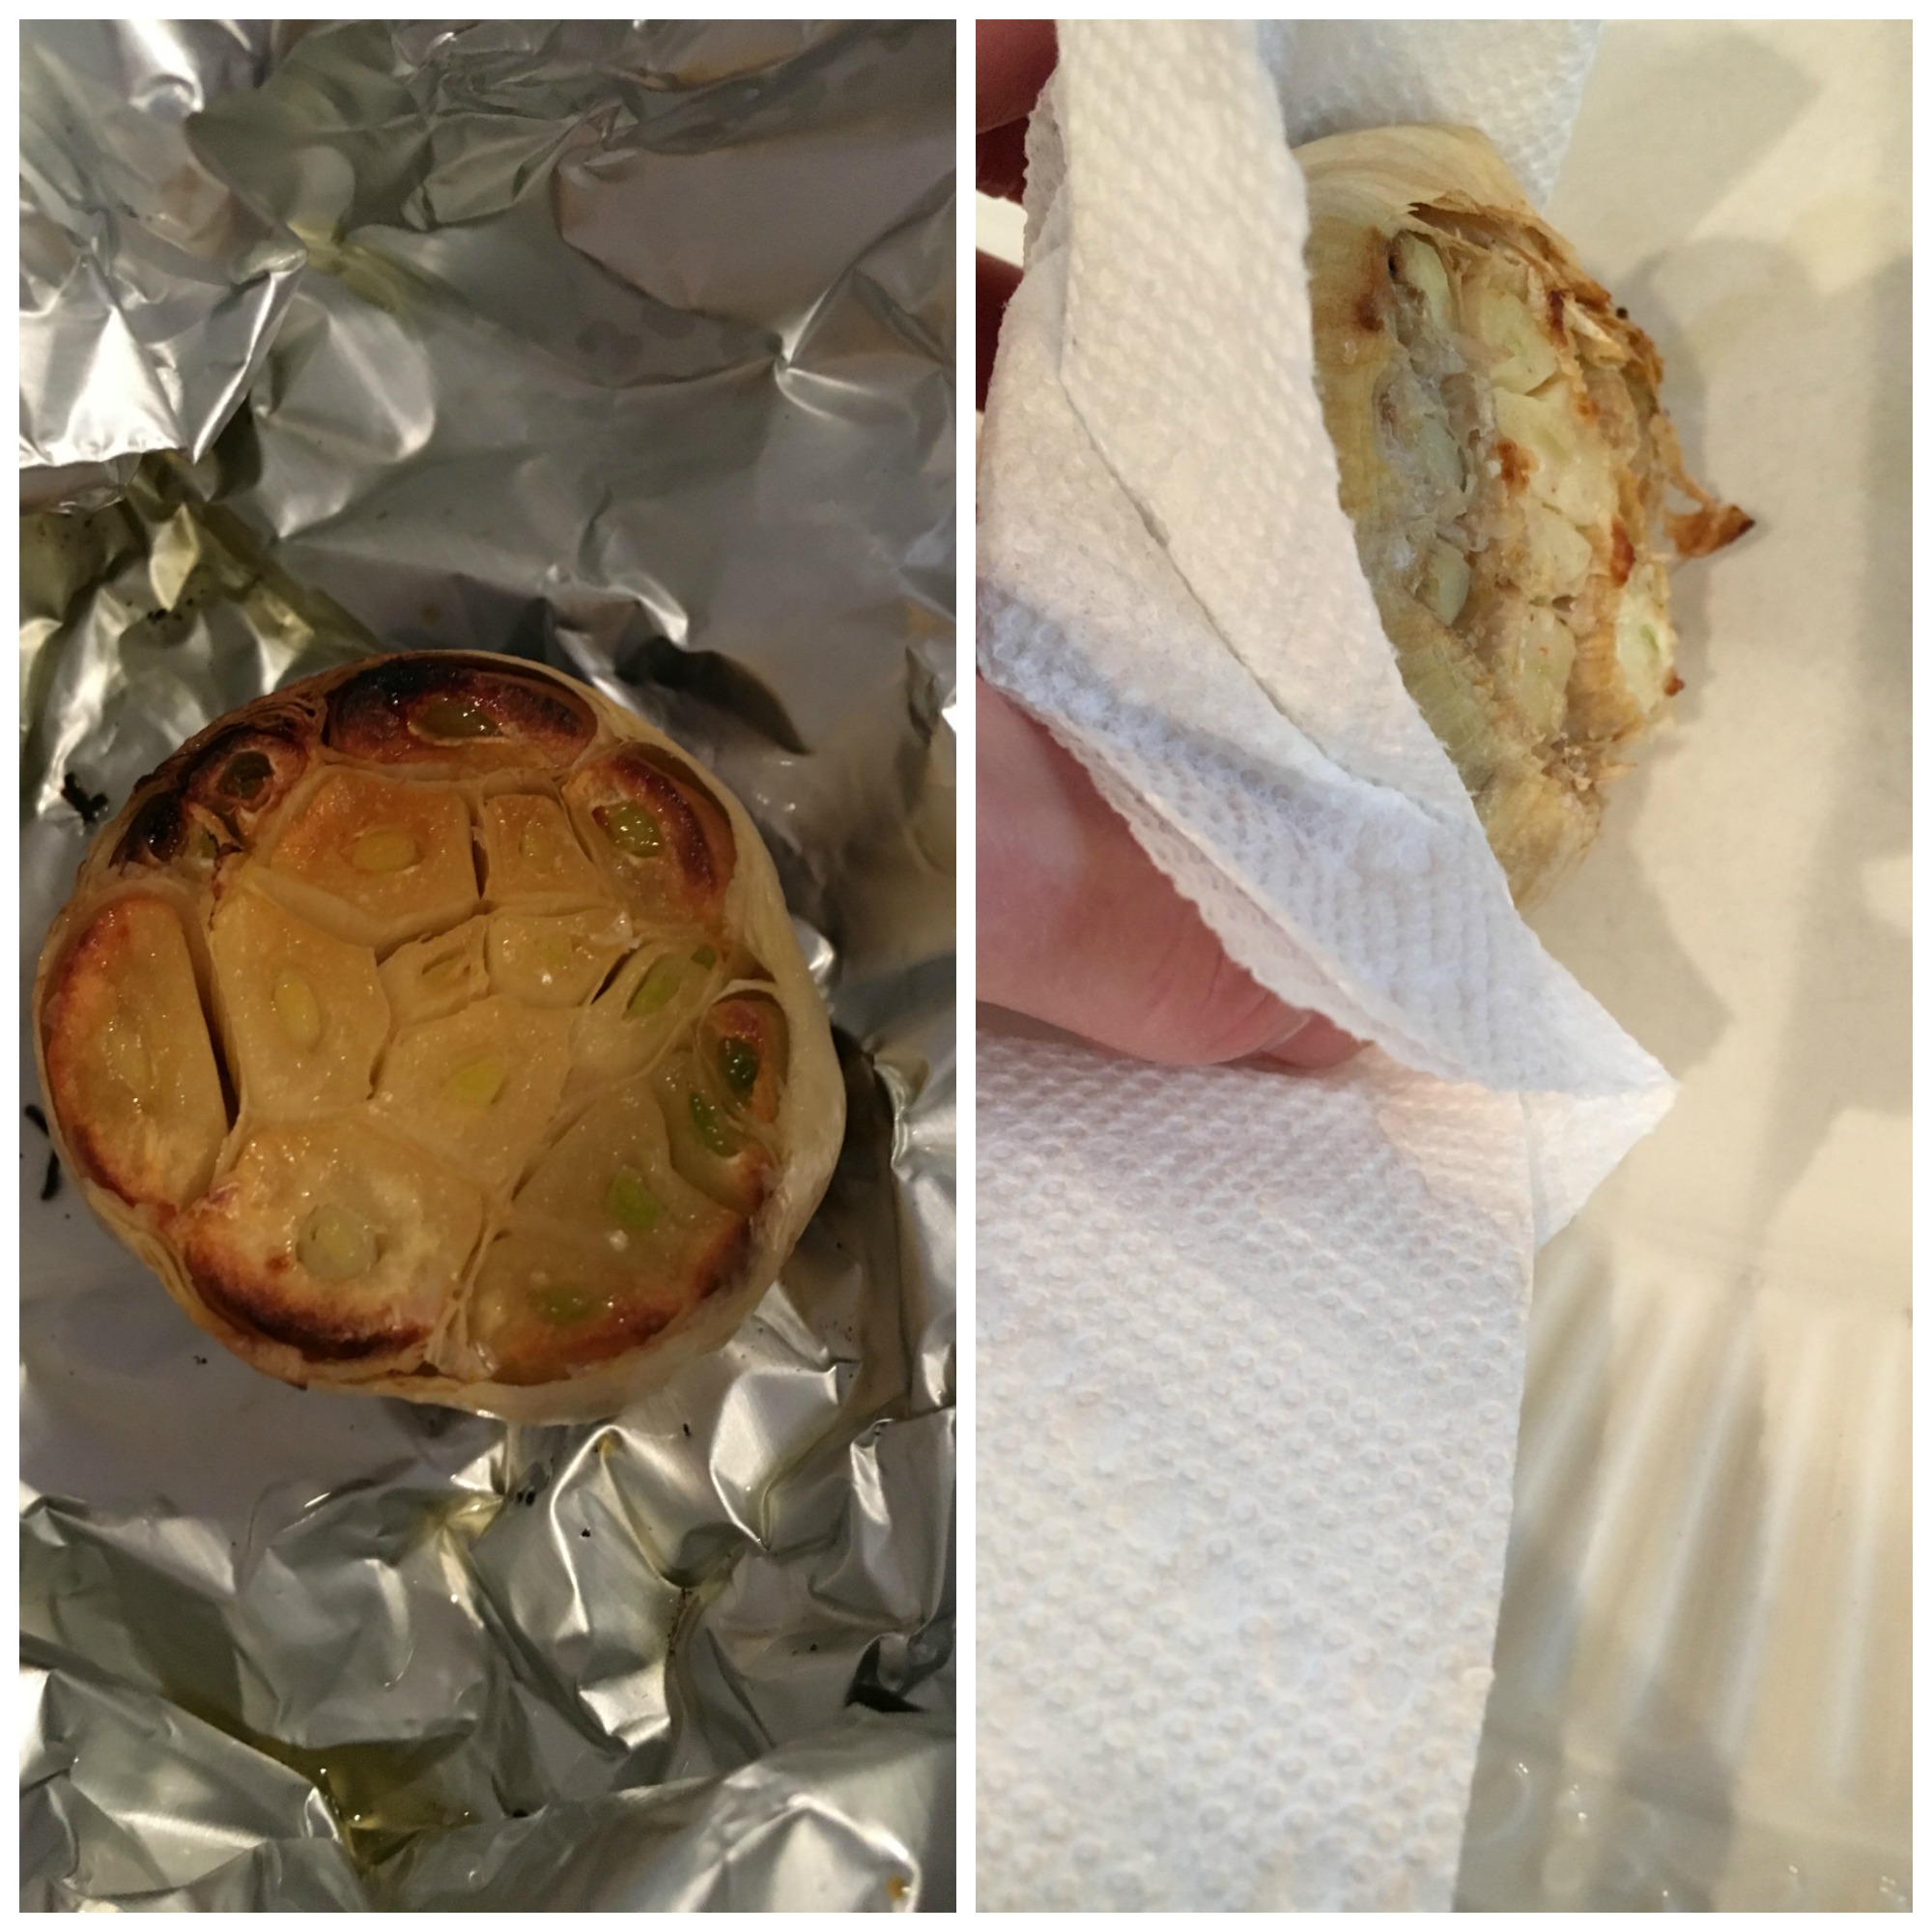
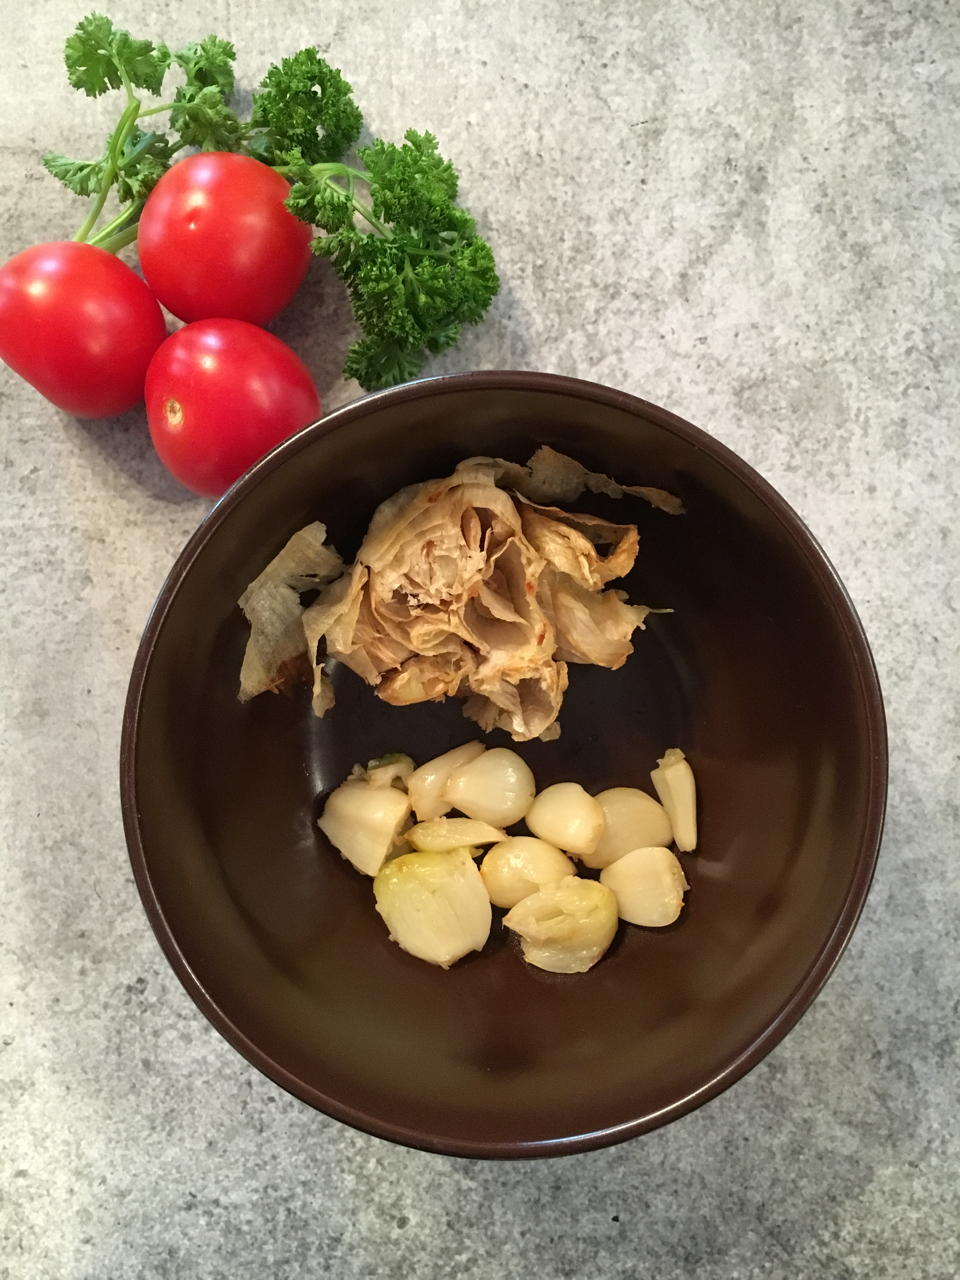
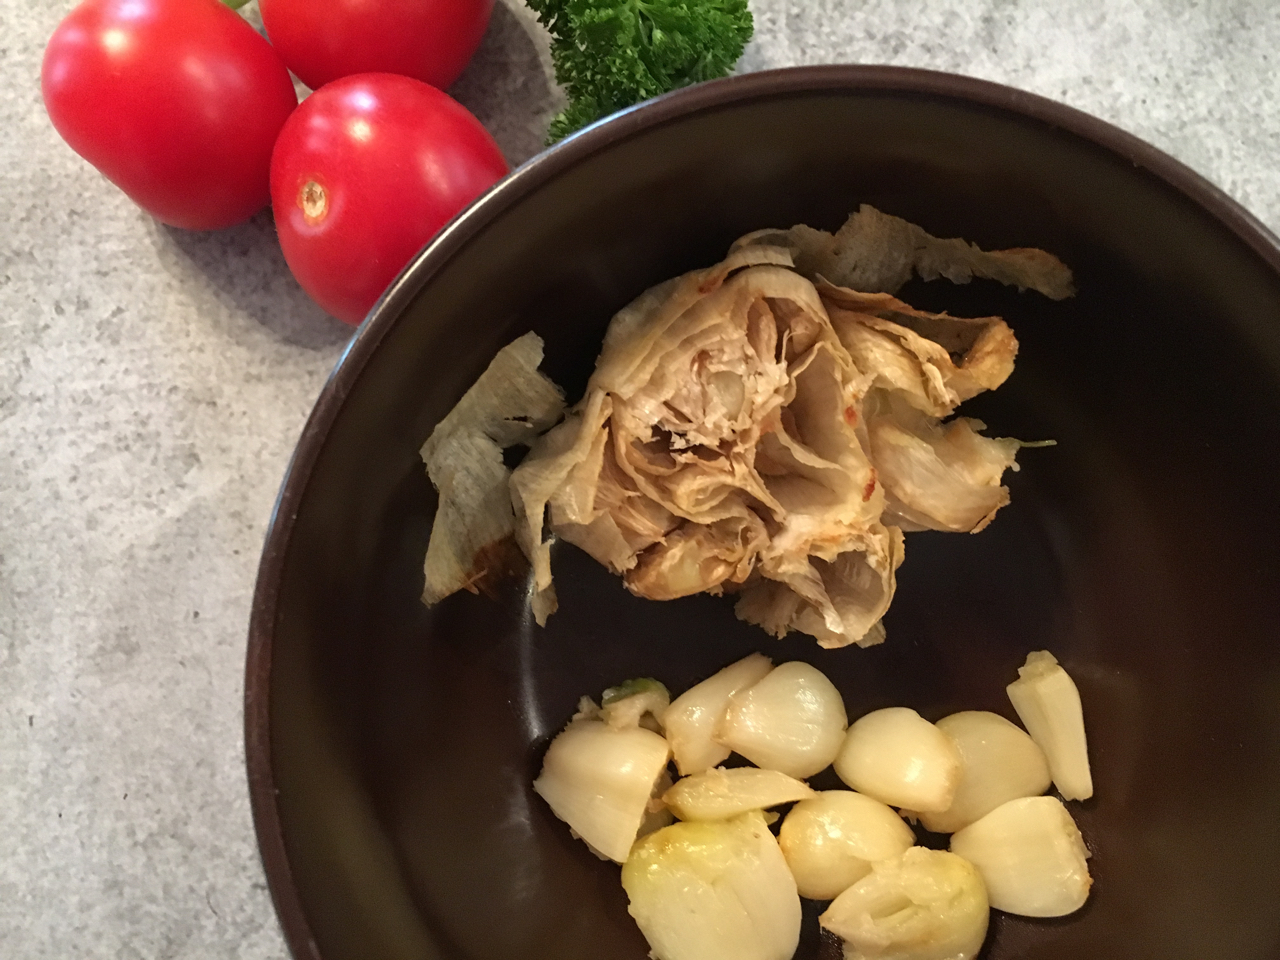
Remove from the oven and let the garlic cool just a bit before attempting to handle it. To remove the garlic cloves, squeeze the head of garlic from the bottom. The individual cloves should pop out easily. If not, use a fork to gently pry out the stubborn cloves.
And there you have it! Mellow, buttery, yummy garlic goodness just waiting to be used in a variety of ways. I like to use roasted garlic cloves in mashed potatoes, dips, hummus, garlic bread spread, sauces, salad dressings…you get the idea.
If you don’t use all the roasted cloves at once, just place the unused cloves in a small, tightly sealed glass container, and they’ll keep in the refrigerator for up to 10 days.
Hint: you can use this same method to roast garlic using your gas grill outside. Just place the foil pack on a grill-safe pan or even directly on the grates. Caution: the garlic will roast very quickly with this method, so check the foil pack often!
- 1 large head of garlic
- Olive oil
- Salt
- Preheat oven to 375°.
- Take a head of garlic and cut off the top quarter so that the garlic cloves are exposed.
- Place the head of garlic on a piece of tin foil, and lightly drizzle with olive oil. Sprinkle a little salt on top and then seal up the garlic in the foil.
- Place the foil pack on a cookie sheet or in an oven-safe baking dish and roast for 20 to 30 minutes. Check at the 20 minute mark to make sure the garlic isn't burning.
- When the garlic head is nicely golden, remove from the oven and let the garlic cool before attempting to handle it.
- To remove the garlic cloves, squeeze the head of garlic from the bottom. The individual cloves should easily pop out. If not, use a fork to gently pry out the stubborn cloves.
- Notes:
- Unused garlic cloves can be kept for up to 10 days in a small, tightly sealed glass container in the refrigerator.
- You can use this same method to roast garlic using your gas grill outside. Just place the foil pack on a grill-safe pan or even directly on the grates. Caution: the garlic will roast very quickly with this method, so check the foil pack often.