Gluten-Free Cheesy Grits

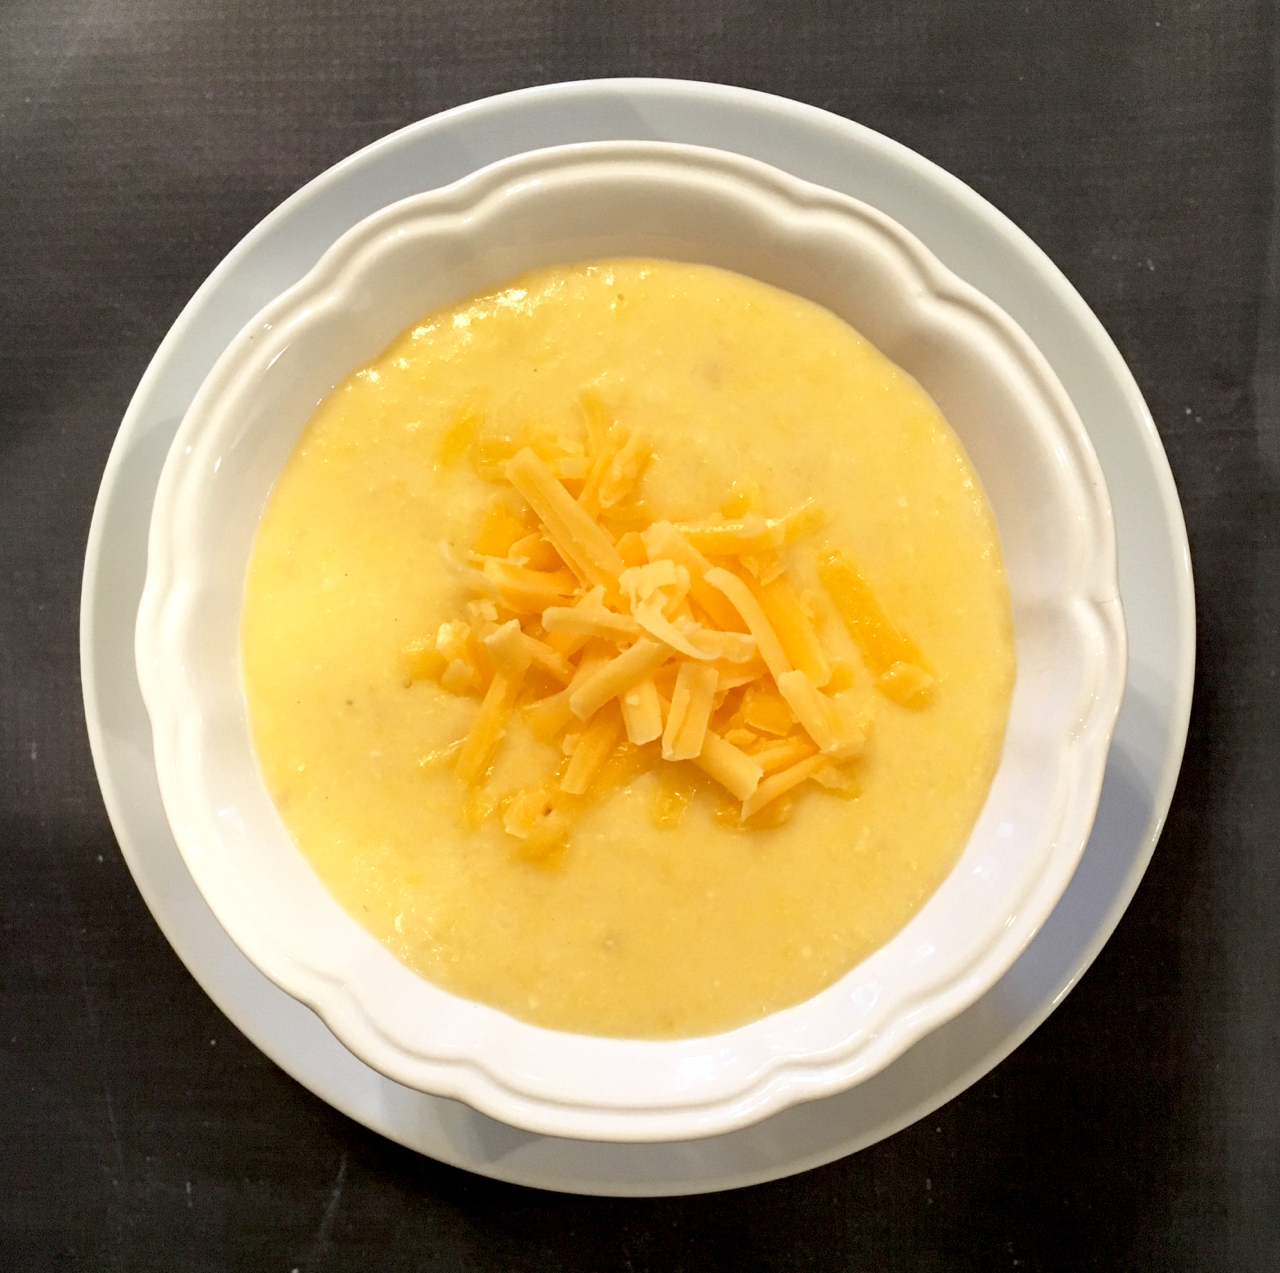
Calling all southerners, cheese lovers, and grits lovers: behold; here’s the gluten-free cheesy grits recipe that you’ve been craving.

Gluten Free Cheesy Grits

Note: This post contains Amazon affiliate links.

This is a fool-proof method of cooking grits – not the quick-cooking kind; no, no, no! This is the healthy alternative (gluten-free) and tasty alternative (you’ve got to season those grits, oh yes!) and kick it up with some additional inclusions. We’ll use cheese for this recipe, but there are other yummy additions if you’re not a cheese lover. (What?!)

I have to say, these grits were amazing, especially paired with some organic scrambled eggs.

Gluten Free Cheesy Grits

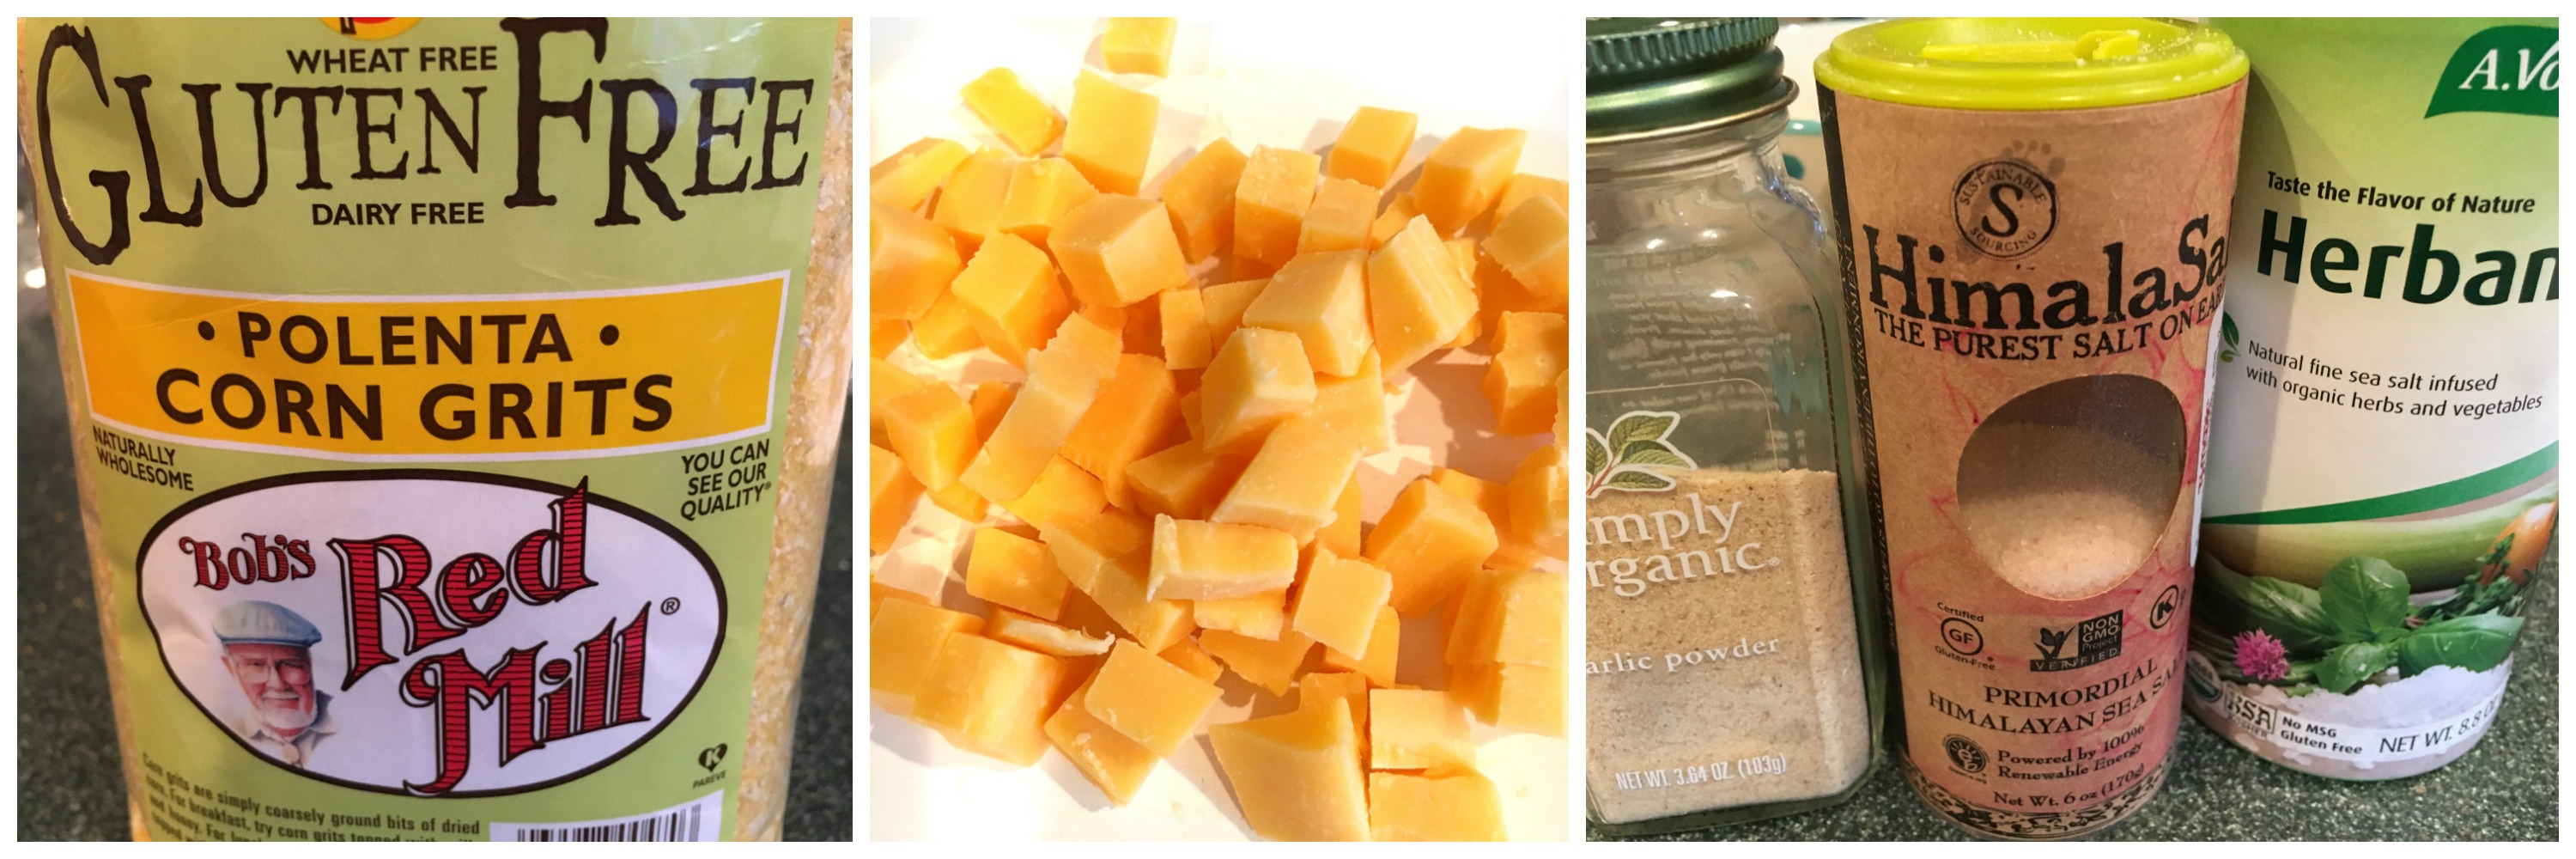
Here’s what you need to create the perfect bowl of grits:

I recommend, wholeheartedly, Bob’s Red Mill Gluten Free Corn Grits. These have never let me down. Even if you’re not gluten free, give these a try – you’ll never know the difference. You’ll need some cheddar cheese, grated or cubed. You’ll need a dollop of milk, half and half, or even heavy cream; water, and seasoning. You’ll need salt and garlic powder. I also used Herbamare, which I’ve mentioned before on this site. Read more about it here.


Gluten Free Cheesy Grits

Here’s the fool-proof method: you’ll bring water to a boil, add the grits and reduce to a simmer and stir, stir, stir. This will take a while, so don’t get busy doing something else because you’ll need to mostly hang out at the stove and stir, season, taste, and repeat. It’s really crucial that you stir often. You don’t want the grits to cook too quickly, so a very slow simmer for 25-30 minutes is optimal. Seasoning is very important, and you’ll likely use more seasoning than you think is necessary. Taste often. Grits are a blank canvas that must be seasoned, otherwise you will not love your grits.

I also cover the pot when not stirring, so grab a lid. This prevents the grits from occasionally popping out on your stove top or on you. They’re hot, so protect yourself!

Once the grits have cooked and become tender, I add a dollop of milk-based liquid. I happened to have heavy cream on hand, so I added a dollop (about a tablespoon or so) to the grits prior to adding the cheese. This made the grits very creamy!

Gluten Free Cheesy Grits

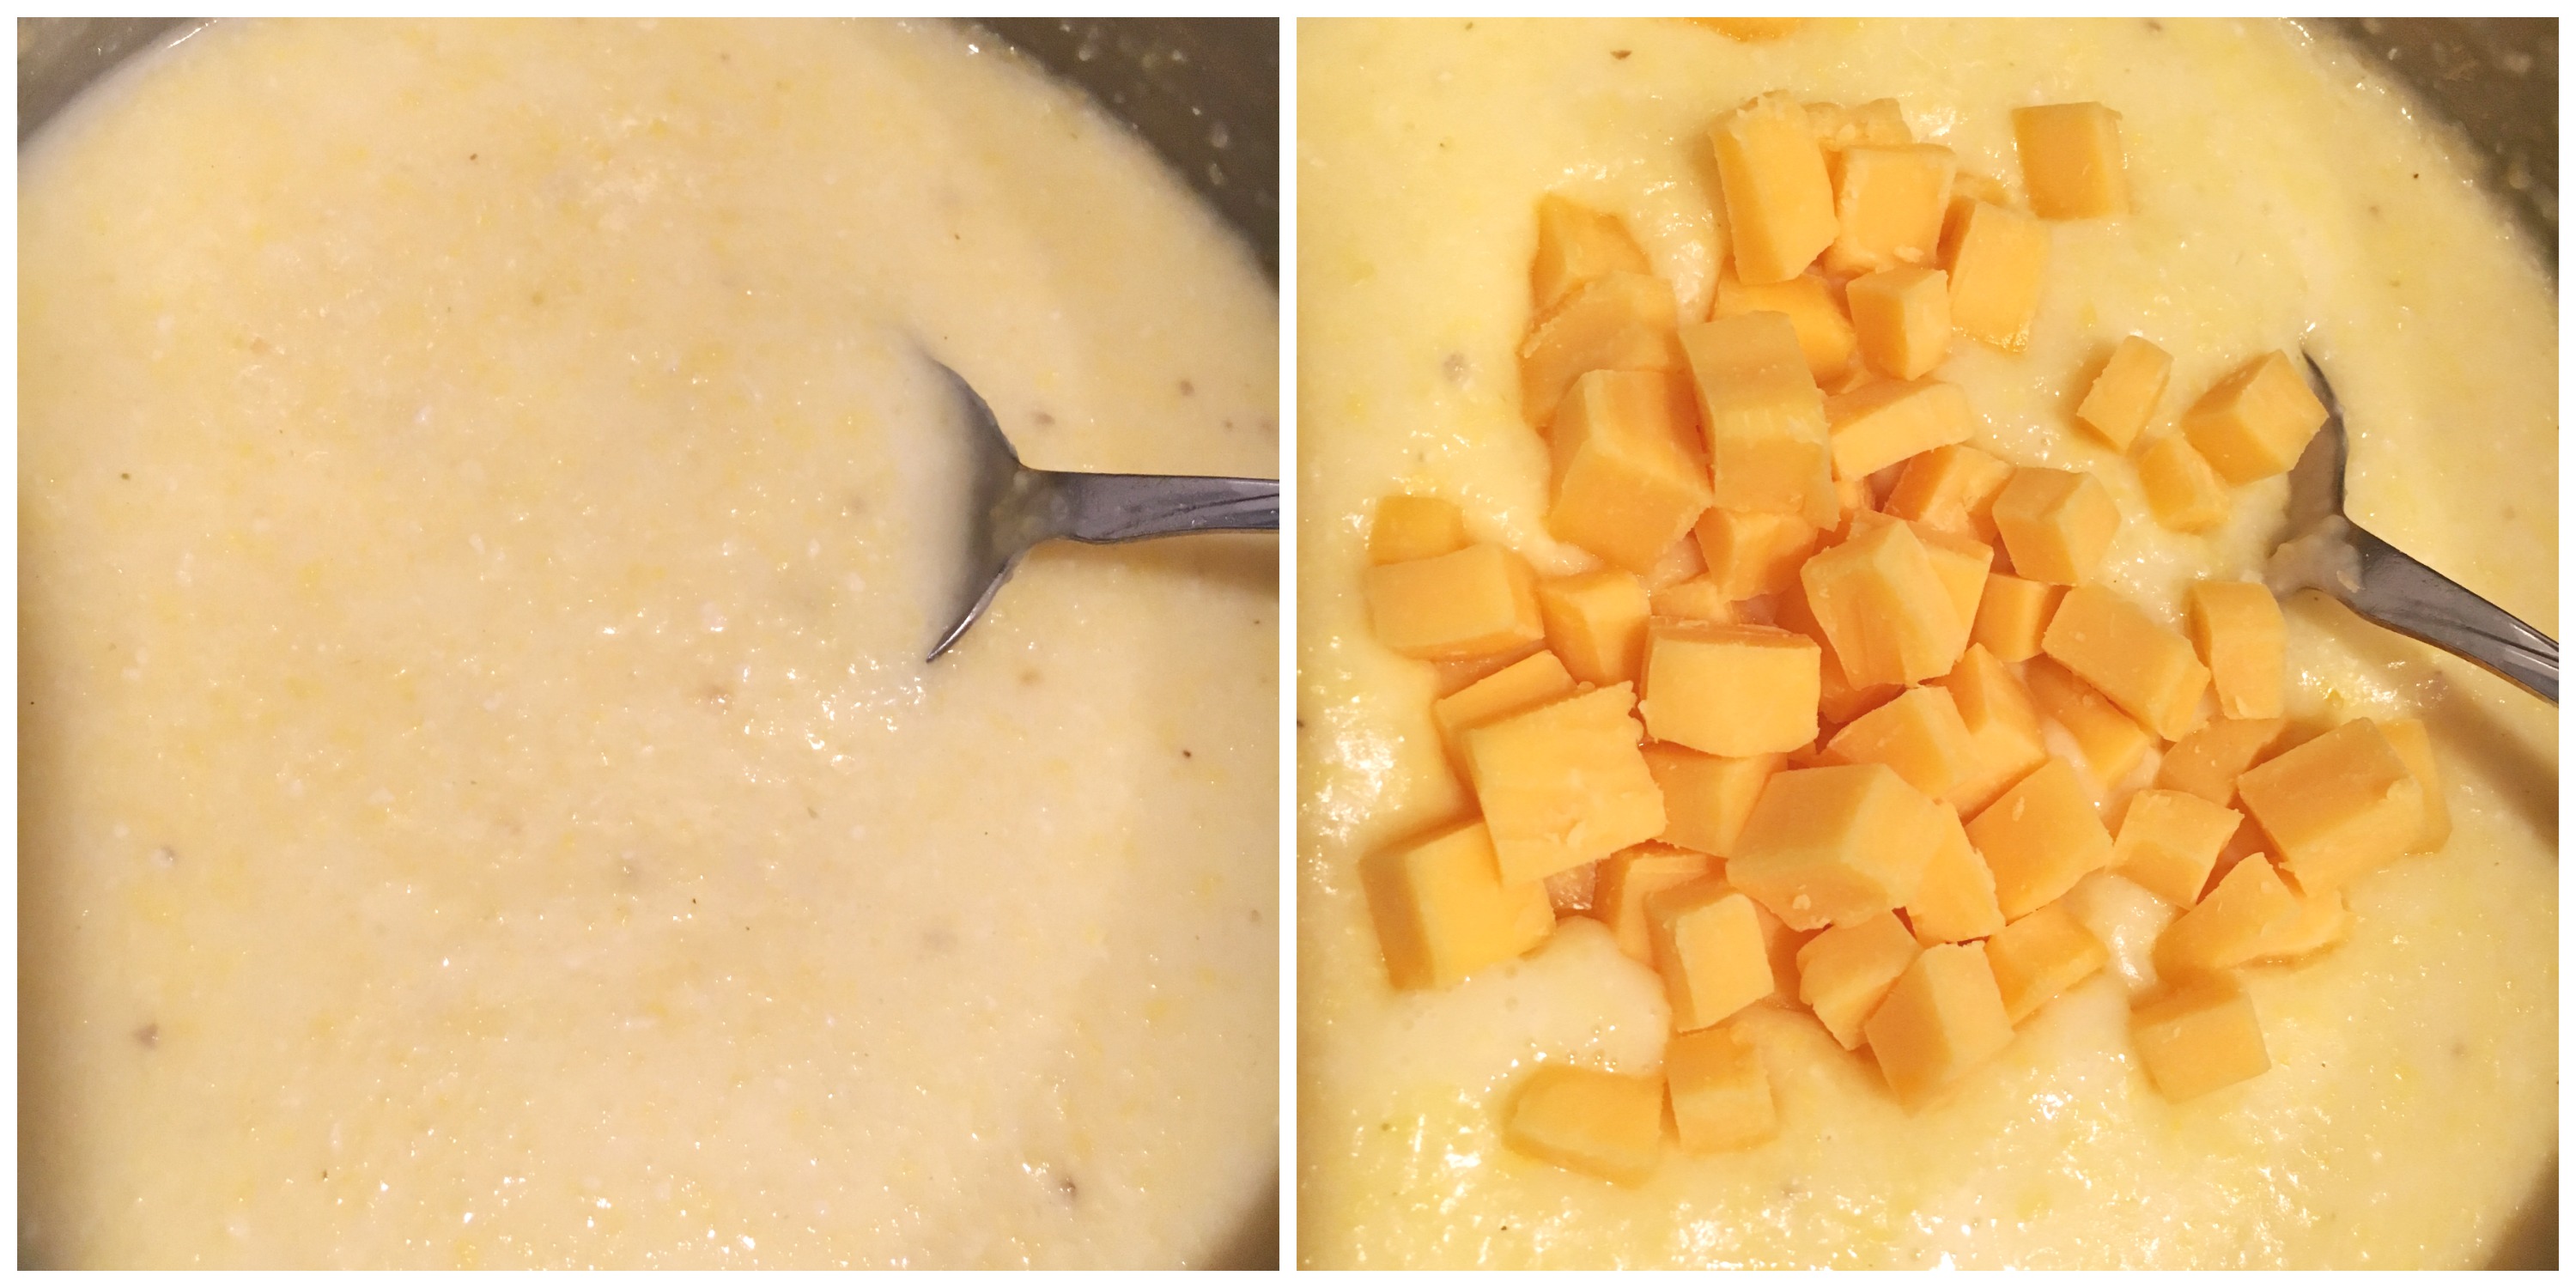
I added the cheese as the last step. Just stir until the cheese is melted and then remove from heat and let sit, covered, for 5 minutes before serving. (If you’re not a cheese lover, you could add crumbled bacon, or cubed ham.)

Gluten Free Cheesy Grits

For a true southern experience, serve with eggs. My favorite is scrambled eggs with grits. Southerners know the trick of actually combining the scrambled eggs and grits together and enjoying but I’ll let you try that on your own. 😉


Gluten Free Cheesy Grits

YOU MAY ALSO LIKE:
Gluten-Free Cranberry Orange Blender Muffins

Baked Scalloped Potatoes With Cheese
Gluten-Free Almond Butter and Chocolate Chip Blondies

Gluten Free Cheesy Grits
 
Cook time
Total time
 
Gluten Free Cheesy Grits
Author:
Serves: 2 - 4 servings
Ingredients
  • 3 cups of water
  • ⅔ cup Bob's Red Mill Gluten Free Grits
  • 1 Tablespoon milk, half and half, or heavy cream
  • Salt
  • Garlic powder
  • Hebamare (optional)
  • ½ cup cheddar cheese, shredded or cubed
Instructions
  1. Bring water to boil. Add grits, stir and immediately reduce heat to a very low simmer.

  2. Add ½ tsp. salt; stir. Cover with lid to keep spatter contained. Check and *stir frequently.

  3. *It’s really crucial that you stir often. You don’t want the grits to cook too quickly, so a very slow simmer for 25-30 minutes is optimal. Seasoning is very important, and you’ll likely use more seasoning than you think is necessary. Taste often. Grits are a blank canvas that must be seasoned, otherwise you will not love your grits.

  4. When grits **soften, season to taste with salt, garlic powder and (optional) Herbamare.

  5. **If grits cook too quickly and begin to stick before softening, make sure your heat is turned very low, add a little more water, stir and check frequently.

  6. Before serving, add cheese and stir to melt completely.

  7. Remove from heat and let sit, covered, 5 minutes prior to serving.

DON’T FORGET TO PIN AND SHARE!

Calling all southerners, cheese lovers, and grits lovers: behold; here's the gluten-free cheesy grits recipe that you've been craving.

Calling all southerners, cheese lovers, and grits lovers: behold; here's the gluten-free cheesy grits recipe that you've been craving.

Calling all southerners, cheese lovers, and grits lovers: behold; here's the gluten-free cheesy grits recipe that you've been craving.

1 Comment

Creamy Avocado And Cilantro Dip

This creamy avocado and cilantro dip makes a wonderful faux guacamole dip because it’s creamy and not too harsh. There are no raw onions or raw garlic to contend with, no tomatoes to chop, so it’s the perfect substitute if you’re short on time or ingredients. You can throw this together very quickly and season it to fit your taste.

Creamy Avocado And Cilantro Dip

To put this together, I used two organic ripe avocados, cut in half and pitted. Sometimes you get the perfect avocado, like below. Beautiful!

Creamy Avocado Dip

Chop the avocados, put them in a bowl and mash and stir with a fork. I added sea salt and organic garlic powder, to taste. I also added about 1/2 cup of organic sour cream. Again, you can add more or less, depending on how creamy you want your dip.

Creamy Avocado Dip

And finally, I added about 1/4 cup of organic cilantro and stirred that in. I love cilantro. Sigh.

Cilantro

You can eat this dip immediately, or chill for a few hours, if you have time. I find the flavors intensify if you let it chill for a bit. Either way, serve this up in place of guacamole or as a dip for chips, crackers, or veggies.

Creamy Avocado And Cilantro Dip

Creamy Avocado And Cilantro Dip
 
Prep time
Total time
 
Creamy Avocado And Cilantro Dip.
Author:
Ingredients
  • 2 organic ripe avocados, pitted and chopped
  • ½ cup organic sour cream
  • ¼ cup cilantro
  • sea salt, to taste
  • organic garlic powder, to taste
Instructions
  1. Cut avocados in half lengthwise, remove pit, scoop out avocado meat and chop.

  2. Add chopped avocado to a medium mixing bowl. Mash and stir with a fork.

  3. Add sea salt and organic garlic powder, to taste. Stir.

  4. Add ½ cup of organic sour cream, stir and taste. Season again, if needed.

  5. Add ¼ cup cilantro and stir.

  6. Serve immediately, or cover and chill until ready to serve.


0 comments

Flourless Chocolate Cake With Ganache Glaze

You can whip up this flourless chocolate cake with ganache glaze in one bowl ~ no need for a mixer! This cake is dense and rich – perfect for chocolate lovers. Bonus: it’s easy!

Flourless Chocolate Cake With Ganache Glaze

Note: This post contains Amazon affiliate links.

Here’s what I used to put it together: bittersweet chocolate chips, organic butter, organic eggs, vanilla extract, organic sugar, sea salt, unsweetened cocoa powder, organic ground cinnamon, decaf instant coffee, organic cream (for the ganache).

Flourless Chocolate Cake

Mixing it is quick. Melt butter and chocolate chips first (I did this in the microwave, but you can use a double boiler if you prefer), then add in sugar, vanilla, salt, cinnamon, coffee powder and stir. Finally, add in eggs and cocoa powder and stir to combine. Pour it in a buttered 8″ cake pan and bake. Done! Well, almost…

Here’s the 8″ cake pan that I use:


Flourless Chocolate Cake

Once it comes out of the oven, invert it and let it cool completely before adding the ganache to the top. Once ganache is added, it needs to go in the refrigerator for about 4-6 hours, overnight if possible. This cake is actually better the next day because the ganache has had a chance to settle.

Flourless Chocolate Cake With Ganache Glaze


I like to glaze just the top of the cake. It is totally rich, so glazing the sides isn’t really necessary. Plus, it’s just a little less messy this way.

Flourless Chocolate Cake With Ganache Glaze

You can see how thick the ganache is here:

Flourless Chocolate Cake With Ganache Glaze


Another way to consume this amazing cake is to slice a small piece and warm it in the microwave just until the ganache starts to melt. I do this in about 20 second increments, checking to see if it’s warm enough. Don’t leave it in too long! Then I add a scoop or two of vanilla ice cream to the bowl. Heaven!

Flourless Chocolate Cake With Ganache

Decadent ~ any way you choose to consume it!

Flourless Chocolate Cake With Ganache Glaze


YOU MAY ALSO LIKE:
Flourless Chocolate Brownies
Gluten-Free Almond Butter and Chocolate Chip Blondies
One-bowl Gluten-Free Chocolate Chip Cookies

Flourless Chocolate Cake With Ganache Glaze
 
Prep time
Cook time
Total time
 
Flourless Chocolate Cake With Ganache Glaze
Author:
Ingredients
  • CAKE
  • 1 cup semisweet chocolate chips
  • ½ cup (8 tablespoons) unsalted organic butter
  • ¾ cup organic sugar
  • 1 tsp. vanilla extract
  • ¼ tsp. salt
  • ¼ tsp. ground cinnamon
  • 2 tsp. espresso powder or instant coffee
  • 3 large organic eggs
  • GANACHE GLAZE
  • 1 cup semisweet chocolate chips
  • ½ cup heavy cream
  • ½ cup unsweetened cocoa powder
Instructions
  1. CAKE
  2. Preheat oven to 375. Grease an 8" round cake pan with butter. Line bottom of cake pan with parchment paper cut to fit. Butter top of parchment paper. Set aside.

  3. Add butter and chocolate ships to a medium-sized, microwave-safe mixing bowl. Microwave until butter and chips are soft. Stir until chips melt completely.

  4. Stir in sugar, salt, vanilla extract, ground cinnamon and espresso/coffee powder.

  5. Add in eggs, beat until smooth.

  6. Add cocoa powder and mix to combine.

  7. Pour batter into cake pan.

  8. Bake for 25 minutes. Sides will begin to pull away from pan and top will have a crust like texture. Do not overbake.

  9. Remove from oven and let cool for 5 minutes before inverting to remove.

  10. Cool on cooling rack. Cake should be completely cool before glazing.

  11. GANACHE GLAZE
  12. Heat cream on stove over medium heat until just simmering. Immediately remove from heat and add in chocolate chips.

  13. Cover pan completely to seal in heat and let sit undisturbed for 5 minutes.

  14. Remove from heat and whisk mixture slowly to melt chips. Keep whisking until all chips are melted.

  15. For a thick ganache, cover and let cool. You can refrigerate ganache until ready to glaze cake.

  16. When ready to glaze cake, carefully pour or spoon ganache on top portion of cake.

  17. Refrigerate cake at 4-6 hours (best overnight) to let ganache firm up.


DON’T FORGET TO PIN AND SHARE!

You can whip up this flourless chocolate cake with ganache glaze in one bowl ~ no need for a mixer! This cake is dense and rich - perfect for chocolate lovers. Bonus: it's easy!

You can whip up this flourless chocolate cake with ganache glaze in one bowl ~ no need for a mixer! This cake is dense and rich - perfect for chocolate lovers. Bonus: it's easy!

0 comments