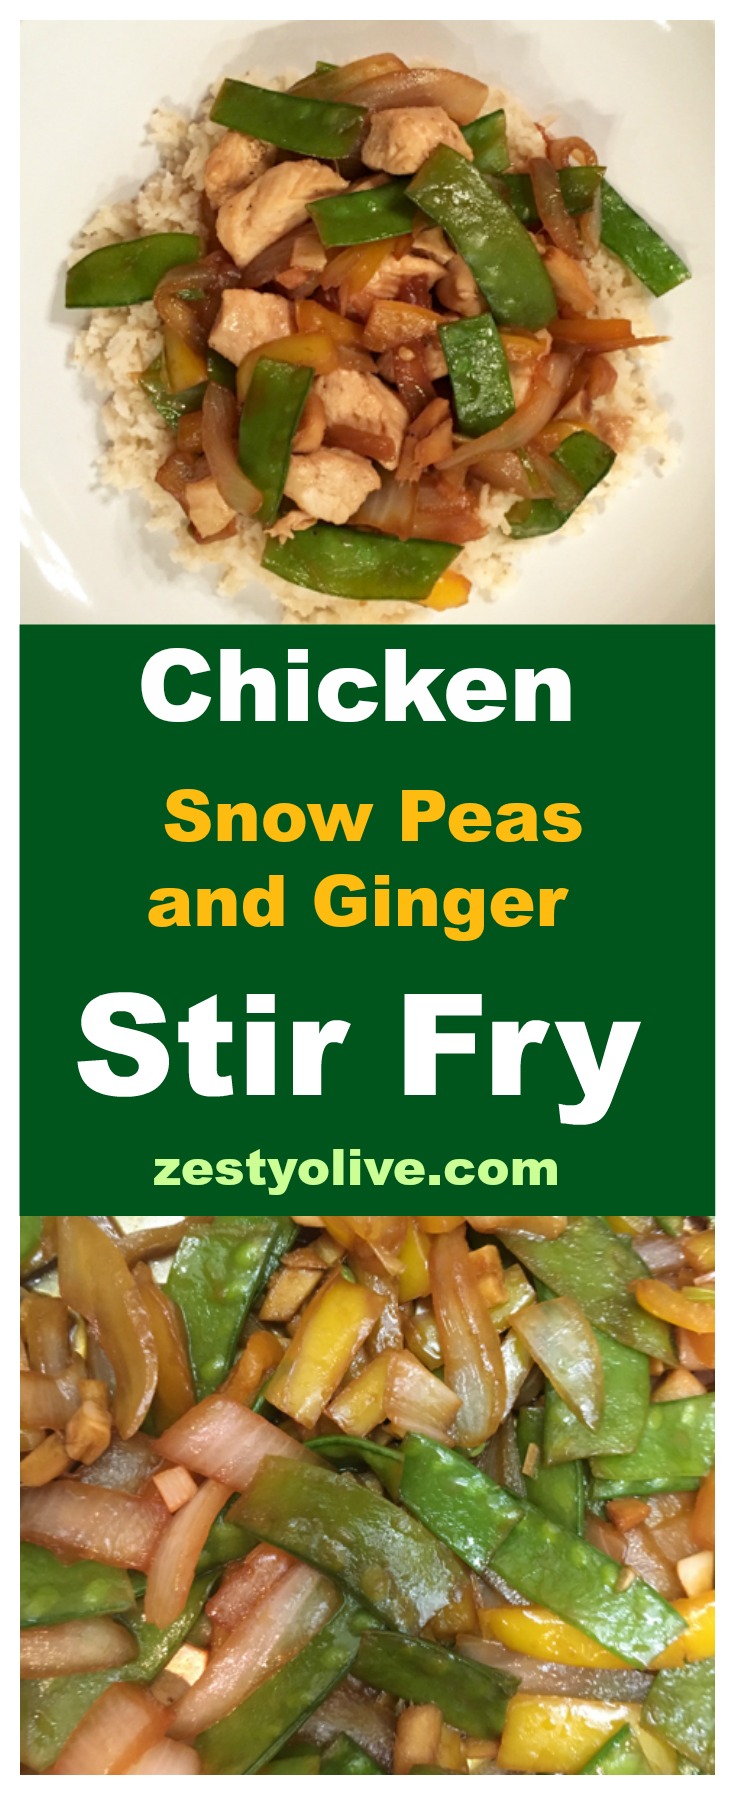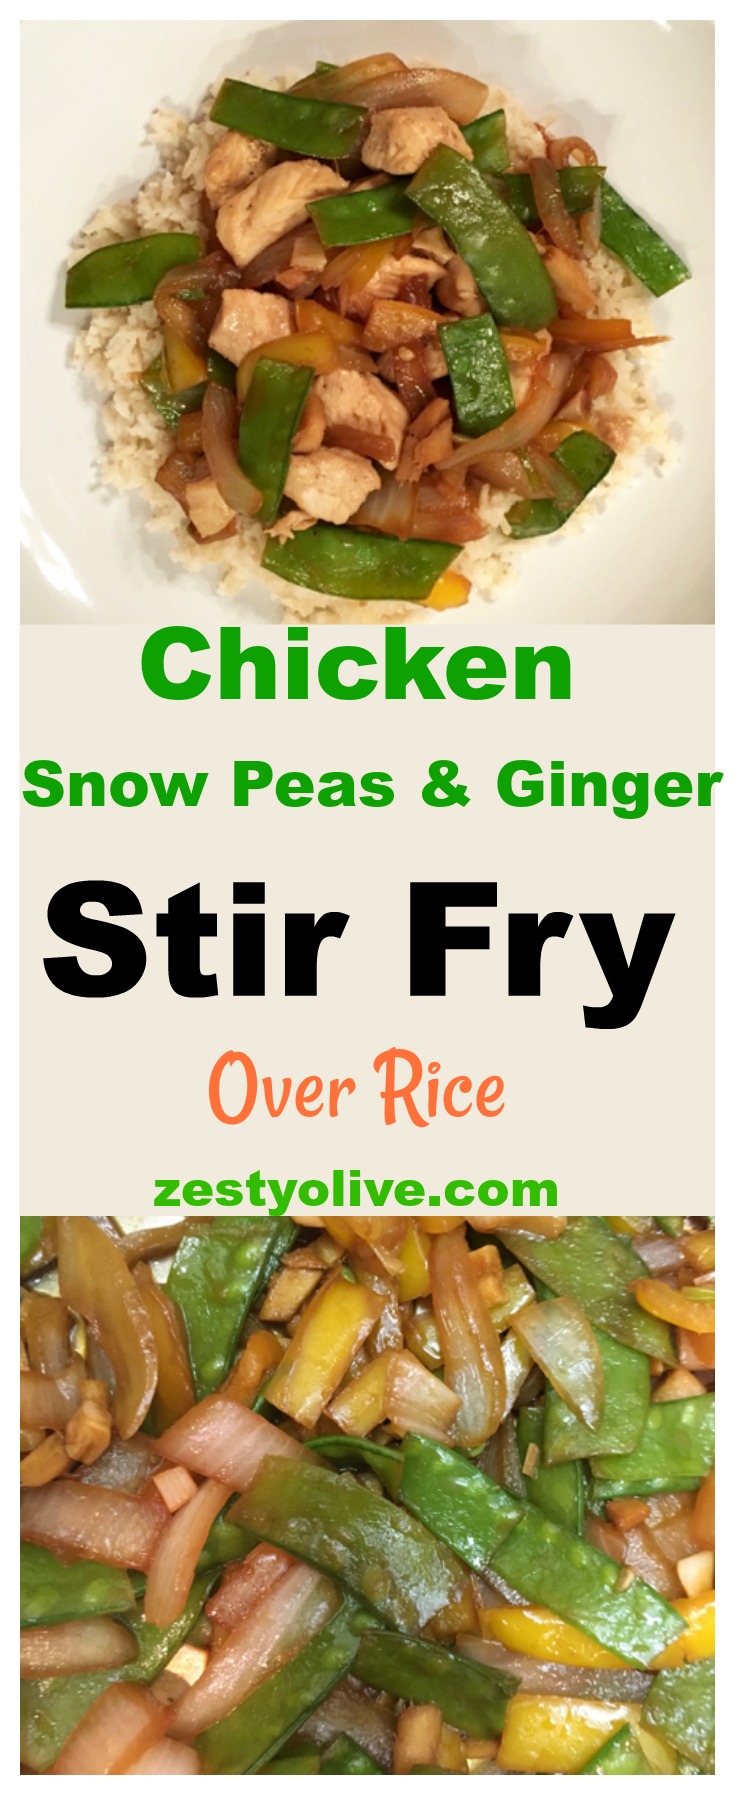
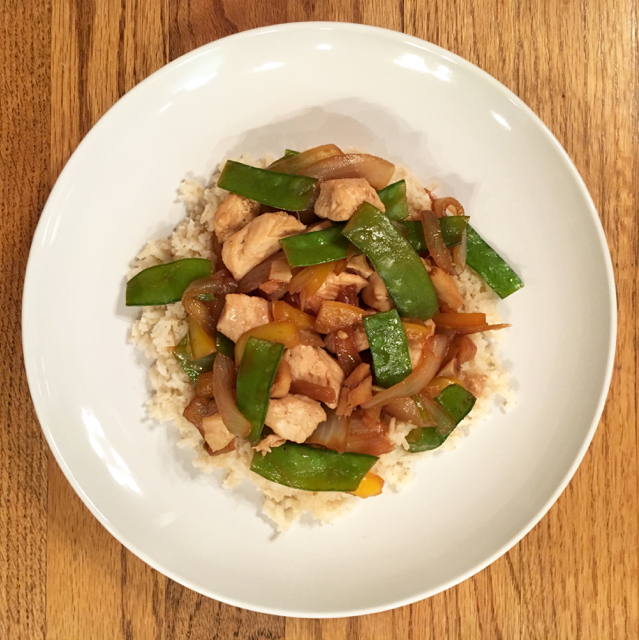
I love snow peas. I love ginger. Combine them with chicken, and you’ve got a delicious meal just waiting to be created: Chicken, Snow Peas and Ginger Stir Fry. I combined these, stir-fry and served over brown rice. If you happen to have leftovers, just warm them up the next day and enjoy again.
Note: This post contains Amazon affiliate links.
Here’s how I put my Chicken, Snow Peas and Ginger Stir Fry together:
If you plan on serving the stir fry over rice, go ahead and get that started. I used brown rice, which took about 25-30 minutes to cook. Your results may vary depending on the type of rice and method of cooking you use.
While the rice is cooking, prepare the stir fry and chicken.
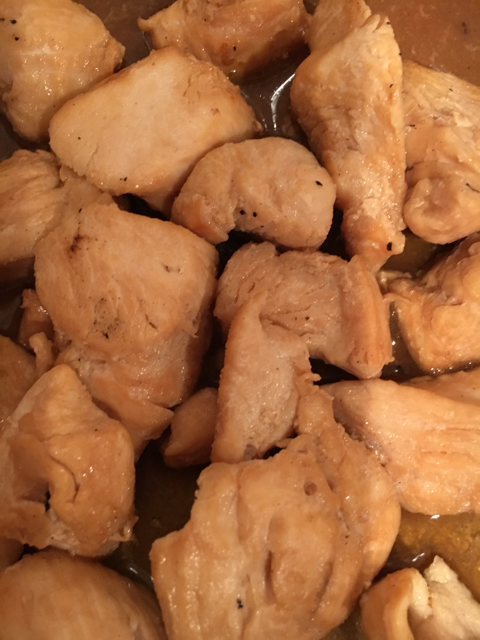
Take two boneless chicken breasts and cut into small pieces. Season with salt, pepper, garlic powder, ground ginger, and soy sauce. (I use a gluten free version.) Cook in skillet with a tablespoon of olive oil. Make sure the pieces are cooked through, and then set aside.
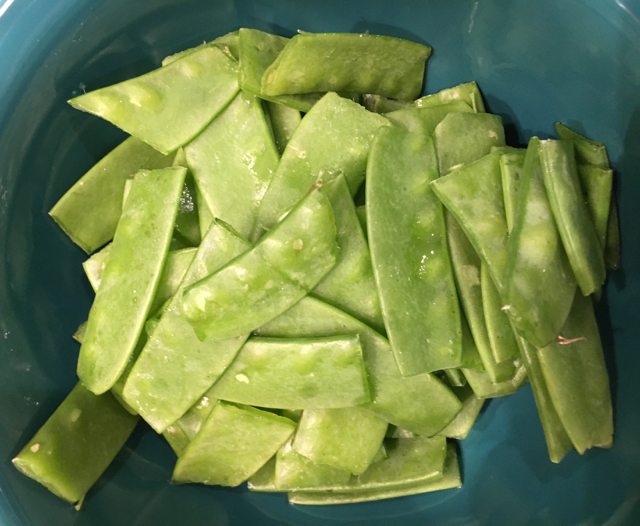
Rinse the snow peas and cut off the tips. You don’t have to do this, but I don’t really like the little thread tips, so cutting them off takes care of that. Set snow peas aside.
 Next, prep all your veggies. Grab some bell peppers and chop into large pieces, or lengthwise strips. Here I used a yellow pepper because that’s what I had on hand. Green, red, orange would be fabulous (and pretty, too!). Peel and slice a large sweet, or yellow, or red onion. Here, I used a sweet onion. Peel and chop a small piece of ginger. Peel and chop 3 garlic cloves.
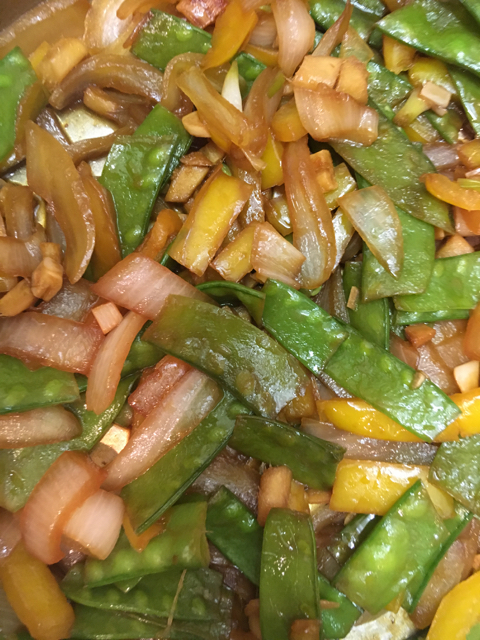
Add a tablespoon olive oil in a large skillet and heat. Throw all of your veggies in the skillet and season with salt, pepper and a dash of soy sauce. Stir fry on medium. I used a large stainless steel skillet like this one.

When veggies are almost tender, add cooked chicken in to veggies to reheat.
Serve stir fry over rice and enjoy!
YOU MAY ALSO LIKE:
Skillet Chicken Fajitas
Dutch Oven Balsamic Chicken and Veggies
Marinated Pineapple and Cilantro Chicken Kabobs
Spring Kitchen Accessories and Decor
- 2 boneless chicken breasts
- 1 cup snow peas
- 1 large onion (sweet, yellow, white or red), sliced
- 1 large bell pepper (any color), chopped
- 3 garlic cloves, peeled and chopped
- 1 Tablespoon fresh ginger, peeled and chopped
- Soy sauce (gluten-free)
- Olive oil
- Garlic powder
- Ground ginger
- Salt and pepper
- Brown rice, cooked
- If you plan on serving the stir fry over rice, go ahead and get that started. While the rice is cooking, prepare the stir fry and chicken.
- Take two boneless chicken breasts and cut into small pieces. Season with salt, pepper, garlic powder, ground ginger, and soy sauce. Cook in skillet with a tablespoon of olive oil. Make sure the pieces are cooked through, and then set aside.
- Chop bell pepper into large pieces, or lengthwise strips.
- Peel and slice onion.
- Peel and chop a small piece of fresh ginger.
- Peel and chop 3 garlic cloves.
- Add a tablespoon olive oil in a large skillet and heat. Throw all the veggies in the skillet and season with salt and pepper, and approximately 1 Tablespoon of soy sauce. Stir fry on medium heat. When veggies are almost tender, add cooked chicken in to veggies to reheat.
- Serve stir fry over rice.
DON’T FORGET TO PIN AND SHARE!